- Home
- Free Quilt Block Patterns
- Whirlwind Quilt Block
Whirlwind Quilt Block Pattern
From our Free Quilt Block Patterns Library
This post contains affiliate links, for which I receive compensation.
Skill Level: Beginner
The Whirlwind quilt block is a great block for a beginning quilter to practice making quarter square triangles.
It contains four of them made from two fabrics.
Change the color placement or add another fabric and you can create a number of different pinwheel quilt block variations which you can see further below on this page.
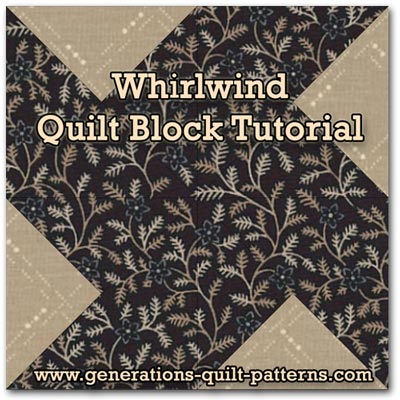
This block is known by several other names including:
- Modern Envelope
- Pinwheel
- Twin Sisters
- Water Wheel
- Windmill (click here for another Windmill block)
This block, or one of its variations is a good choice for a baby quilt in pastels colors, or for a block exchange with your bee mates.
Quick and easy with lots of design possibilities!
📋 General Instructions
The sample block in this tutorial is 6" finished, based on a 3" grid size.
All seams are 1/4".
Several abbreviations are used throughout this tutorial:
- SA - seam allowance
- QST - quarter square triangle
- HST - half square triangle
- RST - right sides together
When you are instructed to press, first press the pieced unit flat to set the seam. Then open the patch, pressing from the front. Seam allowances are pressed to the dark fabric unless otherwise noted.
The newest quilt fabrics to tickle your fancy...
Click the images below to see the full collection. We share any commercial and/or free patterns that showcase them, too. (For inspiration, of course!)
Step 1: Cut the fabric patches
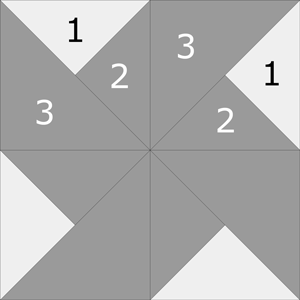 Whirlwind design
Sample Size: 6" finished / 6½" unfinished
Grid: 2x2
Attributed to: Ruby McKim
AKA: Modern Envelope (KC Star), Pinwheel (Ruby McKim), Twin Sisters (Ladies Art Company), Water Wheel, Windmill (Grandma Dexter)
Design Type: Pinwheel, 4-patch
The numbers in the Cutting Chart below are all for squares, i.e. if #1 for a 6" block is 4¼" that means to cut a 4¼" by 4¼" square. That keeps the chart easier to read and more sizes can be listed.
Next subcut as directed. This information is the entry on the far right in each row.
As for myself, I prefer to cut my patches oversized for QSTs, stitch and then trim to perfection. I add an extra 1/4" to each patch that I cut.
If your 1/4" is reliably accurate then use the numbers in the chart. If you want a bit of extra insurance, add the 1/4" as I do.
Further down in the instructions is a chart with the size of the QSTs after stitching. Trim or adjust as needed.
 | Cutting Chart for a~Traditional Piecing ~ | |||||||
|---|---|---|---|---|---|---|---|---|
| Patch | Fabric | Qty | Finished Block Size | Sub Cut | ||||
| 3" | 4" | 5" | 6" | 8" | ||||
| 1 | Light | 1 | 2¾" | 3¼" | 3¾" | 4¼" | 5¼" | |
| 2 | Dark | 1 | 2¾" | 3¼" | 3¾" | 4¼" | 5¼" | |
| 3 | Dark | 2 | 2⅜" | 2⅞" | 3⅜" | 3⅞" | 4⅞" | |
| Unfinished Block Size | 3½" | 4½" | 5½" | 6½" | 8½" | na | ||
| Grid Size | 1½" | 2" | 2½" | 3" | 4" | na | ||
Step 2: Assemble the units
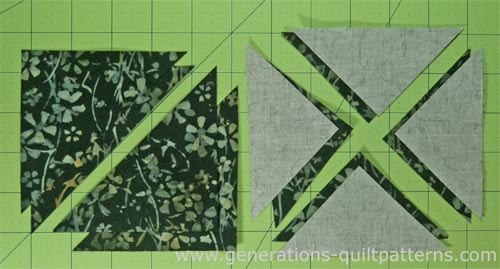
With RST, align the edges of a #1 and a #2 QST patch. Stitch with #1 (light) on top; the blunt edge feeding into your machine first. That keeps the patches in the proper order. (You will be stitching one of the two shorter sides.)
This looks backwards in the photo below, but it is correct.
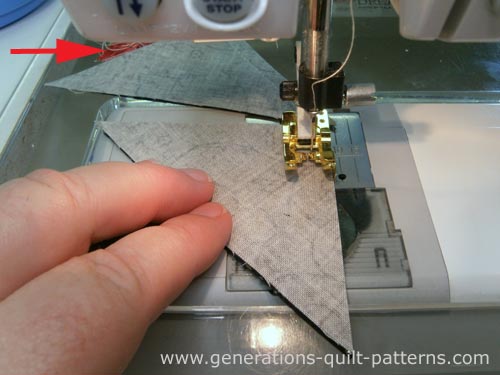 The arrow points to my anchor cloth
Repeat for the 3 remaining pairs.
Press, first flat to set the seams.
Then open, with SA towards the dark fabric. Be gentle. The longest straight edge is on the bias and can stretch.
Your units now look like this.
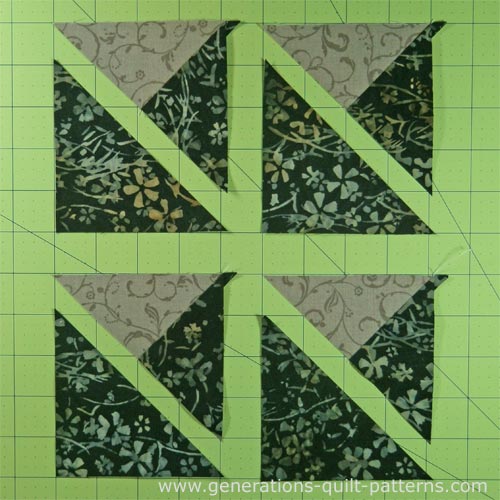
With RST, align the long edge of the pieced #1/#2 unit with #3.
Stitch being careful not to pull as you stitch. All the these edges are on the bias and are stretchy.
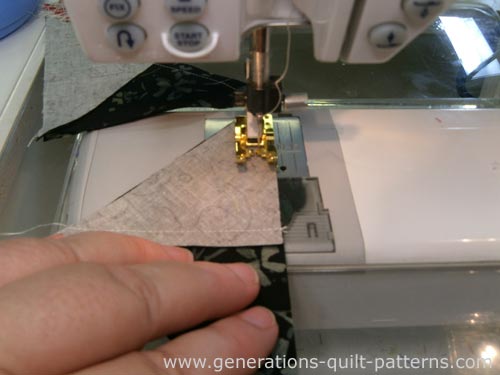
Press as before—flat to set your seam, then the seam allowance towards the larger, #3 triangle to reduce bulk.
Check for Accuracy
If you used the exact size for cutting the original squares, measure your block to confirm it is the correct size (see 'Size, edge-to-edge' in the chart below).
Check for Accuracy ~ Whirlwind QST units | |||||
|---|---|---|---|---|---|
| Finished Block Size | |||||
| 3" | 4" | 5" | 6" | 8" | |
| Center (Midpoint) | 1" | 1¼" | 1½" | 1¾" | 2¼" |
| Size, edge-to-edge | 2" | 2½" | 3" | 3½" | 4½" |
If you added a 1/4" to the dimensions to create generous squares, it's time to trim our patches to 3-1/2" for our 6" finished sample. Use the 'Center (Midpoint)' measurement from the chart above.
Click here for a review on trimming quarter square triangles if needed. (This link opens in a new page to make it easier to come back to this spot.)
Step 3: Assemble the Whirlwind quilt block
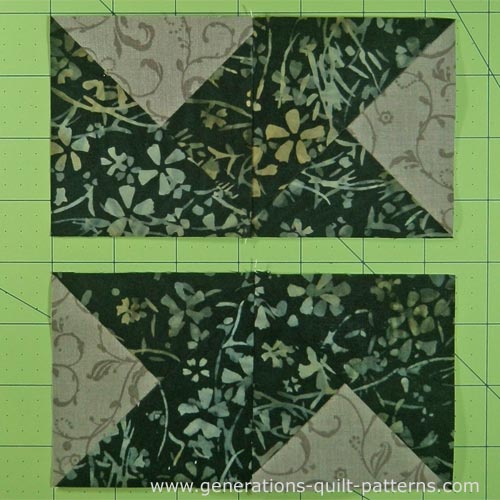
Lay out the units. There is one #1 triangle on each outside edge of the finished block.
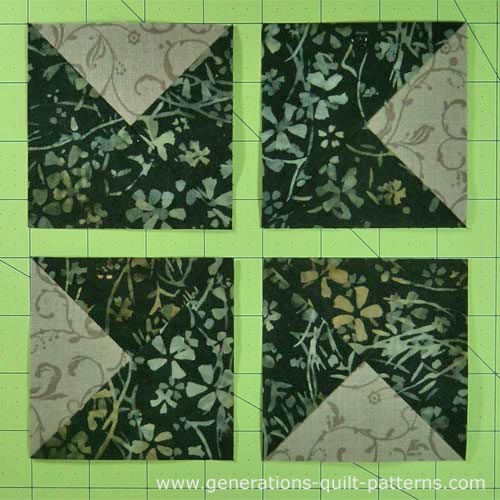
The diagonal SAs that meet in the center of the block nest to make it easier to match. Pin if needed.
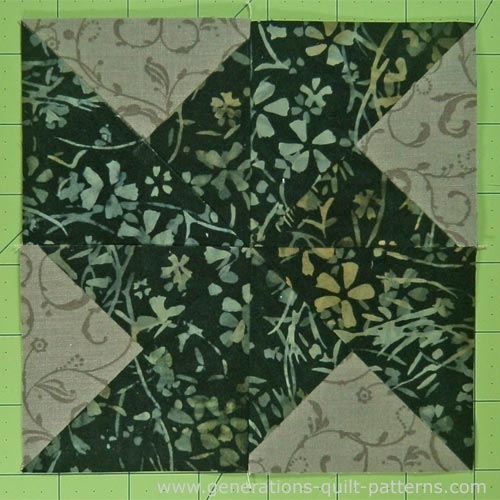
Stitch the rows together. Press with the SA towards the small triangle units (you can see this below in the picture of the finished block).
Twirl the seam allowance in the center to reduce bulk. You can see that all the seam allowances in the block are pressed clockwise.
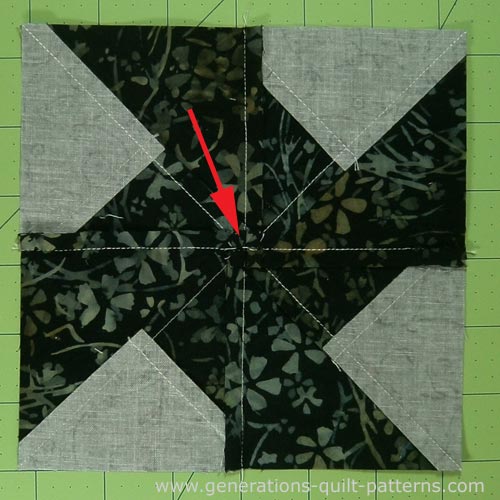 The Whirlwind quilt block from the back. You can see the twirled seam allowance in the center
This is the finished Whirlwind quilt block.
Common Variations
This Whirlwind quilt block is based on the quarter square triangle unit (below, left).

QST for Whirlwind
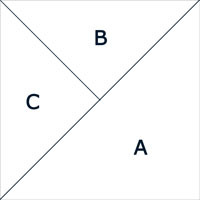
Mirror image of QST for Whirlwind QST
But reverse the drawing (above, right), add different color placements and this simple block morphs into something new.
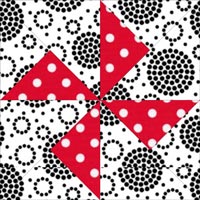
Turnstile
A two color block, but now the background is the dominant space.
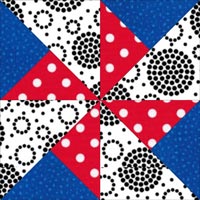
Whirlwind (another version)
Replace the smaller background triangle from the Turnstile block with a darker fabric and you have 'Whirlwind'.
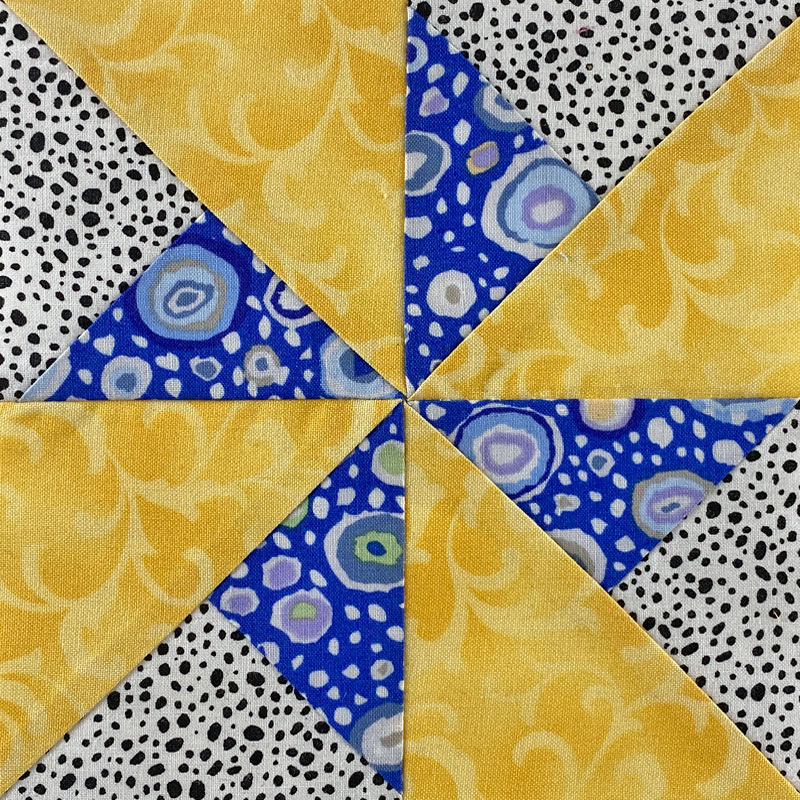
Double Pinwheel
In three fabrics with a light outside background triangle. The HST patches make a large pinwheel; the QST patches make a smaller one.
Click here for instructions to make this block.
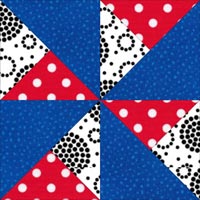
Whirligig
It varies from the Double Pinwheel in that only two of the outside triangles are background fabric.
What about a different quilt block?
For a list of all the 220+ quilt block patterns on this site, start here.
If you know the name of the block, shorten your search by using these links:
Click here if you're looking for blocks with at least some paper piecing.
Click here if you're looking for the basic building blocks of quilting, i.e., Flying Geese, half square triangles, quarter square triangles, etc., along with several techniques to make each.
And finally, use these links to find blocks in these finished sizes:
