- Home
- Free Paper Piecing Patterns
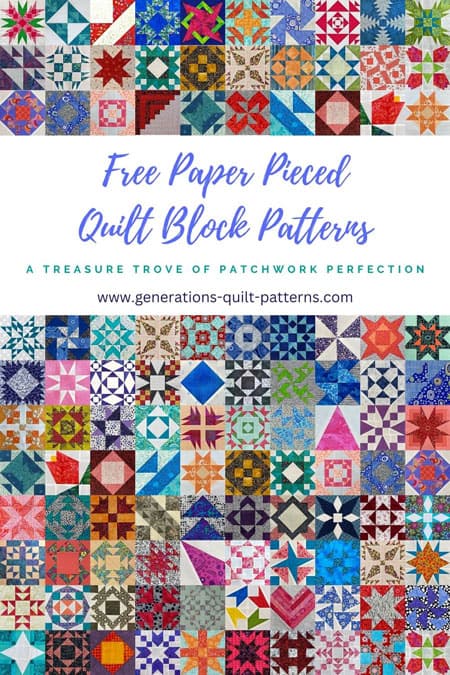
Free Paper Piecing Patterns ~ 115+ designs to choose from
This post contains affiliate links, for which I receive compensation.
The free paper piecing patterns in our library are available for you to download right to your home computer and printer.
All include at least some paper piecing.
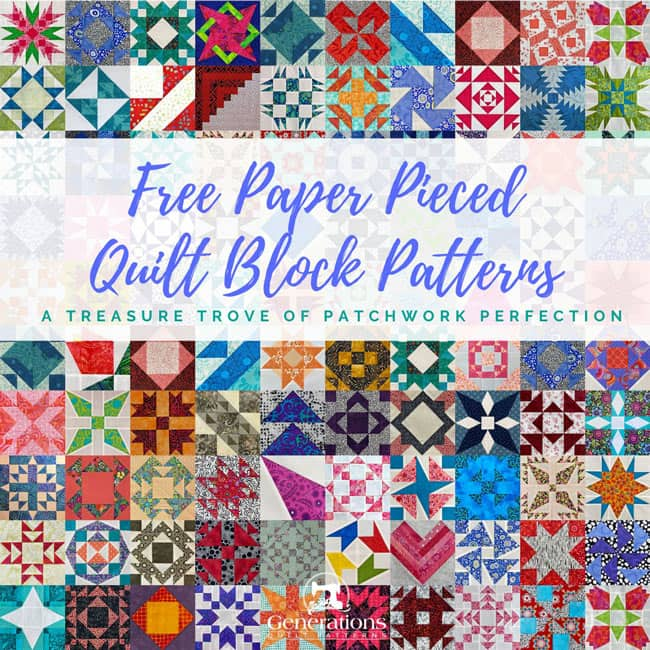
Blocks are listed alphabetically by their most common name to make them easy to find.
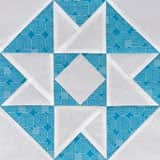
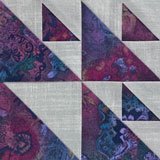
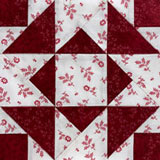
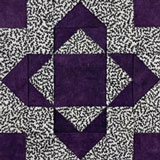
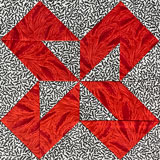
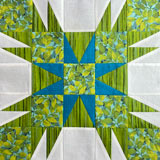
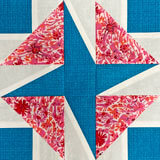
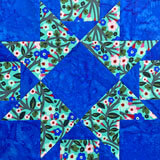
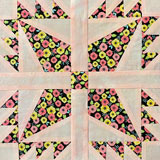
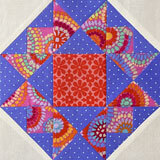
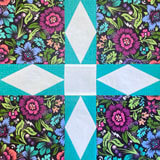
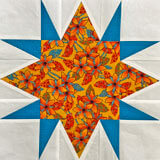
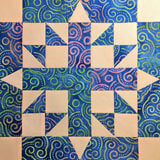
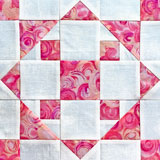
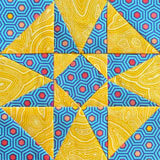
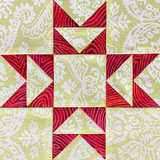
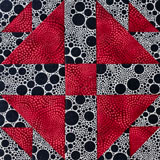
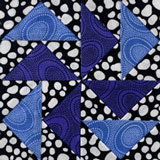
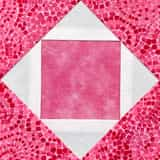
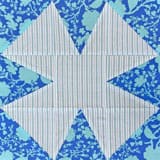
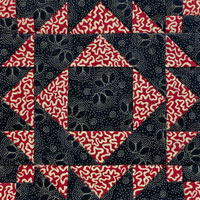
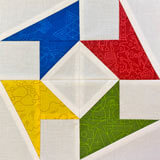
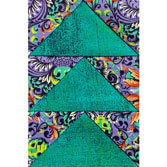
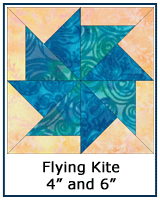
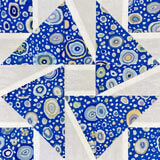
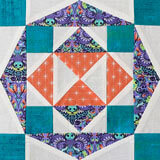
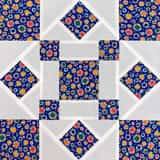
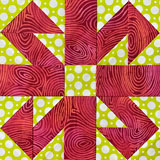
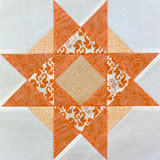
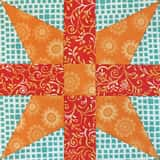
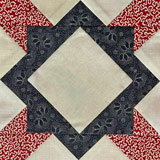
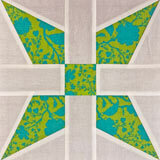
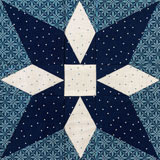
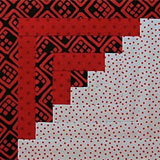
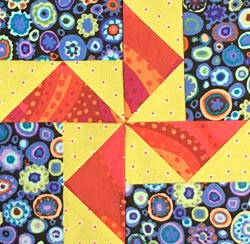
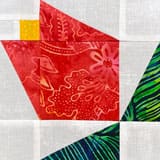
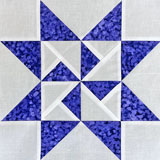
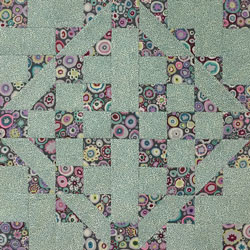
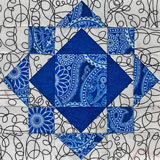
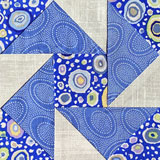
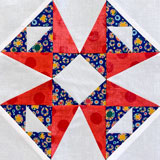
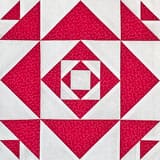
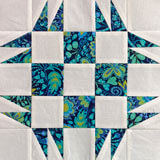
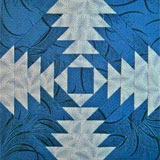
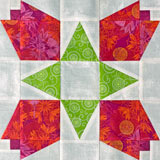
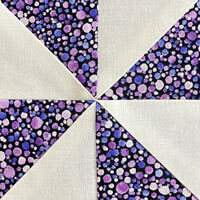
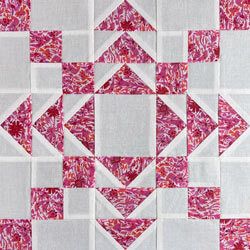
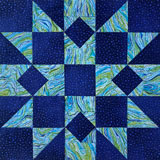
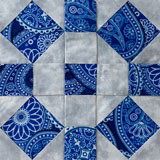
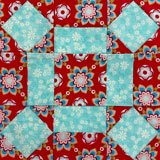
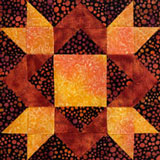
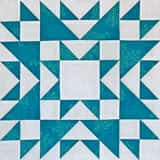
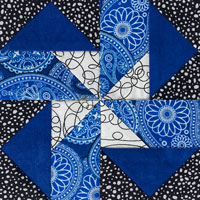
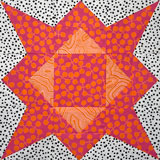
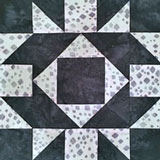
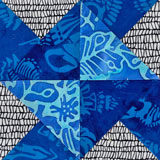
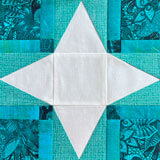
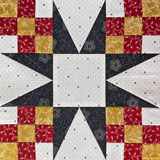
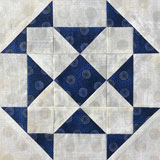
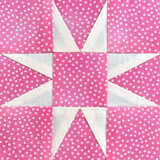
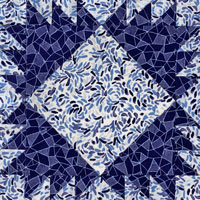
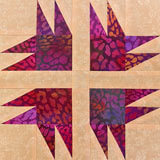
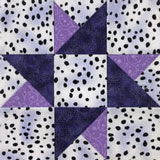
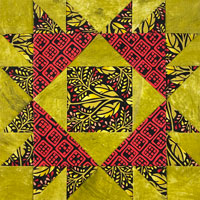
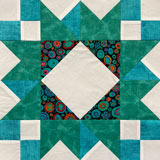
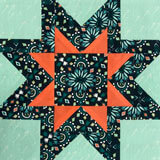
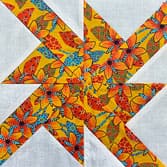
Click on the image (found in the Library below) of the block you want.
Our free paper piecing patterns have beginner-friendly, step-by-step illustrated instructions.
On those pages, look for either the 'Downloads' section or in the Cutting Chart.
There you'll find the links to the free downloadable pattern(s) to print. (You'll find more tips for printing here.)
Note: Some of the images below will lead directly to the PDF pattern page.
Need help with printing?
What's a free paper piecing pattern worth if you can't get it to print correctly?
If you run into any trouble printing the free patterns offered on this site or their accompanying tutorial page these articles are here to assist you:
Which paper is best?
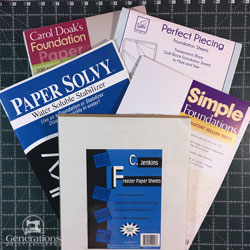
Newsprint. Vellum. Freezer paper. Water soluble stabilizer. Non-woven something-or-others.
Are they really all that different?
Learn what to look for in a good paper piecing paper. See how 6 different products compare to each other.
Which will work best for you?
My must-have tools for paper piecing
Most of the tools you'll need for paper piecing, you likely already have. (Whew!!!!)
Compare your current inventory with the recommendations in 'Essential Paper Piecing Skills: The right tools for the job'.
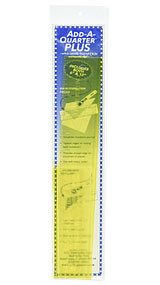
In the meantime, these are the three must-haves in my paper piecing toolbox.
The Free Paper Piecing Patterns/Block Library
If there's a free paper piecing pattern anywhere on this site, you'll find a live link to it below.
All the patterns are for your personal use only. Blocks are listed with their finished size(s).
If you are a member of a guild and would like to include directions for some of our free paper piecing patterns in your newsletter, please get in touch with me via a Contact form. Be sure to include the pattern name and your email.
For more information on copyright, click here.
Brand new to paper piecing?
Then check out our Foundation Paper Piecing Instructions. This section takes you through the process of paper piecing a block using a 3" finished 8-pointed star.
If you've been paper piecing for awhile, check out our Construction Tips below.
I think you'll find the Best Pressing Technique especially helpful!
Without further ado, here are the designs that all include at least some paper piecing.
A-B
D-J
K-R
S-Z
🎨 Unleash your inner quilt artist!
Pin our free paper piecing patterns for an instant creativity boost.
It's like having a 24/7 quilting muse on speed dial! 🌈🎭
Construction Tips
These tips will help ensure your successful stitching of these free paper piecing patterns.
Fabric Preparation
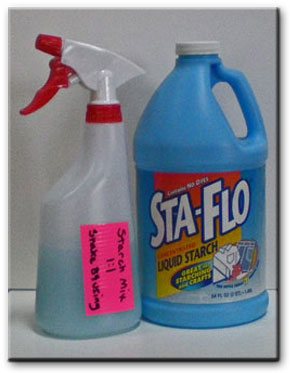
There is no special rule for fabric preparation for paper piecing—other than press your fabric first—and that's pretty standard.
If you prewash (I do!—to learn why click here), then prewash. If you don't, then don't.
Personally, though, I find a heavily starched fabric is much easier to finger press and that the press 'holds' much better. Because the fabric is stiff, there is less tendency for the patch to fold back on itself when it is stitched to the foundation--that means less ripping.
A mix of 50% StaFlo Liquid Starch Concentrate to 50% water works beautifully. I prefer it over Best Press because I can quickly create a much stiffer fabric.
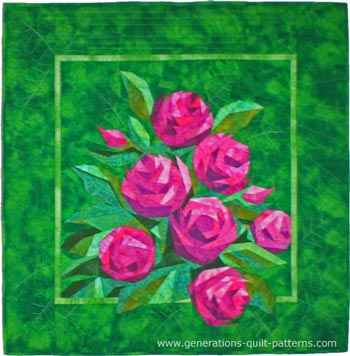 "English Roses" ~ a pattern by Eileen Sullivan, pieced and quilted by Julie Baird
I like to leave the paper on until the piecing is complete. For the majority of the patterns on this page, that is my best advice.
However, when you work on more complicated paper piecing patterns, like English Roses, I can't always wait, and do start removing the paper early from the centers.
The starch helps hold and stabilize any bias edges.
Just remember, that if you choose to use starch, you will need to wash your finished quilt at the end to remove it.
Click here to learn more about starching your fabric.
Sewing Machine Set-Up
For trouble-free stitching:
Set your stitch length to 1.3-1.6mm or 16-20 stitches per inch. This helps perforate the paper, making it easier to remove.
Increase your needle tension just a wee bit—by 0.1 to 0.2—and then test it. Adjust as needed for balanced tension. This helps fortify your stitches when you remove the paper.
Consider using a 90/14 needle. Many quilters recommend this.
Personally, I rarely use the bigger needle.
I find that when I use Carol Doak's Foundation Paper (it is about the same weight as newsprint) that the smaller stitch length and my regular 80/12 needle works just fine. If you are using a thicker paper, definitely move to the larger needle size. What works best for YOU is what is important!
And start a new project with a new needle. Needles are the cheapest part of your sewing machine, but can be the cause of so many problems.
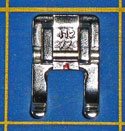 Open toe applique foot
If you have an open toe applique foot, install it. It provides an unobstructed view of your needle so that you can easily hit the stitching line.
And finally, if you can, slow down your sewing machine speed.
The line is there to be stitched on, but if you are regularly missing the line, you're probably sewing too fast. And you're missing one of the biggest benefits of paper piecing—accuracy.
It's much faster to sew slower and not have to rip out patches.
Stitching Blocks or Units Together
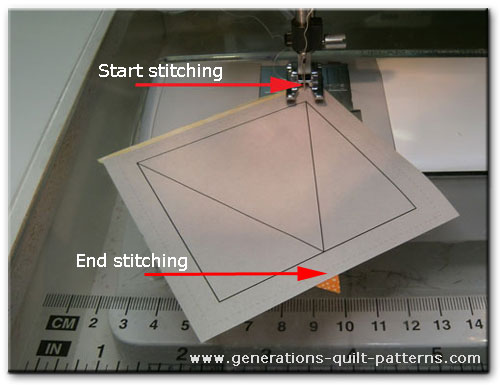 It's so easy to see the needle with an open toe applique foot installed.
When stitching on the line to add patches, you MUST START a generous 1/4" before the line starts and end a generous 1/4" after the line ends.
There is no need to use a 'fix stitch' or backstitch.
The next line of stitches secures these stitches. But if there is nothing to 'catch' the seams will eventually pull apart.
You may come across instructions on the Internet where someone is directing you to stitch only on the line for your seams.

Run away!
The only way to secure those seam ends is to ALWAYS backstitch.
At the beginning and end of EVERY.SINGLE.SEAM.
And backstitching takes time and introduces a big chance for inaccuracy in your piecing.
Sewing past the ends so that the next line of stitching secures it (just like regular piecing) is the best, most economical use of your time and efforts.
And.
It always works.
Pinning for Perfect Points
Click here for the step-by-step instructions to insure that your points match perfectly. You'll use the same techniques for both traditional and paper piecing.
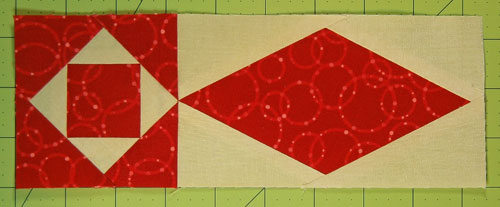 There's nothing like a pair of perfectly matched points!
Joining Sections
If your paper pieced block is made from several units, seam allowances can be pressed either open or to one side.
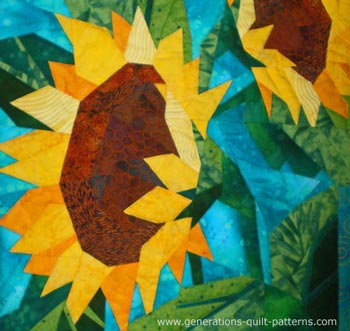 "Sunflowers Quilt" ~ a pattern by Eileen Sullivan, pieced and quilted by Julie Baird
If the seam line is particularly 'lumpy' like in this Sunflowers quilt (and you WILL know it when you see it), it is helpful to trim the seam allowance of the finished unit or section to 1/2".
It makes the pressing SO MUCH easier!
Then join the units together to make a section or block. Press the seam allowance in the closed position to set the seam.
Then press it open.
And finally, trim the seam allowances down to closer to 1/4".
Pressing
If you've heavily starched your quilt fabric, you'll find that most seams can be finger-pressed—reducing the number of times you must get up to go to the iron.
Finger-pressing a patch open with your fingernail before pressing with an iron also helps to minimize tucks.
Just like regular patchwork, press the seam flat to set it and then open.
Check out our Best Technique for Pressing Quilt Blocks to ensure a really flat block. (Pay special attention in Steps 3&4.) Then once the block is cool, trim the seam allowances to 1/4". You'll have a beautifully flat unit.
I use this technique for all my paper piecing and it has made a HUGE difference in the flatness of the final block.
But wait—there's more blocks—
All FREE!
Looking for more blocks to make...even if they're not paper pieced?
Use the buttons below for more quilt block patterns—even those without paper piecing.
- Home
- Free Paper Piecing Patterns
