- Home
- Free Quilt Block Patterns
- Variable Star Quilt Block
Variable Star Quilt Block
From our Free Quilt Block Patterns Library
This post contains affiliate links, for which I receive compensation.
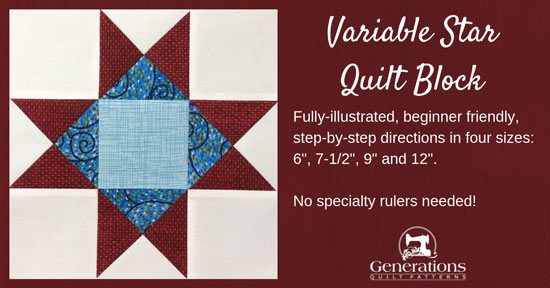
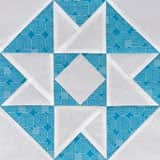
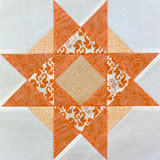
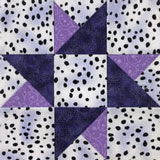
The Variable Star is quick to make with just quarter square triangles and cut squares.
There's bound to be other names for a patchwork design as popular as this one.
And there are. Seven are shared with the cutting chart
On this page you'll find:
- A cutting chart in 4 sizes with a download of it to use at your cutting table
No time to quilt right now? Click here to pin this tutorial for later.
It's to to cut up and sew!
📋 General Instructions
These abbreviations are used in this tutorial:
- SA - seam allowance
- RST - right sides together
- HST - half square triangles
- QST - quarter square triangles
- BAC - background fabric
All seam allowances (SA) are 1/4".
Pressing instructions are highlighted in yellow.
When instructed to press, first press the patches in the closed position just as they came off your sewing machine. This sets the seam, melding the fibers of the threads into the fibers of the fabric.
The newest quilt fabrics to tickle your fancy...
Click the images below to see the full collection. We share any commercial and/or free patterns that showcase them, too. (For inspiration, of course!)
Step 1: Cutting for a Variable Star quilt block
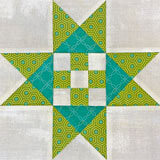
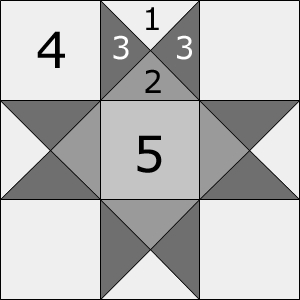 Variable Star design
Sample Block Size: 9" finished / 9 1/2" unfinished
Grid: 3x3
Attribution: Ruth Finley
AKA: Henry of the West (Nancy Page), Lone Star (Ruth Finley), Star of Hope (Nancy Page), Star of the West (Nancy Page), Star Spangled (McCall's Publishing Co.), Texas (Ruth Finley), Western Star (Nancy Page)
Design Type: Even 9-patch, Star
To create this block, we cut patches for our QST that are oversized by 1/2", stitch the units and then trim down for perfectly sized patches.
You'll need a background fabric plus a light, medium and dark.
Good contrast helps showcase your piecing skills!
Mark your patches with their #'s. We'll refer to them throughout the tutorial.
Click here to download a copy of the block design and cutting chart to use at your cutting table.
 | Cutting Chart for a~Traditional Piecing ~ | |||||
|---|---|---|---|---|---|---|
| Patch | Fabric | Qty | Finished Block Size | |||
| 6" | 7 1/2" | 9'' | 12'' | |||
| 1 | BAC | 1 | 3¾" x 3¾" | 4¼" x 4¼" | 4¾" x 4¾" | 5¾" x 5¾" |
| 2 | Med | 1 | 3¾" x 3¾" | 4¼" x 4¼" | 4¾" x 4¾" | 5¾" x 5¾" |
| 3 | Dark | 2 | 3¾" x 3¾" | 4¼" x 4¼" | 4¾" x 4¾" | 5¾" x 5¾" |
| 4 | BAC | 4 | 2½" x 2½" | 3'' x 3'' | 3½" x 3½" | 4½" x 4½" |
| 5 | Light | 1 | 2½" x 2½" | 3'' x 3'' | 3½" x 3½" | 4½" x 4½" |
| Unfinished Block Size | 6 1/2" | 8'' | 9 1/2" | 12 1/2" | ||
| Grid Size | 2" | 2 1/2" | 3" | 4'' | ||
Step 2: Assemble the units for your Variable Star
QSTs
Make 4
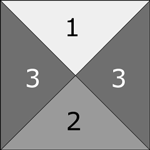 QSTs
QSTsTo make our 3-fabric QSTs, we'll first make HST's using the quick pieced method, then join them together to create the QSTs.
There are two different ways to mark these units.
#1: On the backsides of 2 of your #1, #2 and/or #3 squares, draw a single diagonal line from corner to corner, below left. (On the ones it's easiest to see on.)
#2: Use a Quick Quarter ruler (or other 1/2" ruler) to mark 1/4" away from the center diagonal, below right.
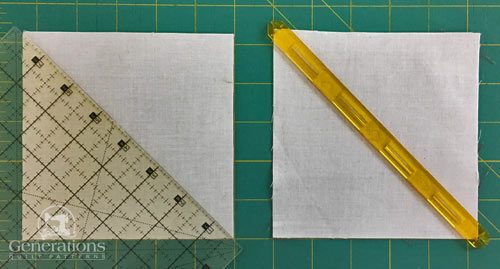 To mark your QST patches either: #1) draw a single line from corner to corner, left, or #2) draw two lines each a 1/4" in from the center diagonal with a Quick Quarter ruler, right.
With RST, sandwich #1 with a #3 and #2 with a #3.
For the single line marking, with your favorite quarter inch foot installed, stitch 1/4" away from both sides of both lines on both pairs. (Click here to see it.)
For the double line marking use your open toe applique foot to stitch on the lines. (Click here to see it.)
You'll notice in the photos below that I used Method #2 and both my favorite Bohin Mechanical Chalk Pencil and a plain ol'mechanical pencil to mark the lines (black arrows).
Use whichever marking method works best for you and is easiest to see with the tools you have at hand.
Mark only as dark as YOU need to be able to see them at your sewing machine.
Here's the stitching with my open toe applique foot, first the #1 and #3 pair.
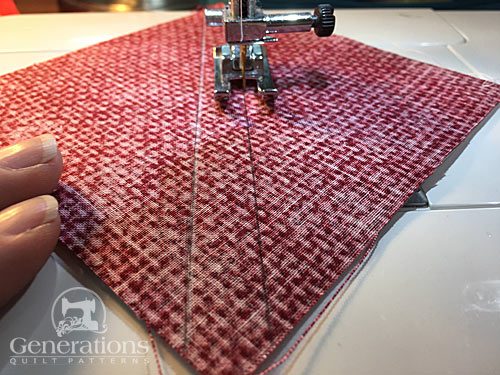 Marked with a mechanical lead pencil
And now the #2 and #3 pairing.
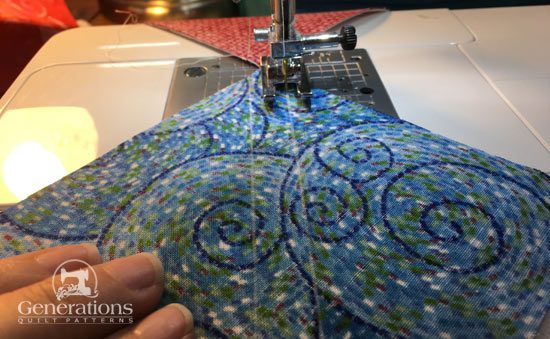 Marked with my favorite Bohin mechanical chalk pencil
Cut each sewn pair in half between the stitching lines for a total of four oversized HSTs.
Press all four HST with the SA towards your #3 dark fabric.
Once again draw a diagonal line from corner to corner on the #2/#3 HSTs or use a quick-quarter ruler to draw a pair of diagonal lines 1/4" (white arrows) as I did in the sample below.
While these markings are pretty light in the photos, they were dark enough to see for stitching.
The important thing to remember is that for accurate QSTs, these markings should be perpendicular to the stitching line. Sometimes that means they won't be evenly stitched from the corners.
That's the biggest reason why I like to work with oversized units for QSTs.
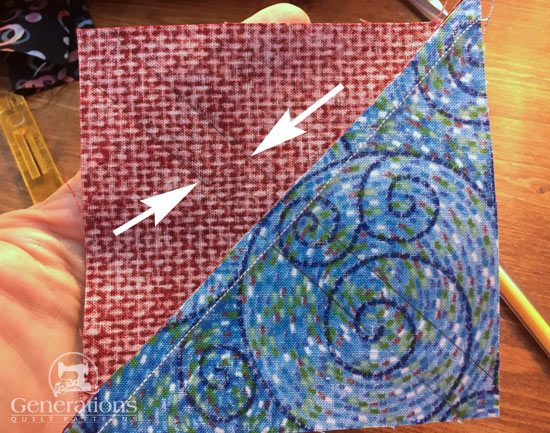 Marked with a Quick Quarter ruler
With RST layer a marked #2/#3 with an unmarked #1/#3. The seams nest in the center.
Pinning can help you hold the HSTs together for a nice match in the center. Use them as needed. (I need them.)
If you drew a single line, stitch 1/4" away from both sides. If you drew two lines, stitch on each one.
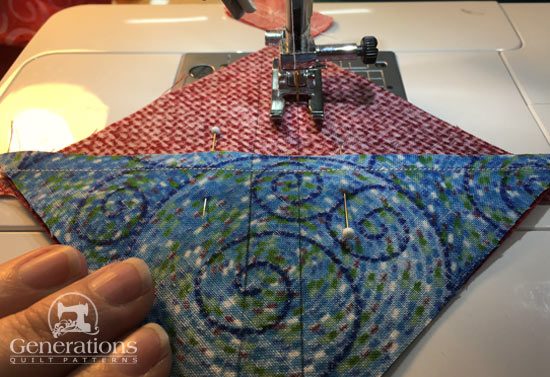
Before anything else, open the patches to check your match in the center of the QST.
This one is good.
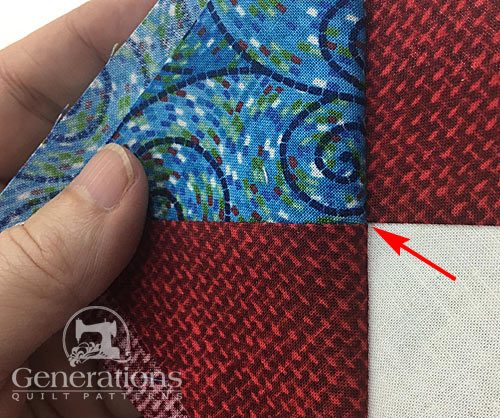
But that's not always the case. Click here to see my Rut-Roh!
After checking (and any needed re-sewing) cut the QSTs in half between the last pair of stitched lines.
Press. SA can be toward one side, open or twirled/fanned around the center. For the sample I pressed to one side.
Use the chart below to trim your QSTs to the size that corresponds with your chosen Finished Block Size.
QST Dimensions | ||
|---|---|---|
| Finished Block Size | Center of QST | Trim QST to… |
| 6" | 1 1/4" | 2 1/2" |
| 7 1/2" | 1 1/2" | 3" |
| 9" | 1 3/4" | 3 1/2" |
| 12" | 2 1/4" | 4 1/2" |
At your cutting mat, with a QST right side up using a quilt ruler align the Center measurement from the chart with center of the QST.
For our 9" finished sample, the center of our QSTs is at 1-3/4".
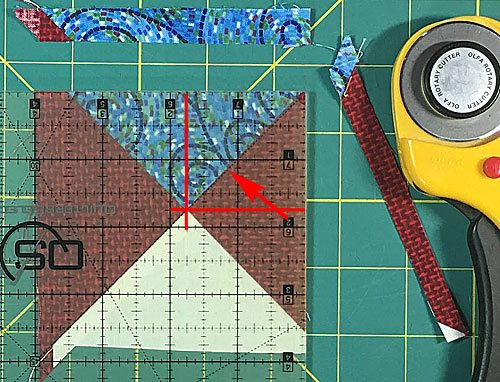 The diagonal line on the ruler is aligned with the seam line (red arrow). The Center is at the intersection of the 1-3/4" lines on the ruler (red lines).
Trim the top the exposed edges.
Turn the QST 180° and line up the ruler again. This time the diagonal is on the seam line. The freshly trimmed edge are even with the 3-1/2" lines on the ruler.
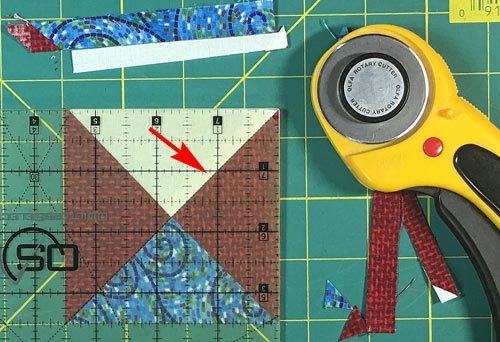
The seams should all cut the corners exactly in half.
Trim the remaining three QSTs.
Step 3: Assemble your Variable Star quilt block
Arrange the patches into the Variable Star design. The background fabric is always at the outside edge of the block.
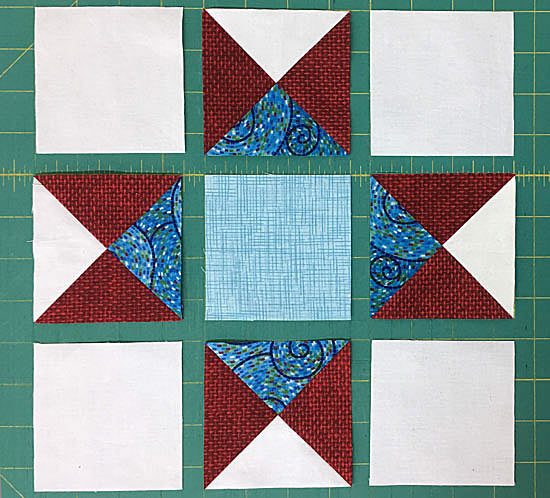
With RST, sew the units together into rows. Press the SA toward the cut squares (#4s or #5) in each row.
Sew the rows together to form the block, pinning as needed to insure a good match at the seams.
This is our Variable Star from the backside.
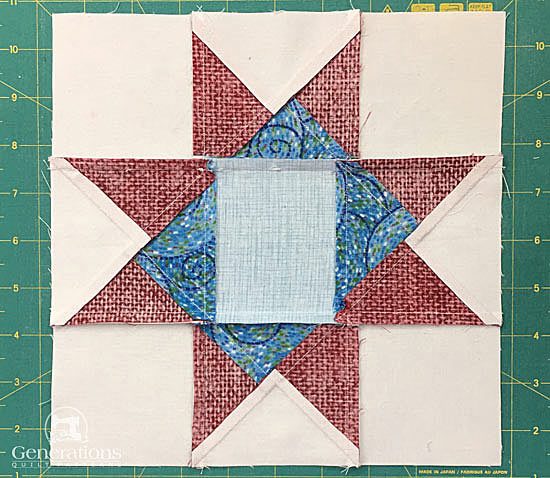 These last two seams on our Variable Star could just as easily be pressed in toward the center if the blocks are to be set edge-to-edge without sashing in a quilt.
And finally. Our Variable Star quilt block from the front.
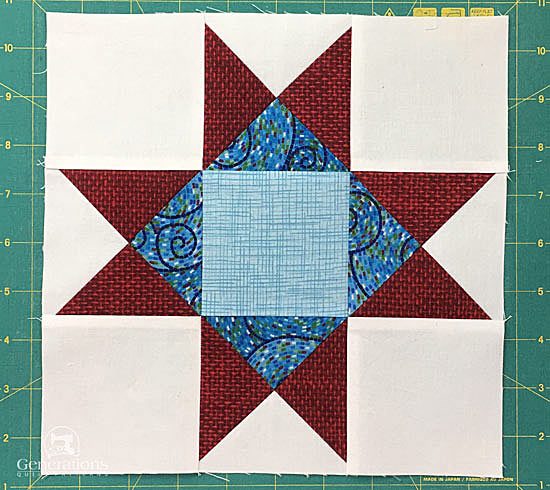 The finished Variable Star quilt block
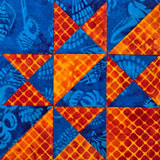
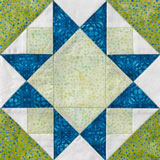
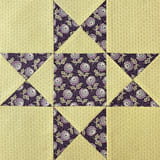
More related 8-pointed star quilt block patterns
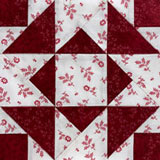
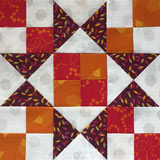
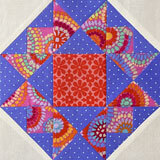
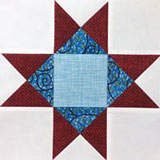
There are several tutorials available to you on this website that start with an Ohio star as its base. Click on any of the images below to go straight to that tutorial.
Aunt Dinah and Twin Star may seem a little suspect.
But look closely. Those are 3-patch quarter square triangles on each side.
You'll find confirmation in Barbara Brackman's BlockBase+ (love the software). These blocks are listed in the '09 Equal Nine Patch' library in '03 Like Ohio Star'.
🔭 Looking for something truly stellar?
You've finished your star quilt block, and you're ready for more!
Browse our collection of 60 stellar star quilt block patterns. All have instructions and cutting charts in multiple sizes. If templates or paper piecing is used in the tutorial, there's a free download for you of those materials.

Eeny. Meenie. Miney. Moe.
Which star quilt block will you sew?
For a star-studded quilting experience, choose from 100+ bedazzling star quilt patterns—for beginners and beyond—click here.
For even MORE blocks to make... 🧩🎨

...visit our Free Quilt Block Pattern Library, with over 230+ blocks to choose from in multiple sizes.
Free downloads are included in all sizes for any blocks require paper piecing patterns or templates.
- Home
- Free Quilt Block Patterns
- Variable Star Quilt Block
