- Home
- Free Quilt Block Patterns
- Triangle Puzzle Quilt Block
Triangle Puzzle Quilt Block Guide: Piece by Piece, Step by Step
Puzzling Over Points? We've Got You Covered! 🎯 💕
This post contains affiliate links, for which I receive compensation.
Life's a puzzle, but the Triangle Puzzle quilt block? That's pure solution!
Wrestling with paper piecing? Sparring with half-square triangles? This block proves that every quilting challenge has an answer.
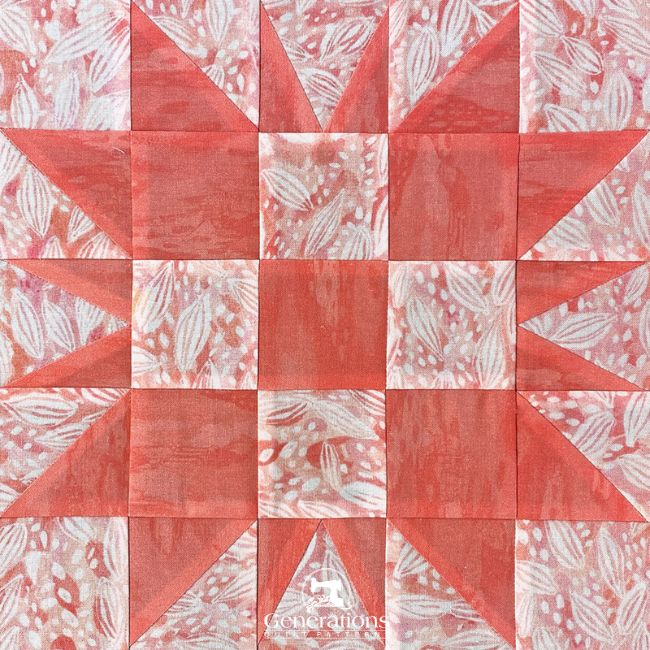
With our 8-at-a-time HST method and paper-pieced precision, you'll transform your fabric stash into a masterpiece that would make even Einstein proud.
Time to piece together some quilting magic! 🎯 ✨
🧭 Life's a puzzle, but finding your way through this tutorial doesn't have to be!
Use these quick links to navigate straight to the sections you need. Your quilting GPS is at your service! 🗺️
- A cutting chart in five sizes, with downloads of the chart and block design
- Paper piecing patterns to download and print
Cut. Sew. Press. Where puzzling pieces become perfect points!
📋 General Instructions
Several abbreviations are used on this page. They are:
- SA - seam allowance
- RST - right sides together
- HST - half square triangles
- TiaS - triangle in a square
A 1/4" SA is used in this tutorial.
Highlighted in yellow, pressing instructions are easy to spot.
To press, first press the patches in the closed position as they came off your sewing machine. This sets the seam, melding the fibers of the threads into the fibers of the fabric.
Then press the SA to the dark unless otherwise noted.
📥 Download and print paper piecing pattern
To download the pattern, use the most current version of Adobe.
For accurate results, on Adobe's Print Menu page, under 'Page Size and Handling' set 'Custom Scale' to 100%. Then print.
Click here to see what it looks like on the Print Menu page.
Find your finished block size from the chart below. Print the corresponding number of pages for a total of four Triangle in a Square (TiaS) units for each block you want to make.
Print the Triangle in a Square Units | ||
|---|---|---|
| Finished Block Size | Print 1 copy of pattern | Print 1 Template Page |
| 5" | 1" | Included on pattern sheet |
| 7½" | 1½" | 1½" |
| 10" | 2" | 2" |
| 12½" | 2½" | 2½" |
| 15" | 3" | 3" |
After printing, use the 1" square graphic on the printed page(s) to double check that your patterns printed at the correct size.
Then cut out the required number of patterns from your copies. A rough cut is good enough—an 1/8"-1/4"-ish away from the outside dashed square.

Not sure which paper to use?
Take a look at my review of several of the most popular brands available to us quilters on the market.
You want a super-easy paper to tear away—less stress on the stitches.
The newest quilt fabrics to tickle your fancy...
Click the images below to see the full collection. We share any commercial and/or free patterns that showcase them, too. (For inspiration, of course!)
✂️ Cutting patches for a Triangle Puzzle block
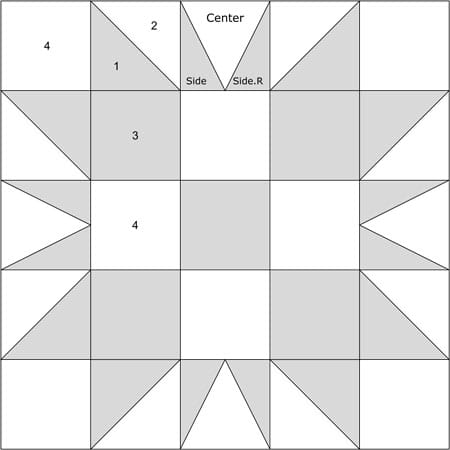
Sample Block Size: 10" finished / 10½" unfinished
Grid: 5x5
Attribution: Grandma Dexter
Brackman ID: 1824
Design Type: Star | Paper piecing | Unequal 9-patch, large center
Want to avoid the "which piece goes where?" puzzle? Label your patches first. We'll refer to these numbers throughout your quilting journey.
 | Cutting Chart for a~ Paper & Traditional Piecing ~ | |||||||
|---|---|---|---|---|---|---|---|---|
| Patch | Fabric | Qty | Finished Block Size | Sub Cut | ||||
| 5'' | 7½'' | 10'' | 12½'' | 15'' | ||||
| TiaS.1 | Bac | 4 | 2'' x 1¾'' | 2½'' x 2¼'' | 3'' x 2¾'' | 3½'' x 3¼'' | 4'' x 3¾'' | yes |
| Side, Side.R | A | 8 | 2⅜'' x 2¼'' | 2⅝'' x 2¾'' | 2⅞'' x 3¼'' | 3⅛'' x 3¾'' | 3⅜'' x 4¼'' | yes |
| 1 | A | 1 | 4¼'' x 4¼'' | 5¼'' x 5¼'' | 6¼'' x 6¼'' | 7¼'' x 7¼'' | 8¼'' x 8¼'' | --- |
| 2 | Bac | 1 | 4¼'' x 4¼'' | 5¼'' x 5¼'' | 6¼'' x 6¼'' | 7¼'' x 7¼'' | 8¼'' x 8¼'' | --- |
| 3 | A | 5 | 1½'' x 1½'' | 2'' x 2'' | 2½'' x 2½'' | 3'' x 3'' | 3½'' x 3½'' | --- |
| 4 | Bac | 8 | 1½'' x 1½'' | 2'' x 2'' | 2½'' x 2½'' | 3'' x 3'' | 3½'' x 3½'' | --- |
| Unfinished Block Size | 5½'' | 8'' | 10½'' | 13'' | 15½'' | na | ||
| Grid Size | 1'' | 1½'' | 2'' | 2½'' | 3'' | na | ||
Subcutting
Arrange your Side and Side.R rectangles in a stack of PAIRS LAYERED WRONG SIDES TOGETHER. (below left) This is a MUST to get the mirror-image patches we need for the Sides.
Once layered, align all the edges.
Make a tiny mark on the top edge 5/8" in from the left side. Make another on the bottom edge, 5/8" in from the right.
Match your ruler to these marks. Cut the rectangles in half. (below right)
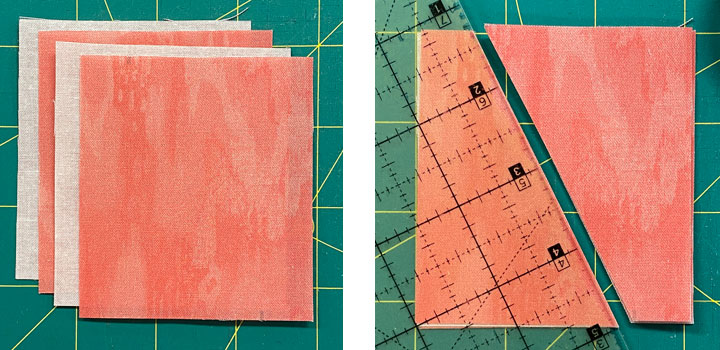
Layer the TiaS.1 rectangles ALL RIGHT SIDES UP—width measurement across the top and bottom. Height measurement on the sides.
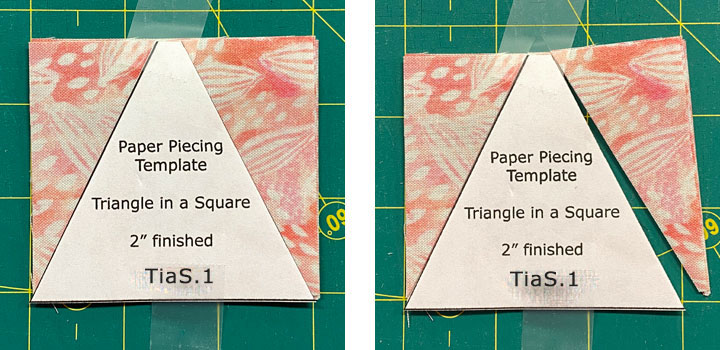
Cut out the template that matches your block size. The top and bottom edges of the template match those on the rectangles.
Scotch Brand Magic Tape® (it peels off your cutting mat easier) is a simple way to hold the template in position. (below left) Trim away the excess fabric (below right).
After all the subcutting is done, your patches look like this...in your fabric choices, of course.
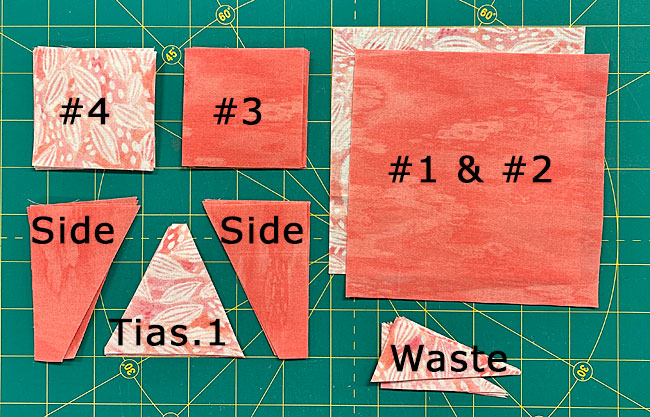
🪡 Assemble the units for your Triangle Puzzle block
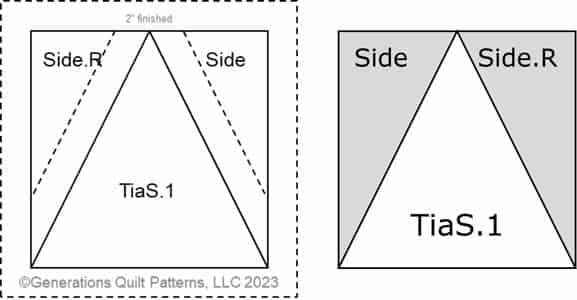
TiaS
Make 4
💡 Helpful Hint:
When you flip this unit from the pattern to the fabric side, the Side and Side.R change positions. It does not affect this design.
We need to make a few adjustments to our sewing machine settings to paper piece.
- Reduce your stitch length to 16–20 stitches per inch (1.3-1.6 mm). This perforates the paper and stabilizes the seam when you remove the pattern. [Learn more about stitch length here.]
- Reduce your machine's speed or just plain slow down. Sew only as fast as you can and stay on the solid stitching line.
- Install an open toe appliqué foot (sometimes called an 'embroidery' or 'satin stitch' foot) if you have one (it's easier to see where you're stitching with one installed).
- Use a larger needle (90/14) IF you have problems removing the pattern. Personally, I use an 80/12 Microtex Sharp for paper piecing without any problems.
Use an Elmer's Washable Glue Stick® to stick the TiaS.1 patch in place on the unprinted side of your paper pattern. Those guidelines make for quick and accurate placement.
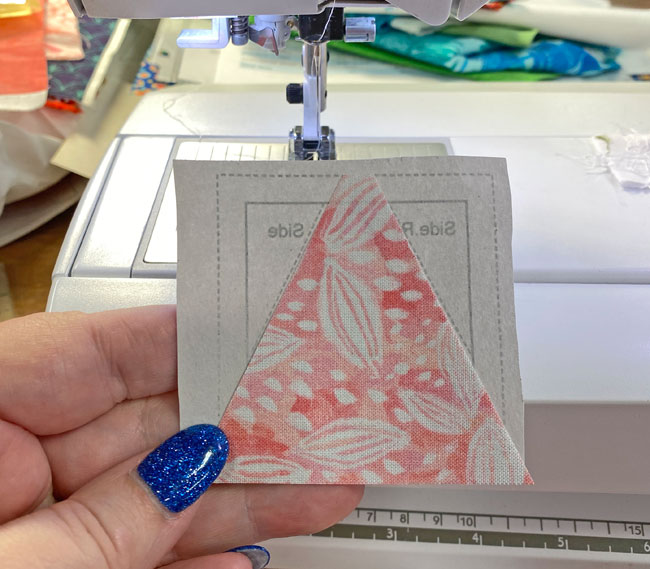
With RST position one of the Sides with TiaS.1. It should look something like this:
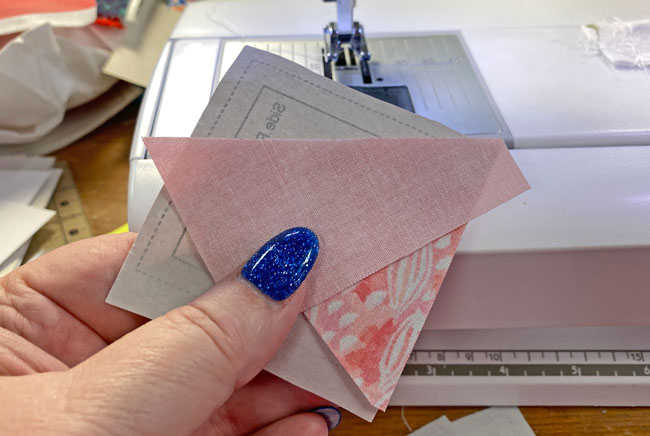
Sew the seam, starting and stopping past the outside lines of the outside dashed square that surround the TiaS.
Press.
Repeat for the second Side.
It doesn't matter which side you start with. However, if you're piecing a bunch of these, then start with one side and be consistent. Since the seam runs from edge to edge, these seams can be chain pieced to speed up the process.
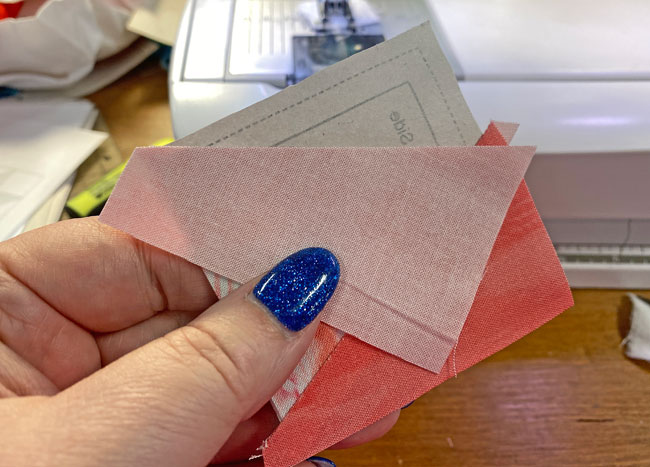
Trim the TiaS units to size.
Lay your ruler's 1/4" marks directly over one of the four solid lines (red arrow below) that surround the TiaS.
Cut away the excess with your rotary cutter and ruler.
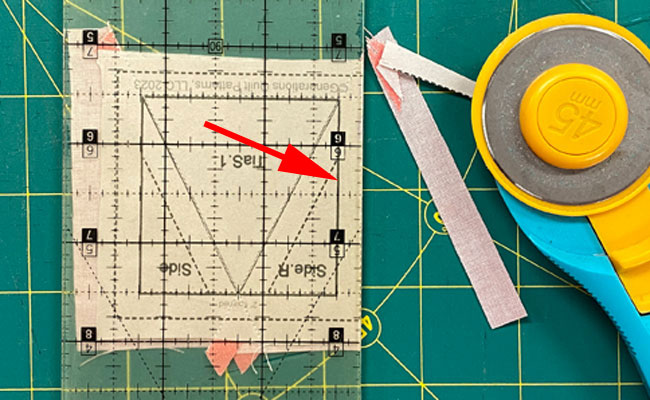
Once all the TiaSs are cut to the exact size, go ahead and remove the paper. All the patches were cut to result in a unit with all straight of grain on the outside edges—just like your traditional piecing does.
That paper no longer serves a purpose.

The paper piecing is complete. From this point forward, return your stitch length to the one you regularly use for piecing and install your favorite 1/4" presser foot.
HST
Make 8
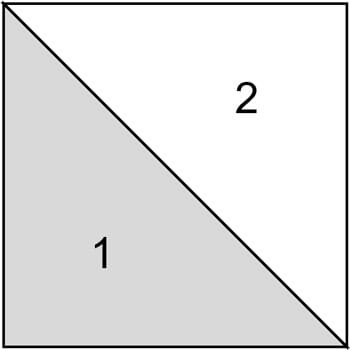
On the back side of the lighter #2 square, draw a diagonal line between one pair of opposite corners. Repeat for the other set of corners. (below left)
With RST, layer the #1 and #2 squares, matching the edges. Pin to hold them in place.
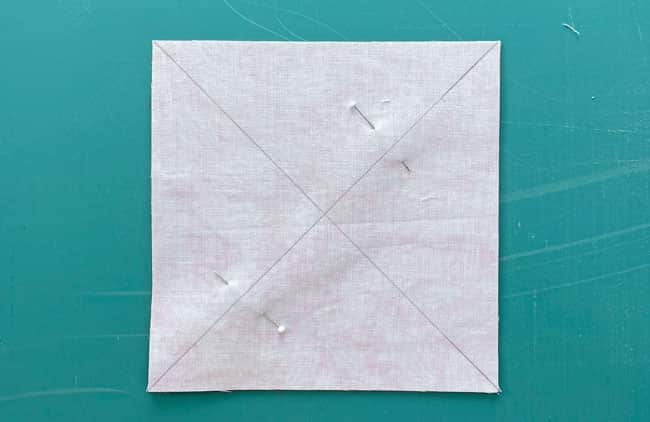 Marked, pinned and ready to be stitched 1/4" away from both sides of both lines
Using your favorite 1/4" foot, sew 1/4" from both sides of both lines.
Press flat to set the seams.
Use the chart below to find the Center for your finished block size.
HST Dimensions | ||
|---|---|---|
| Finished Block Size | Center Measurement | Trim to Size |
| 5" | 2⅛" | 1½" x 1½" |
| 7½" | 2⅝" | 2" x 2" |
| 10" | 3⅛" | 2½" x 2½" |
| 12½" | 3⅝" | 3" x 3" |
| 15" | 4⅛" | 3½"x 3½" |
Match the center measurement marks on your ruler with the left edge (for right-handers) or right edge (for left-handers) and cut the #1/#2 square in half through the center vertically. (below left)
Next align the center measurement on your ruler with the bottom edge of #1/#2. Cut through the center horizontally. (below right)
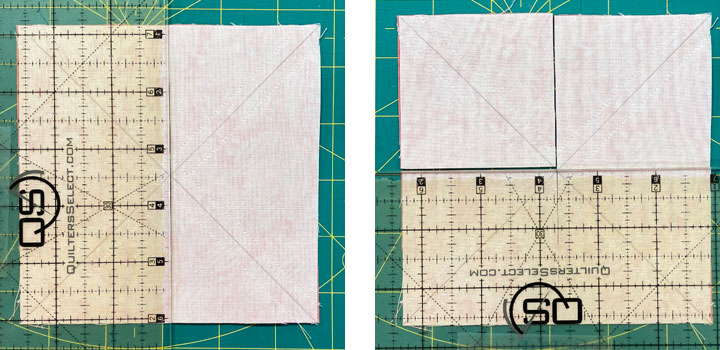
Cut each square in half on the drawn line.
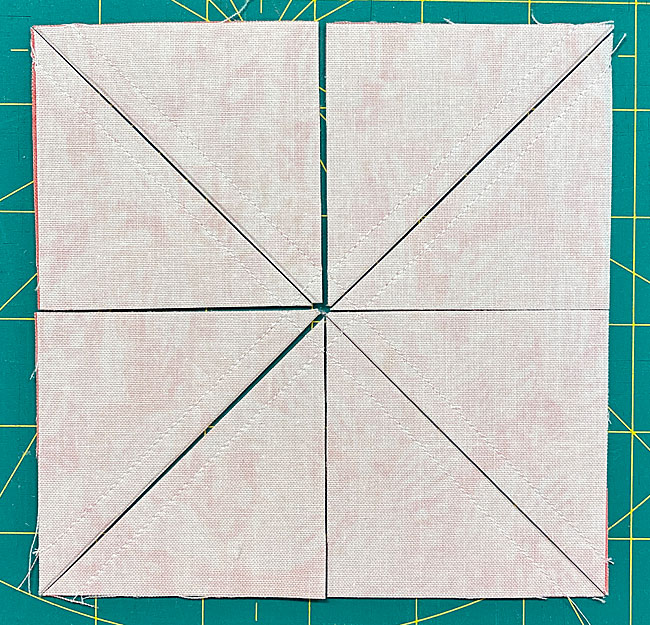
Press the HSTs open, SA to the darker #1 and trim to the size in the chart above.
9-Patch
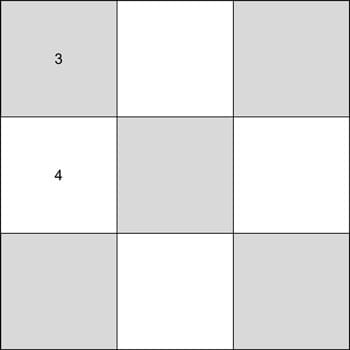
Make 1
With RST, sew a #3 to a #4, repeating 2 more times for a total of 3 pairs. Press the SAs to the lighter #3.
While this seems counterintuitive, they'll nest with the other seams when we assemble the block.
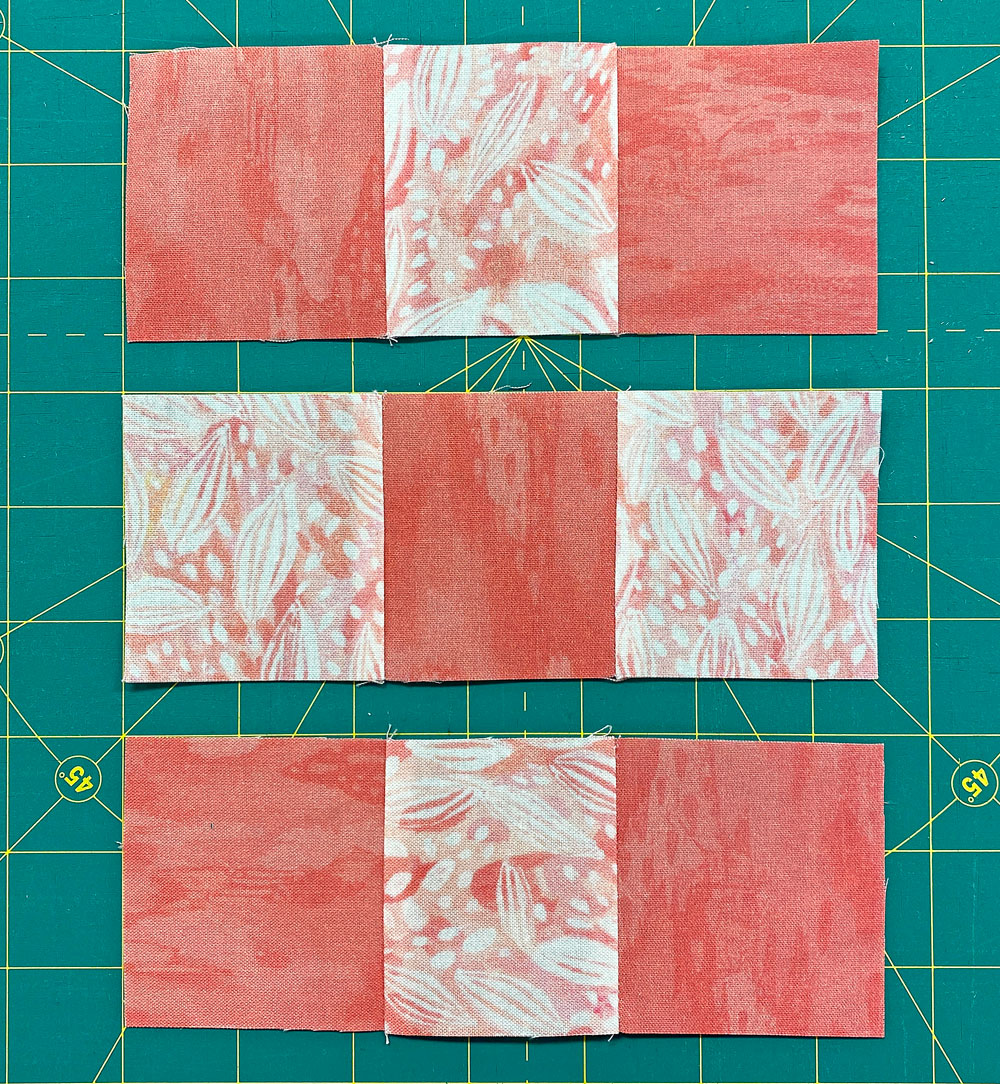
Sew these rows together, pinning as needed to hold the edges aligned.
These final two seams are pressed towards the center.
Border units
Make 4
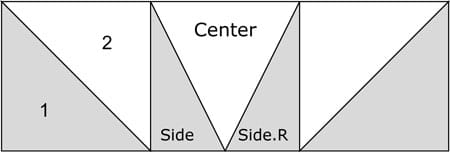
Arrange your patches into four sets made up of 2 #1/#2 HSTs and 1 Tias.
Sew a HST to each side of the TiaS, light fabric to dark fabric.
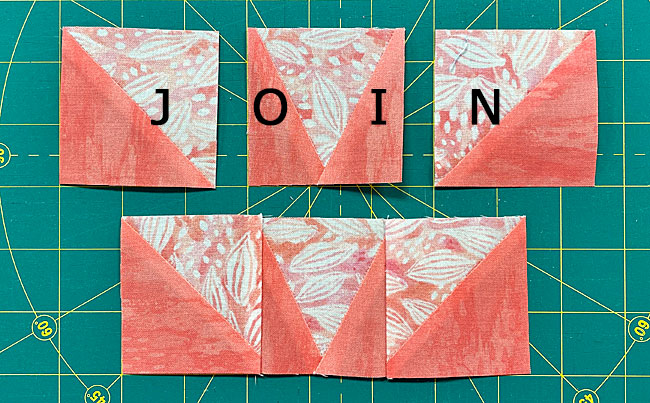
Press the SAs towards the HSTs to minimize bulk.
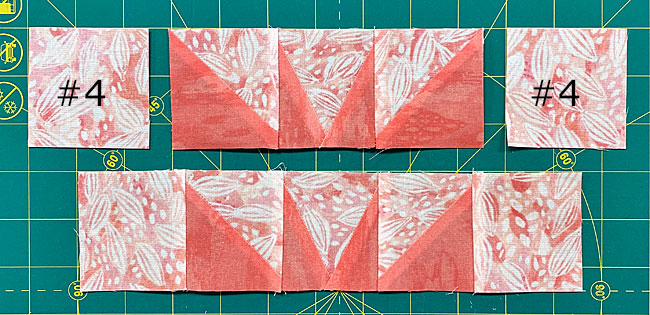
Add a #4 square to the outside HSTs to create 2 borders like this.
The SAs are pressed towards #4.
⏰ Time to Solve the Final Puzzle!
You've conquered those TisA units and mastered your points. Now let's bring all these beautiful patches together! 🎯
First, arrange all your perfectly-pieced units just like the image below.
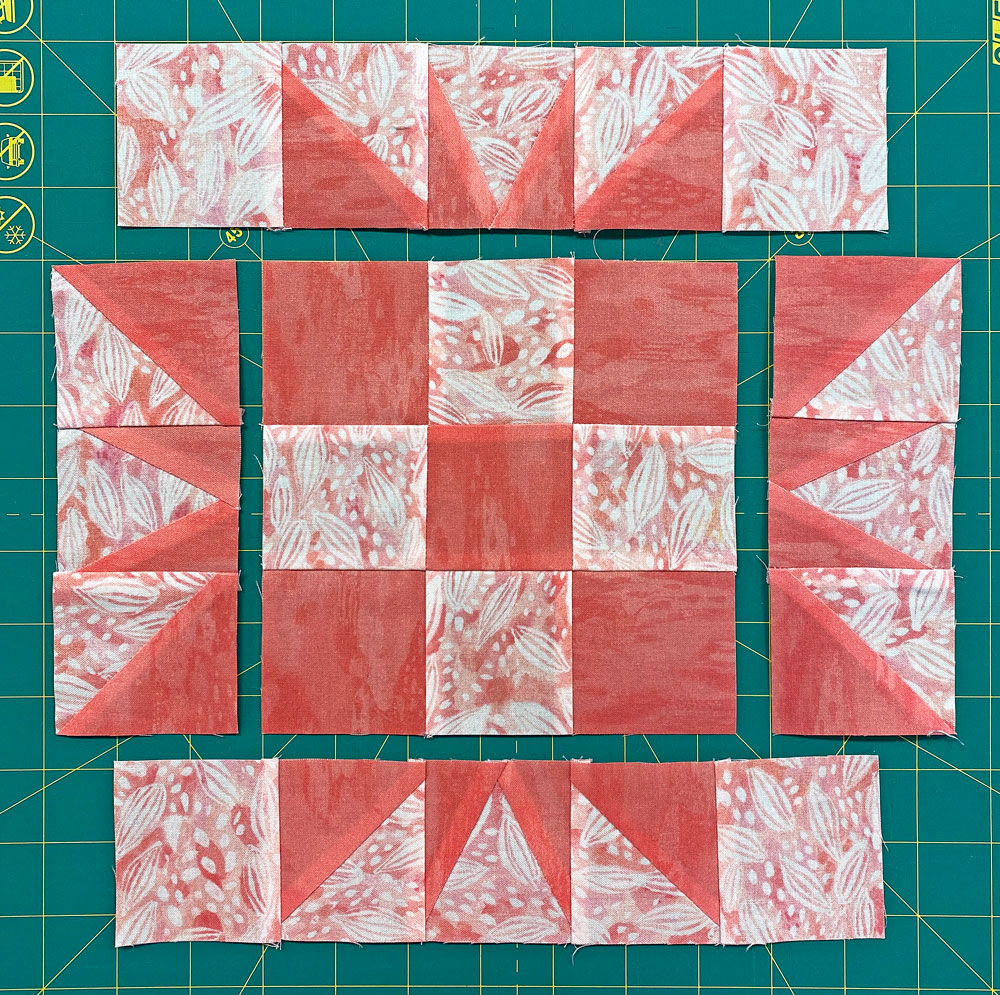
With RST, attach the side borders to your center 9-patch.
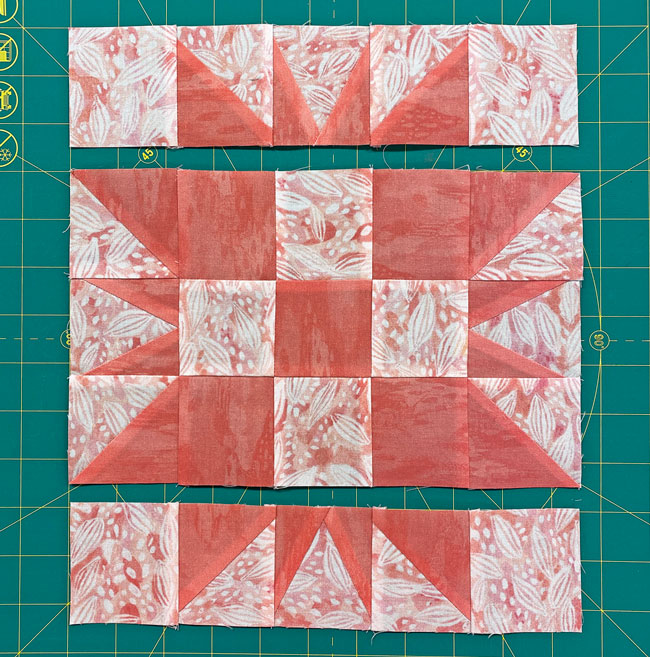
Press these SAs toward the center.
Ready for the grand finale? With RST, add your top and bottom borders to complete the block. Your points will align perfectly thanks to all your careful pressing! 💫
These last two seams are pressed toward the 9-patch, again to minimize the bulk and help everything lay nice and flat.
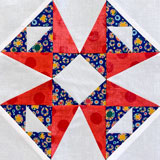
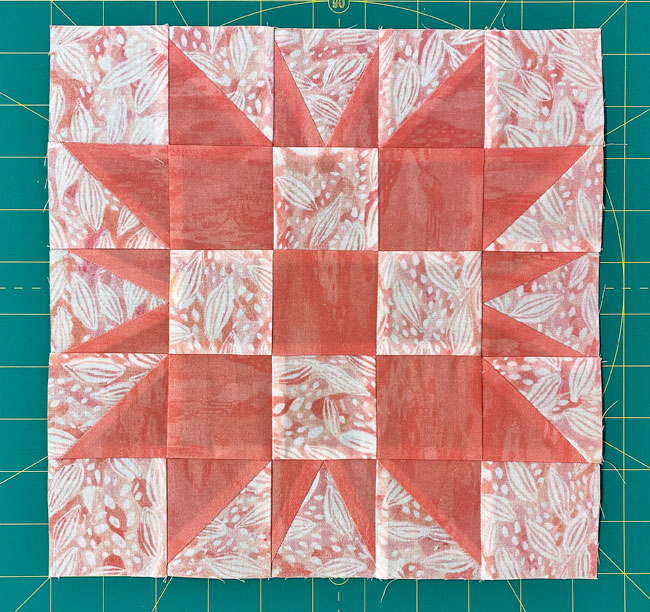
Take a look at your finished Triangle Puzzle block. Those points are perfect!
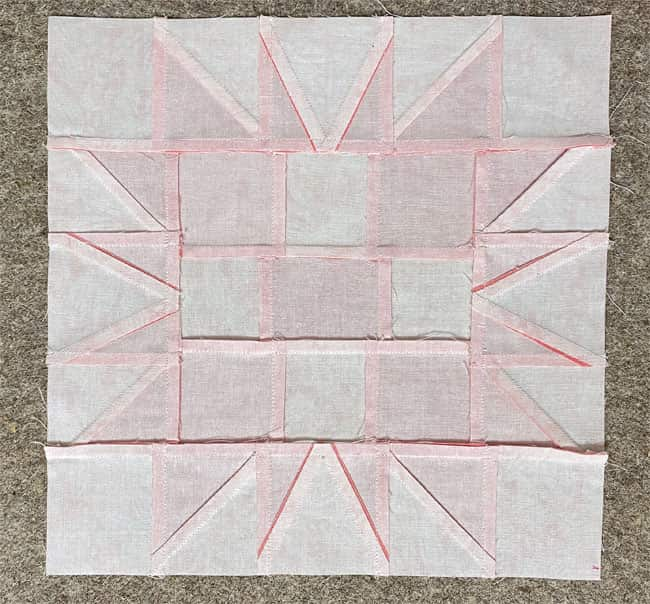
Flip it over and admire how those pressed seams all lay so nice.
🧩 Piece by Piece, You've Got This Solved! ✨
You did it! Those Triangle in a Square units aren't so puzzling anymore! 🧩
Thanks to our paper piecing method, those perfect points are now your superpower. No more vanishing corners or wonky triangles. Just crisp, clean units that fit together like they were meant to be! ✂️ ⭐
Remember: Life's a puzzle, but quilting's the answer! ✨
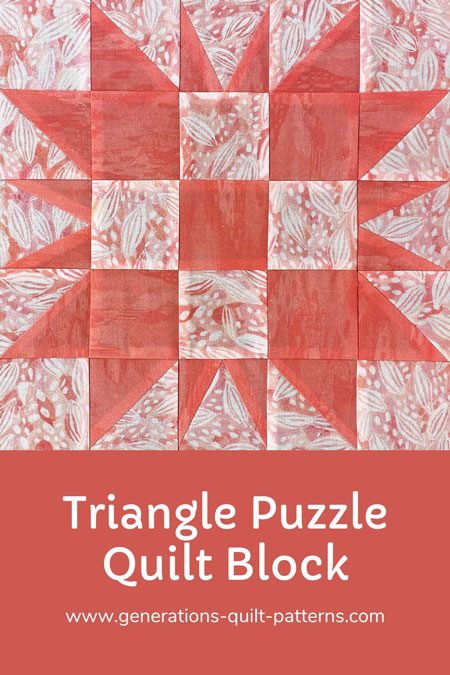
📌 Life's a Puzzle, Save the Solution!
Pin this Triangle Puzzle block tutorial for your next quilting adventure. Sometimes the best solutions need a second look!
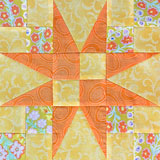
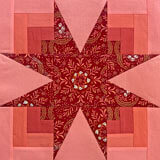
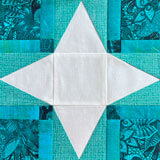
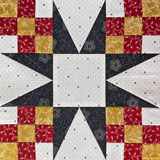
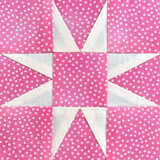
More star blocks with this Triangle in a Square unit
There are several stars in the Free Quilt Block Library that use this energetic unit. Click on any of the images below to go straight to that tutorial.
🔭 Looking for something truly stellar?
You've finished your star quilt block, and you're ready for more!
Browse our collection of 70 stellar star quilt block patterns. All have instructions and cutting charts in multiple sizes. If templates or paper piecing is used in the tutorial, there's a free download for you of those materials.

Eeny. Meenie. Miney. Moe.
Which star quilt block will you sew?
For a star-studded quilting experience, choose from 100+ bedazzling star quilt patterns—for beginners and beyond—click here.
For even MORE blocks to make… 🧩🎨

...visit our Free Quilt Block Pattern Library, with over 260+ blocks to choose from in multiple sizes.
Free downloads are included in all sizes for any blocks require paper piecing patterns or templates.
- Home
- Free Quilt Block Patterns
- Triangle Puzzle Quilt Block
