- Home
- Quilt Design Inspiration
- Susannah Quilt
Design Inspiration for Susannah Quilt Blocks
Time to choose a setting for our Susannah blocks!
This post contains affiliate links, for which I receive compensation.
Our Susannah blocks are complete. Click here for the tutorial if you missed it.
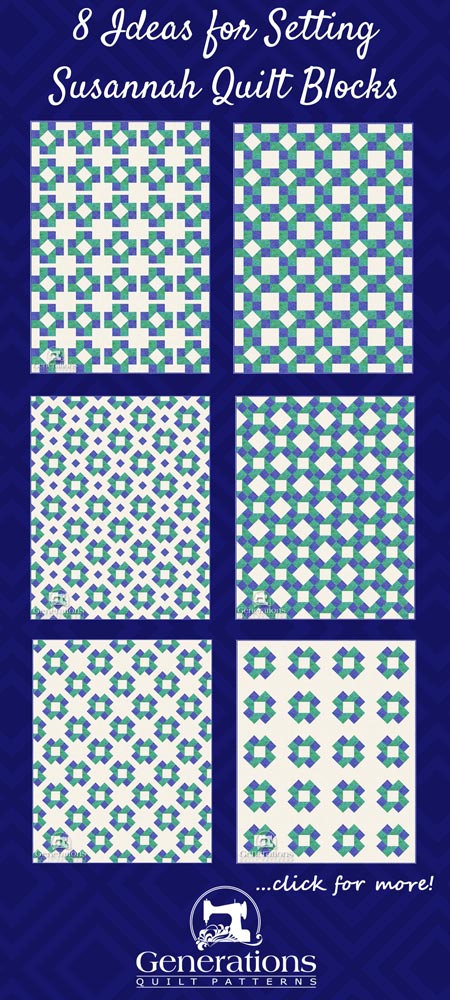
Here we investigate a number of straight and on-point layouts, mindful that 'Susannah' is a very simple pattern. Sometimes less is more.
For each quilt on this page:
- The background is a bit lighter than the sample completed in our tutorial. This makes the images easier to understand.
- The number of blocks in the rows and columns is under each image.
- The images are all the same size. In real life, these designs are different sizes.
- I removed the drawing lines from all but the first Susannah quilt idea so that it's easier to see the designs.
We'll address the things you need to know to convert 'Susannah' to a scrap quilt.
My Favorite Quilt Design Software
All the free patterns and block/quilt illustrations on this site were created in either EQ7 or EQ8—my favorite quilt design software.
This program makes it so easy to audition different
colors and values with just a few mouse clicks.
Rotate and flip the blocks with another series of clicks.
I can't imagine going back to graph paper and colored pencils.
Or worse yet—simply keeping my fingers crossed. Fabric is much too expensive!
The box contains a software download license—License ID and Password—and a booklet to get you through installation and get you started. There is no disk as in the past.
Download the software onto your computer from the EQ website using the ID and password as directed. At the time of download you can choose either PC or MAC.
I LOVE Electric Quilt!
I hope you do to.
Straight Sets
In this first Susannah quilt, the blocks are set edge-to-edge in a straight set.
I've included lines between the blocks and patches to help you see both the design and the piecing lines.
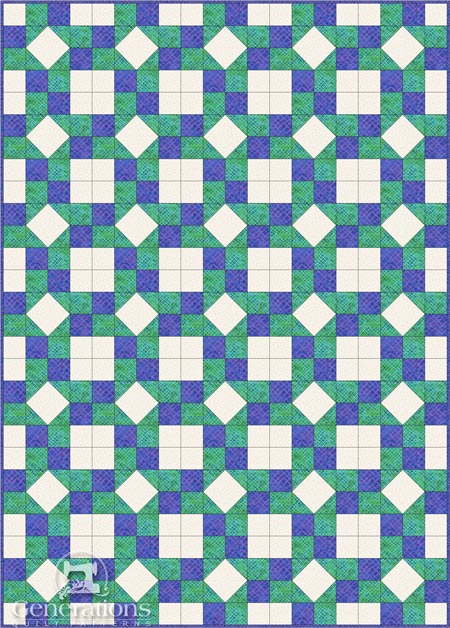 5x7
5x7The design is symmetrical regardless of the numbers in the rows and columns.
This would make a cute, quick baby quilt.
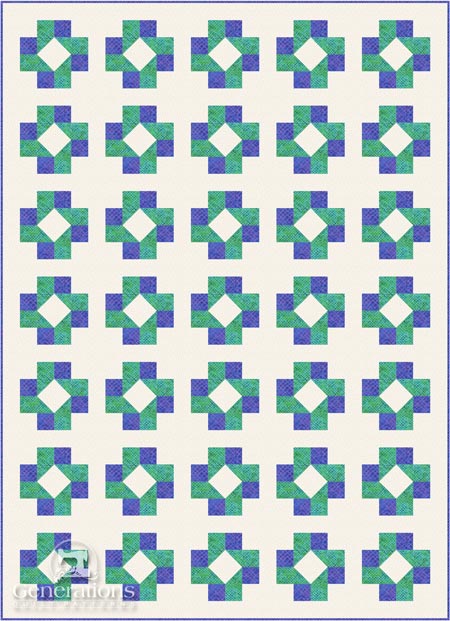
The quilt below has a narrow, half grid unit wide, sashing between the Susannah blocks.
For our 8" finished sample, that means 1-1/2" wide strips (1" plus 1/2" for seam allowances). .
Background fabric cornerstones complete the pattern.
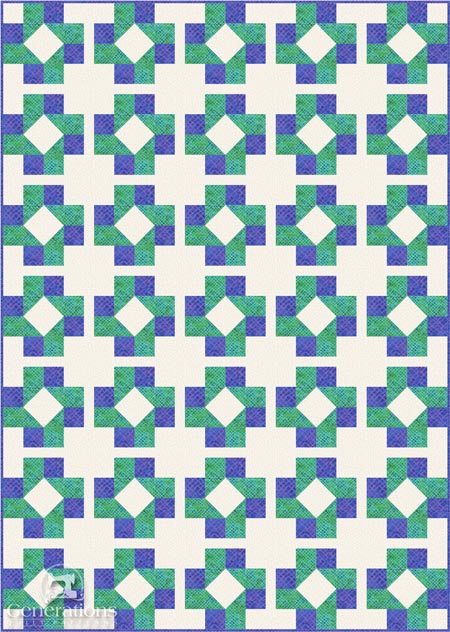 5x7
5x7Adding a wider sashing strip (now 1 grid unit wide) and a border the same width gives our design a more 'modern' feel. Don't you agree?
Cornerstones are cut from the background fabric.
 5x7
5x7We've swapped the background cornerstones for ones cut from the darkest fabric.
This gives the quilt design a more playful appearance.
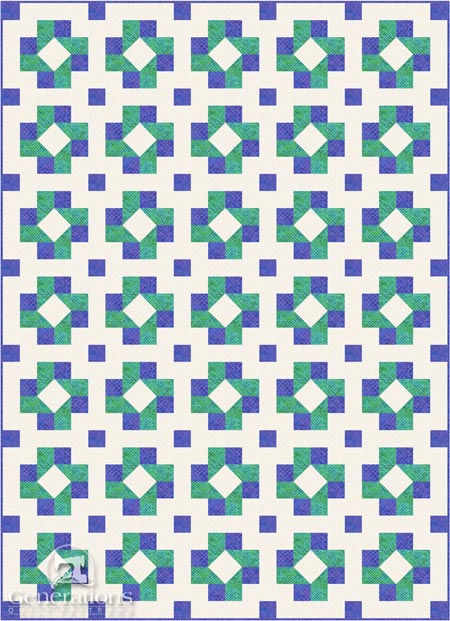 5x7
5x7Diagonal Sets
Our Susannah blocks are now arranged in an on-point layout.
Usually this type of layout creates a more dynamic quilt design (in my humble opinion).
But remember.
'Susannah' is very simple, very basic.
Let's see if 'dynamic' translates into good design potential.
Our first example illustrates an edge-to-edge setting.
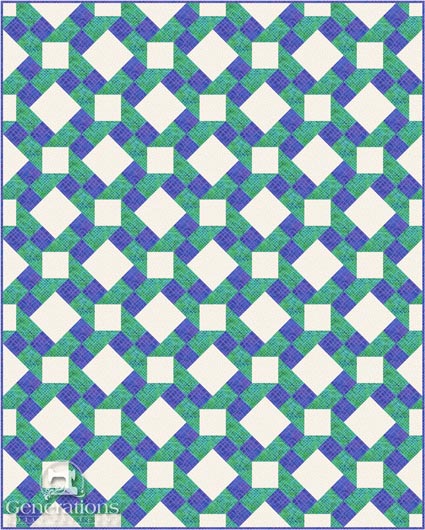 4x5
4x5An plain alternate square provides lots of space for quilting. However, the resulting quilt design is a bit sparse for my taste.
You'll need setting and corner triangles to complete this pattern. Click here to learn how to cut them. There's a cutting chart, too, to save you from the math.
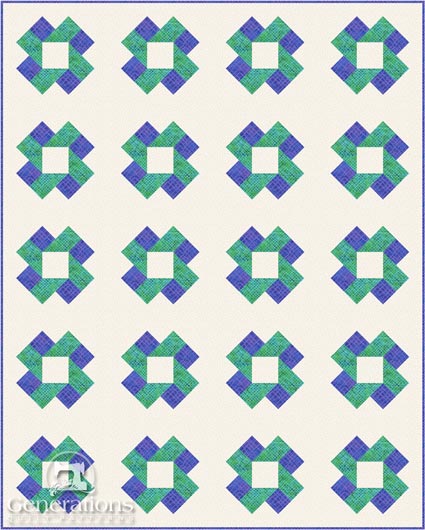 4x5
4x5Now add a 1 grid-unit-wide sashing.
The ample background creates a lot of negative space which gives the pattern a bit of a modern look.
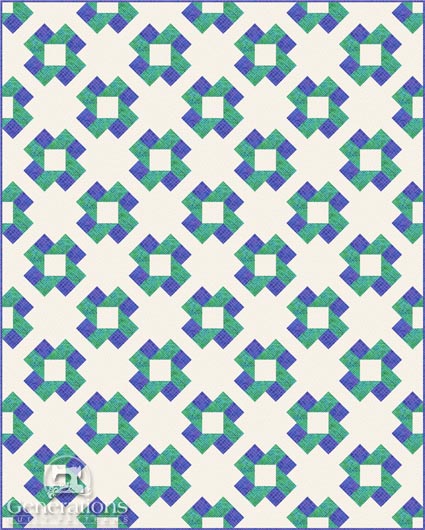 4x5
4x5This variation includes a dark cornerstone and the same background fabric sashings. There's less negative space for quilting.
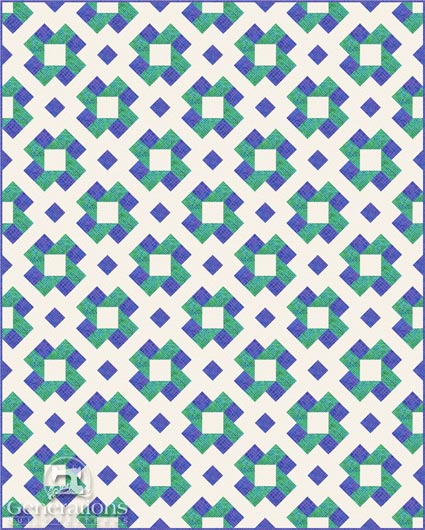 4x5
4x5Of all the designs, do you have a favorite?
Click here for the Susannah tutorial.
Tips for Using Scraps
'Susannah' makes a terrific scrappy quilt, too!
In fact, it's a perfect pattern for Bonnie Hunter's 'leaders and enders' treatment. That's when you do some of the sewing for a second quilt while you stitching the current one.
Check out her books to learn more about his technique: Adventures with Leaders and Enders and MORE Adventures with Leaders and Enders.
There's a secret to converting it to scrappy fabrics.
It's simple.
You need good contrast between your background, medium and dark fabrics.
Separate your mediums and darks into two piles. Step away.
Does something seem like it's not playing nice with its friends in the pile? If so, get rid of it.
If you come across one...and you're not sure. Guess what? You actually are sure. That uncertainty means it doesn't belong. Trust your instincts!
