- Home
- Beginner Quilt Blocks
- Square in Square Quilt Block
Make a Square in a Square Quilt Block with Folded Corners Technique
From our Free Quilt Block Patterns Library
This post contains affiliate links, for which I receive compensation.
Skill Level: Beginner
Prepare to be squared away! The Square in Square quilt block is here to revolutionize your patchwork game.
Perfect for beginners, this tutorial introduces you to the magic of Folded Corners—where simple squares transform into stunning geometric marvels.
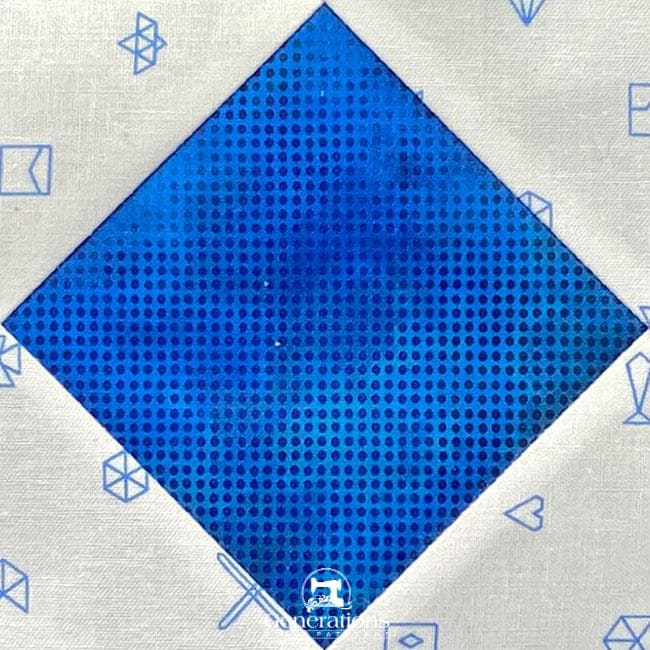
With our free cutting chart covering 7 sizes and a fabric planning page at your fingertips, you'll be squaring up to quilting greatness in no time.
Get ready to turn corners and heads with this classic block!
It's everywhere! It's everywhere!
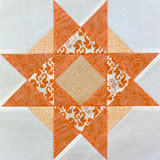
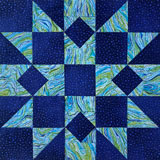
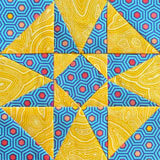
You see it in so many quilt blocks, like the Tulips or Indiana Puzzle or in the center of a variable star.
More examples include: (click any image to go to that tutorial)
And it makes a terrific little baby quilt when alternated with nine patch quilt blocks.
The problem is, that for such a cute, simple, little thing, it's a bugger to piece with traditional rotary cutting techniques because the math gets wonky.
But we'll save THAT discussion for later...if you're interested.
For now, let's learn how to piece this little patchwork gem without getting a headache.
Several methods to make a Square in a Square
These tried and true techniques get the job done without the mental, the math gymnastics!
The first is 'connector corners' (which you may have already used for a Snowball quilt block).
The second is paper piecing (my personal favorite) with several sizes of the Square in a Square quilt block available as a free downloads.
Finally, you can choose to piece it using rotary cut patches using either your every ruler or templates or a specialty ruler called the 'On-Point'.
Using Technique #1: Folded Corners
AKA: Connector Corners, Flip n'Sew, Stitch n'Flip
The math is super simple with folded corners. Regardless of which patch it is: center or corners, we simply add 1/2" seam allowance.
No special tools or rulers needed—just a standard rotary cutter, ruler, mat and marking tool.
No funky math to memorize.
Step 1: Calculate and cut the fabric patches
You can choose to do the math yourself…
The Formula
Choose the finished size for your Square in a Square quilt block or unit.
- Cut the center square fabric equal to the finished block size plus 1/2" (for seam allowances).
- Cut four corner patch fabrics equal to the finished size of the block divided by 2 and add 1/2" for seam allowances.
For example, if the finished size of your block/unit is 4 inches, then cut:
- Cut one center fabric patch 4-1/2" square (4" + 1/2" equals 4-1/2"), and…
- Cut four corner fabric patches 2-1/2" (4" divided by 2 equals 2", then add 1/2")
Or the math is done for you in seven sizes in the chart below.
Click here to download and print a copy of this chart and the block design to use at your cutting table or for your personal quilting reference library.
There's a coloring/fabric planning page to download, too.
 | Cutting Chart for a~ Traditional Piecing w/Folded Corners ~ | ||||||||
|---|---|---|---|---|---|---|---|---|---|
| Patch | Fabric | Qty | Finished Block Size | ||||||
| 2'' | 3 '' | 4'' | 5 '' | 6'' | 7" | ||||
| 1 | A | 1 | 2½'' x 2½'' | 3½'' x 3½'' | 4½'' x 4½'' | 5½'' x 5½'' | 6½'' x 6½'' | 7½" x 7½" | |
| 2 | B | 4 | 1½'' x 1½'' | 2 '' x 2 '' | 2½'' x 2½'' | 3 '' x 3 '' | 3½'' x 3½'' | 4" x 4" | |
| Unfinished Block Size | 2½'' | 3½'' | 4½'' | 5½'' | 6½'' | 7½" | |||
| Grid Size | 1'' | 1½'' | 2'' | 2½'' | 3'' | 3½" | |||
Marking C.2, C.3, C.4, and C.5
I prefer either my Bohin Mechanical Chalk pencil in white or a lead mechanical pencil for marking whenever possible.
The line from a mechanical pencil is always the same width, no matter how much lead/chalk you've used.
To get the drawn line exactly through the corners, position your ruler a pencil point's width away from the corner. (shown below)
 You can see the ruler is a pencil point's width away from the corners
If the direction of a stripe or the print in the fabric doesn't matter, simply mark the backside of each corner square with a diagonal line as shown.
 C.2 through C.5 are marked with a single diagonal line through the corners
Directional prints
If you are using a stripe or directional print where the orientation of the fabric design matters, lay out your Cs with the pattern running all in the same direction,
Did you notice?
There are little dots in this striped print. ALL of them are on the left-hand side of the white stripes from the backside. This print not only is directional (the stripe), there's a definite up and down to get the dots all in the same place in the finished quilt block.
For two, mark a diagonal from lower left to upper right, and two from upper left to lower right. Make the mark as dark as YOU need to see it.
 Two are marked diagonally lower left to upper right, and two are upper left to lower right.
Layer your smaller squares with the stripes running left to right. Those dots are right ABOVE the dark stripe in both.

When it's time to add C.4 and C.5, they are positioned with the pattern of the fabric with the dots BELOW and the line angling in the opposite direction.
You can always pin the two layers in the corner and fold back the smaller square to double check before you sew.

Step 2: Sew a Square in Square quilt block
Layer a 2-1/2" square in two opposite corners of the 4-1/2" square. The ends of the diagonal lines touch the outside edge of the larger patch (at the red arrows).
Pin if needed to hold the edges of the smaller squares even with the big one. Keeping those edges even is important to the accuracy of your finished Square in a Square.
 We'll stitch from red arrow to red arrow
Sew on each line on the side of the line closest to the corner.
This accommodates the 'turn of the cloth'—or the fabric that gets taken up when you fold open the patch.
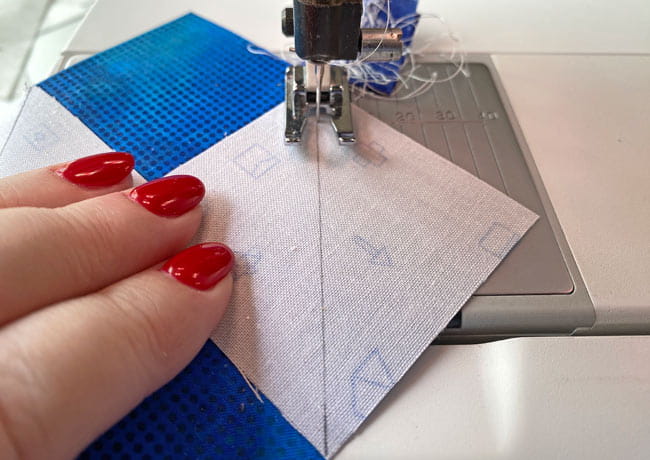 Sewing on the right side of the line closest to the corner
Press the unit flat to set the seam.
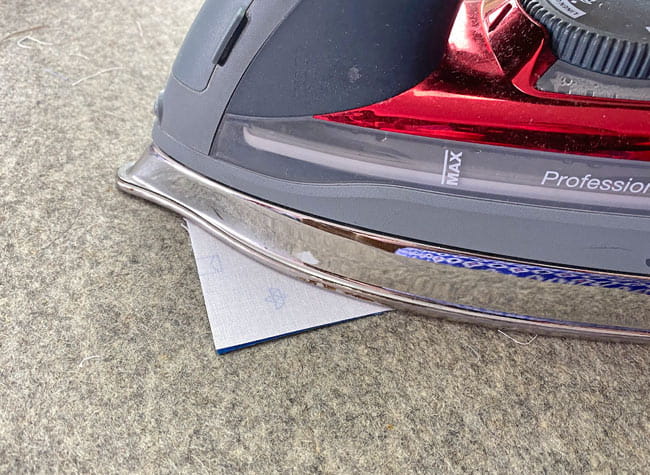
Now press the blue squares towards the corners. (Be careful not to press a tuck into the seam allowance.)
 Those edges are lining up quite nicely!
Examine your block.
The background C2 and C3 should meet the edges of the 4-1/2" square.
If the corner patches meet the edges you can either trim the excess from both layers to a quarter inch seam allowance with your rotary cutter...
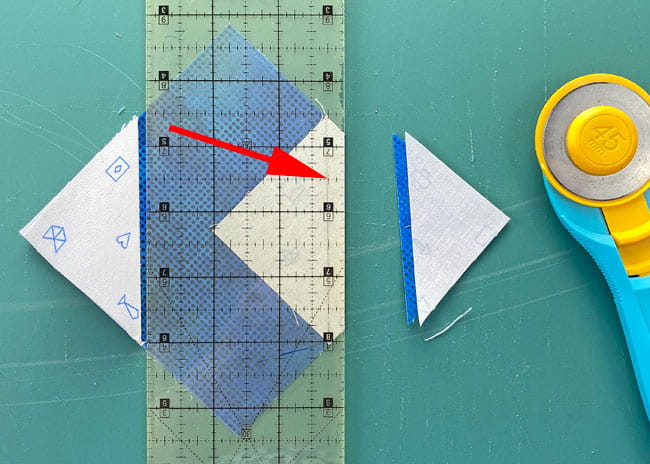 The 1/4" mark on the ruler is directly over the seamline
……or just trim the middle blue layer with a pair of scissors, shown on the left below.
 Two ways to treat the excess fabric, cut away one layer (left) or both (right)
There are two schools of thought on this trimming.
Some quilters trim away the excess from the smaller square only.
That's because the original 4-1/2" square was cut to the exact size needed. Occasionally, my stitches aren't as 'perfect' as they should be—particularly after sewing a gazillion of these little beauties.
Leaving the larger square intact means that the sewn unit will be the correct size, regardless of my sewing skills.
Be mindful. If you're working with a much darker Center1, there's a good chance it will show or shadow through the top, lighter layer. You'll need to decide if or how much this bothers you.
I've put our sample on white paper to simulate batting. Can you tell the difference? Does it matter to you?
 The upper left corner still has the blue Center.1 fabric behind it. Both layers were trimmed away in the lower right.
If you choose this method, your seam allowances can only be pressed away from the center square.
Other quilters decide to remove both layers of the excess fabric to reduce bulk, especially if the quilt will be hand quilted.
An added benefit of removing both layers is YOU control the direction the seam allowances are pressed—to the dark, to the light or open.
Troubleshooting
If the edges are noticeably off, rip them out and redo. We're aiming for a Square in Square quilt block whose points are 1/4" away from the edge and centered on all four sides.
If the top layer extends too far past the edge or doesn't reach it, your points and seam allowance are going to out of position.
Layer the remaining squares in the open corners.
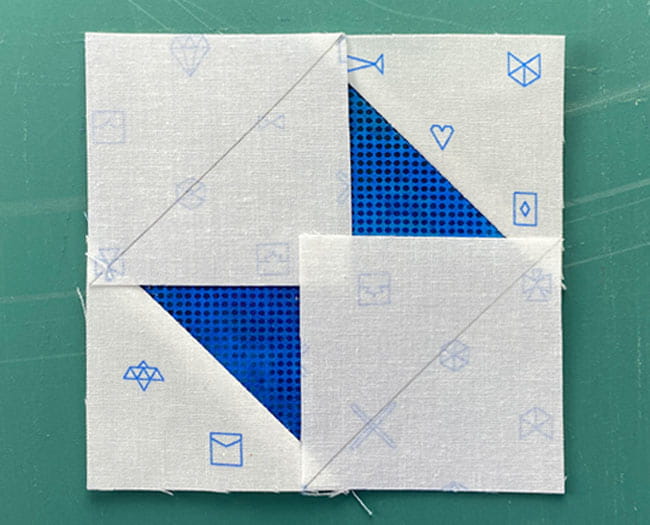
Stitch, again, on the side of the line closest to the corner.
Pressing the units first flat to set the seam and then towards the corner.
Check how well the edges of the background and blue squares align. Below, I'm checking from the backside before trimming away the excess.
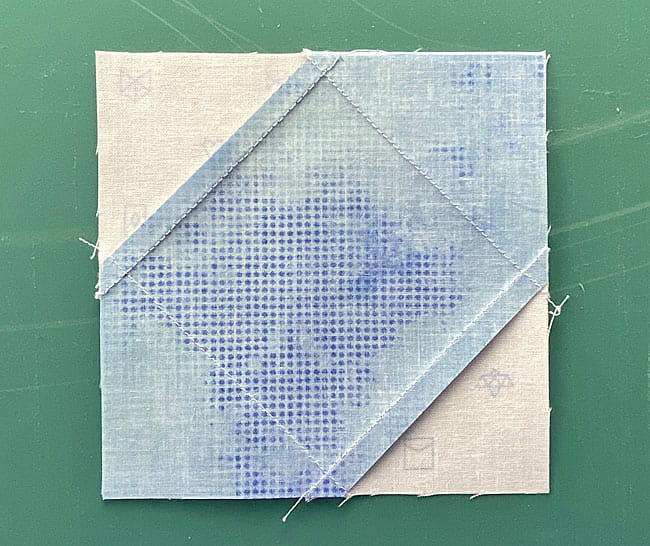
If they are noticeably off, rip them out and redo. We're aiming for a Square in Square quilt block whose points are 1/4" away from the edge and centered on all four sides.
Trim seam allowances as needed or desired.
Give it a final press and...
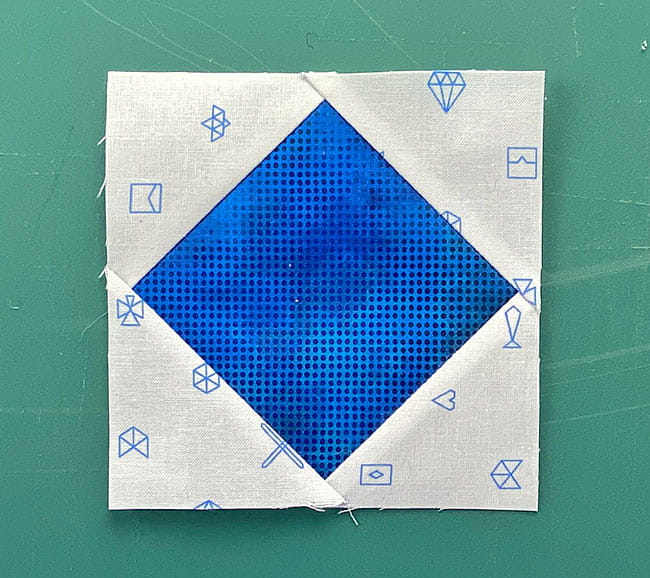
...and your Square in a Square quilt block is finished. Beautiful!
Drowning in a sea of quilt block tutorials?
Pin this Square in Square guide and never lose your way again! Our Folded Corners technique will have you cornering the market on beautiful blocks in no time.
For even MORE blocks to make… 🧩🎨

...visit our Free Quilt Block Pattern Library, with over 260+ blocks to choose from in multiple sizes.
Free downloads are included in all sizes for any blocks require paper piecing patterns or templates.
- Home
- Beginner Quilt Blocks
- Square in Square Quilt Block
