- Home
- Free Quilt Block Patterns
- Rolling Stone Quilt Block
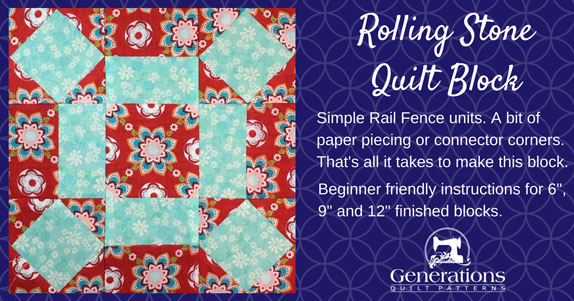
Rolling Stone Quilt Block
From our Free Quilt Block Patterns Library
This post contains affiliate links, for which I receive compensation.
The Rolling Stone quilt block is a kissin' cousin of the Rolling Square. The only difference is it's drawn on a 3x3 grid; a Rolling Square is drawn on a 5x5 grid.
Two different methods are shown below—paper piecing or Connector Corners— for making the corner units. The sides are constructed with strip piecing techniques.
It's a simple block to make.
A popular one, too!
You may also know this patchwork design as 'Letter O' or 'Wedding Ring'.
After the tutorial are several different blocks—all using this same design. The only differences is the fabric placement.
It's time to Cut Up and Sew!
📋 General Instructions
Several abbreviations are used on this page. They are:
- SA - seam allowance
- RST - right sides together
- SiaS - square in a square
- C.2, C.3, C.4, C.5 - Corner.2, Corner.3, etc.
1/4" SA are used through this tutorial.
When instructed to press, first press the patches in the closed position just as they came off your sewing machine. This sets the seam, melding the fibers of the threads into the fibers of the fabric.
SA are pressed to the dark unless otherwise noted.
Optional: Download and print paperpiecing pattern
If you choose to make the Square in a Square units using the Connector Corners method, skip this.
You'll need the most current version of Adobe installed on your computer to download the pattern.
On the Adobe Print Menu page, under 'Page Size and Handling' set 'Custom Scale' to 100% before printing for accurate results. Click here to see what it looks like on the Print Menu page.
Choose your block size from the chart below and print the # of copies listed.
Print the SiaS Units | ||
|---|---|---|
| Finished Block Sizes | # of copies | Link to PDF Download |
| 5" | 1 | 2" |
| 7-1/2" | 1 | 3" |
| 10" | 2 | 4" |
Then cut out each unit a bit outside the printed line. There's no extra points here for perfect cutting. The excess will be taken care of after the SiaS is complete.
The newest quilt fabrics to tickle your fancy...
Click the images below to see the full collection. We share any commercial and/or free patterns that showcase them, too. (For inspiration, of course!)
Step 1: Cutting for a Rolling Stone quilt block
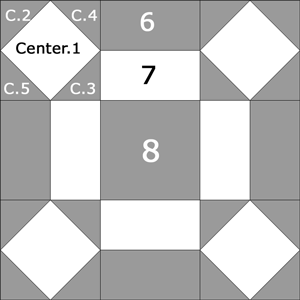 Rolling Stone design
Sample Size: 9" finished / 9½" unfinished
Grid: 6x6
Attribution: Ladies Art Company
AKA: Letter O (Dakota Farmer), Wedding Ring
Design Type: Even 9-patch
Choose the blue cutting chart below if you printed paperpiecing patterns for the SiaSs.
Choose the yellow if you prefer to use connector corners.
Each chart is complete. Use one or the other.
Includes some paper piecing
 | Cutting Chart for a~PaperPiecing and Traditional ~ | |||||
|---|---|---|---|---|---|---|
| Patch | Fabric | Qty | Finished Block Sizes | Sub Cut | ||
| 6" | 9" | 12" | ||||
| Center.1 | L | 4 | 1⅞" x 1⅞" | 2⅝" x 2⅝" | 3⅜" x 3⅜" | -- |
| C.2, C.3, C.4, C.5 | D | 8 | 2⅜" x 2⅜" | 2⅞" x 2⅞" | 3⅜" x 3⅜" | |
| 6 | D | 1 | 1½" x 11" | 2" x 15" | 2½" x 19" | -- |
| 7 | L | 1 | 1½" x 11" | 2" x 15" | 2½" x 19" | -- |
| 8 | D | 1 | 2½" x 2½" | 3½" x 3½" | 4½" x 4½" | -- |
| Unfinished Block Sizes | 6½" | 9½" | 12½" | -- | ||
| Grid Size | 1" | 1½" | 2" | -- | ||
Traditional Piecing
 | Cutting Chart for a~Traditional Piecing w/Connector Corners~ | |||||
|---|---|---|---|---|---|---|
| Patch | Fabric | Qty | Finished Block Sizes | |||
| 6" | 9" | 12" | ||||
| Center.1 | L | 4 | 2½" x 2½" | 3½" x 3½" | 4½" x 4½" | |
| C.2, C.3, C.4, C.5 | D | 16 | 1½" x 1½" | 2" x 2" | 2½" x 2½" | |
| 6 | D | 1 | 1½" x 11" | 2" x 15" | 2½" x 19" | |
| 7 | L | 1 | 1½" x 11" | 2" x 15" | 2½" x 19" | |
| 8 | D | 1 | 2½" x 2½" | 3½" x 3½" | 4½" x 4½" | |
| Unfinished Block Sizes | 6½" | 9½" | 12½" | |||
| Grid Size | 1" | 1½" | 2½" | |||
Step 2: Create the Rolling Stone units
Square in a Square Units
Make 4
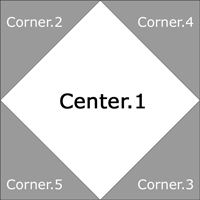
Paperpiecing Technique (blue cutting chart)
I love the accuracy of paperpiecing. And for this block, if I was making a lot of them, there'd be a lot of fabric savings, too.
Click here for the instructions for this technique —skip down to Step 3: Sewing Machine Setup.
When you are done, hit the back button on your browser bar to return here.
After trimming your blocks, remove the paper pattern.
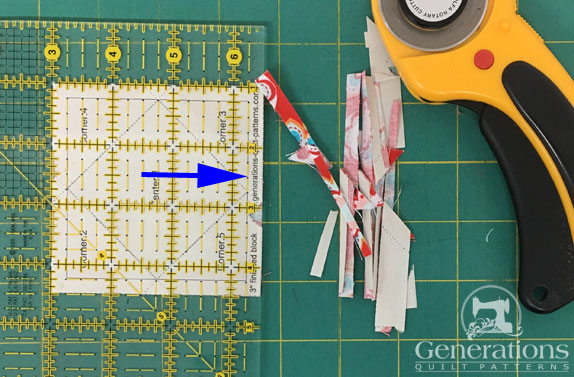
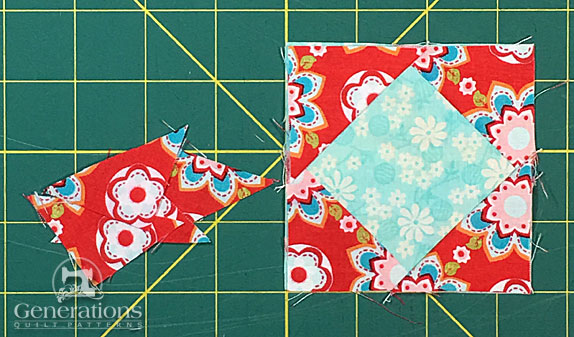
Traditional Piecing with Connector Corners (yellow cutting chart)
Click here for the instructions to make these patches using the Connector Corners technique—skip down to Step 2: Assemble the Blocks.
Click the back button on your browser bar to return here when you are finished.
Below is a SiaS made with connector corners. The excess fabric that was trimmed away is to the left.
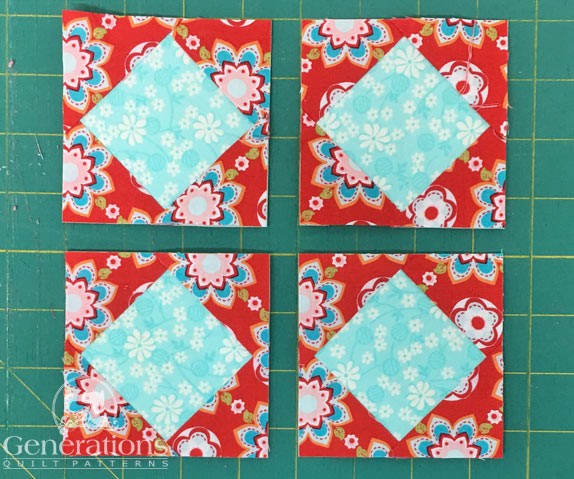
Regardless of the technique you chose, your finished SiaSs look like this:
Sides (both cutting charts)
 Make 4
Make 4
With right sides together, sew the long edges of the #3 and #4 strip together. (They're a bit longer than needed.)
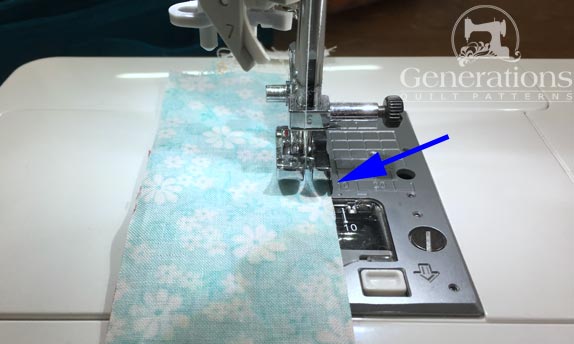 My favorite combination for sewing strip sets is heavily starched fabric and my quarter inch presser foot with a guide on the righthand side(blue arrow).
Press, first with the strips as sewn to set the seam. Then with the seam allowance pressed either open or to the darker fabric.
If you choose to press the seam open, I find it much easier to get a good press when I use my thumbnail to open it before applying the iron.
Check yourself.
The chart below shows the measurement of strip set after pressing for the finished block sizes. Make any necessary adjustments before subcutting.
| Finished Block Sizes | Dimensions after stitching | Subcut Width |
|---|---|---|
| 6" | 2-1/2" x 11" | 2-1/2" |
| 9" | 3-1/2" x 15" | 3-1/2" |
| 12" | 4-1/2" x 19" | 4-1/2" |
Straighten one short edge of the stripset.
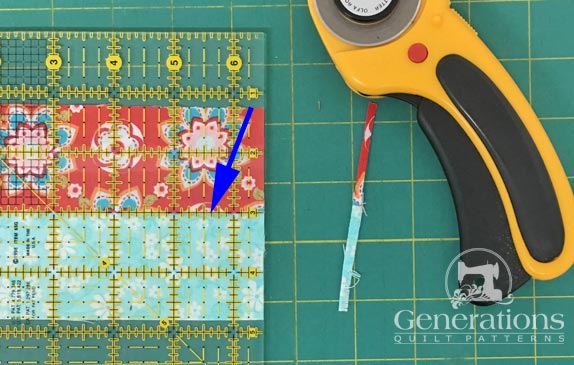 Align a line on your ruler with the seam line and trim away somethig less than 1/4".
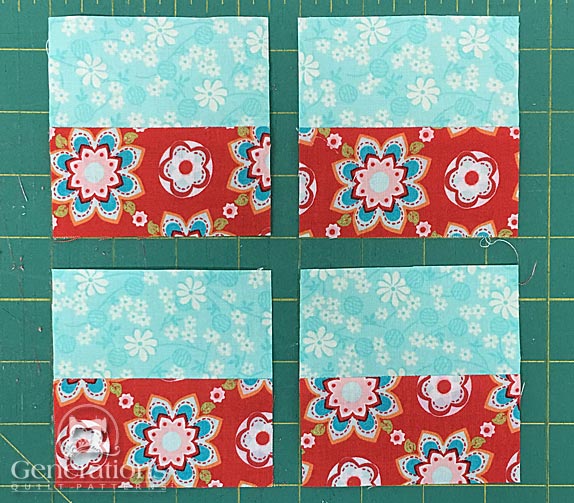
Subcut the strip set into four equal widths using the far right column in the chart. Here are our Rail Fence units for the sides.
Step 3: Assemble the the Rolling Stone quilt block
Arrange the units as shown with the lighter fabric in the strip pieced sides towards the outside edge.
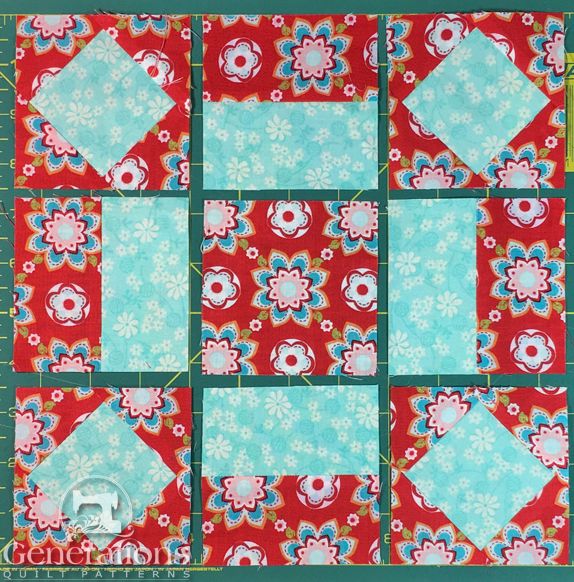
Stitch the units into rows. I do use pins to make sure the points on the SiaS units match the seamline of the side.
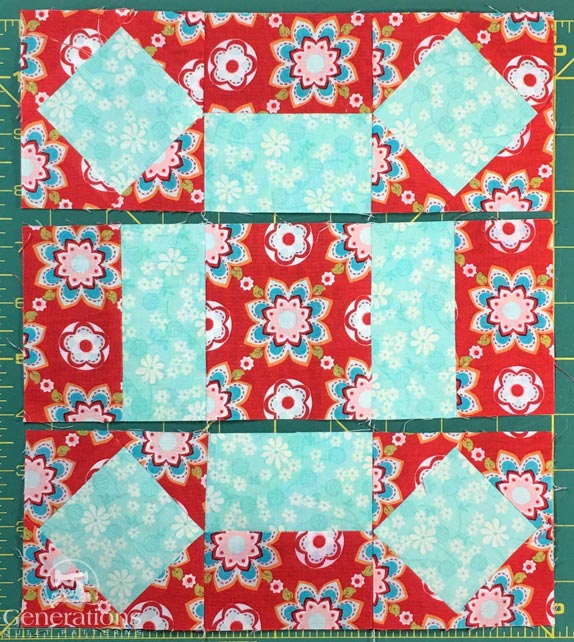
Press the seams away from the Rail Fence units.
Stitch the rows together. Again, pinning helps to match those points and seamlines exactly.
And this is the finished Rolling Stone quilt block.
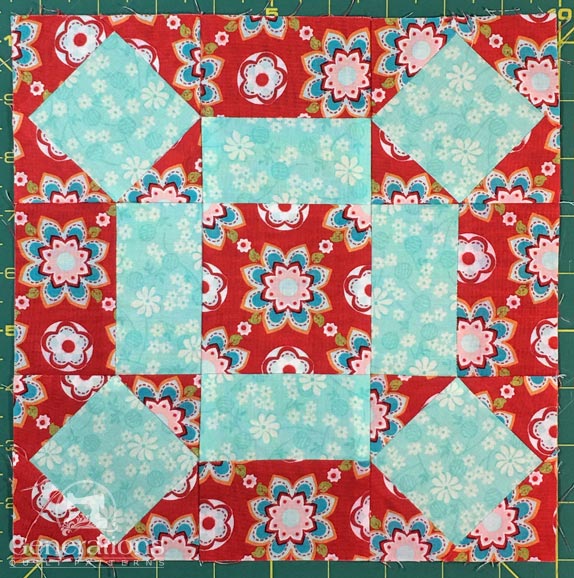 And if you were wondering...Yes. The center is fussy cut. It wasn't an accident. :)
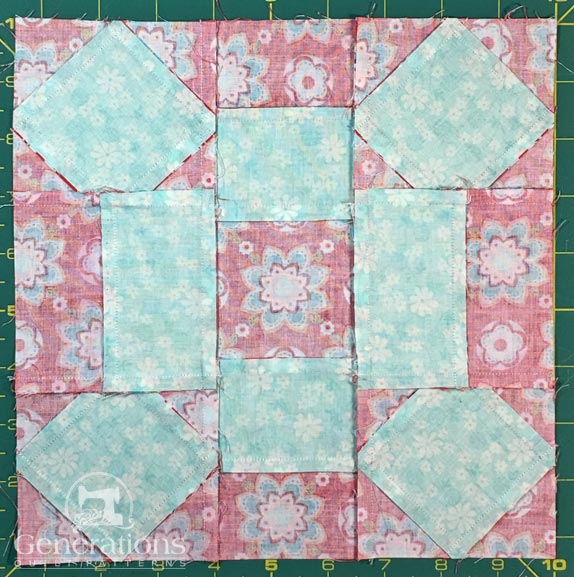
And this how it looks on the back.
Variations on a Rolling Stone design
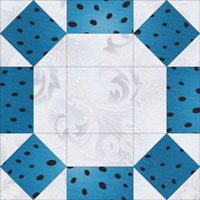
Broken Wheel
Other names include: Block Circle, Johnnie Round the Corner, Single Wedding Ring, Squirrel in a Cage and plain ol' Wheel
Click here for instructions to make this block.
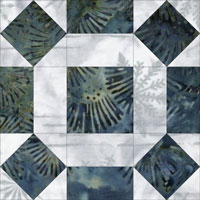
Squirrel in a Cage
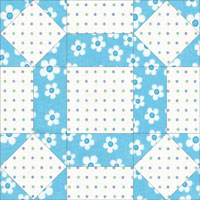
Mrs. Miller's Favorite
This variation is also know as Broken Wheel.
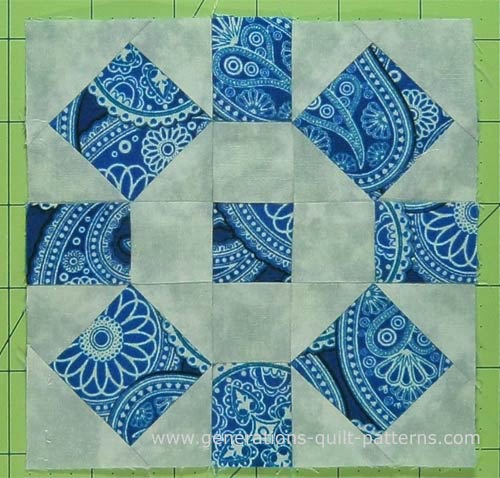
Rolling Square
This is drawn on a 5x5 grid.
What about a different quilt block?
For a list of all the 220+ quilt block patterns on this site, start here.
If you know the name of the block, shorten your search by using these links:
Click here if you're looking for blocks with at least some paper piecing.
Click here if you're looking for the basic building blocks of quilting, i.e., Flying Geese, half square triangles, quarter square triangles, etc., along with several techniques to make each.
And finally, use these links to find blocks in these finished sizes:
For even more blocks to make...
For you, are quilt block designs like potato chips...
...you can't have just one?!!
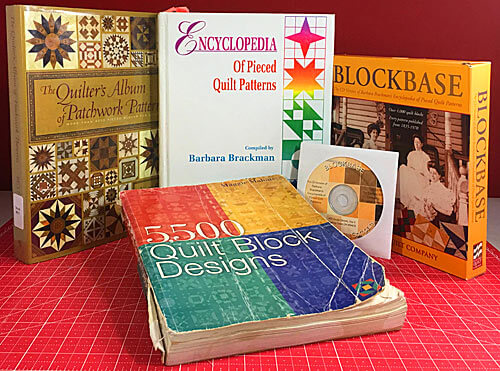
Check the amazing resources I rely on for all the quilt block designs you see on this website.
To see if they're worthy of a spot in YOUR quilting library, CLICK HERE.
