- Home
- Free Quilt Block Patterns
- Rainbow Flower Quilt Block
Half Log, Full Bloom: Craft a Stunning Rainbow Flower Quilt Block
Blooming beautiful, piece by piece 🌸🧵
This post contains affiliate links, for which I receive compensation.
Simple cutting and simple piecing are the hallmarks of the Rainbow Flower quilt block.
It's a variation on an old favorite, the Log Cabin block, that you'll sometimes see called a 'half log cabin'. That's because we're adding 2 rectangles or 'logs' to the block instead of the usual four for each round.
The piecing goes a bit faster than the traditional Log Cabin due to this simple design difference.
🧭Navigate through this garden of quilting wisdom…
…with our handy dandy anchor links! Let's dig in! 🌱🧭
- Design inspiration for using this block in your next quilt
It's time to cut up and sew!
📋General Instructions
This tutorial includes a couple of abbreviations. They are:
- SA—seam allowance
- RST—right sides together
1/4" SA are used through this tutorial.
Pressing instructions are highlighted in yellow throughout this tutorial to make them easy to spot.
When instructed to press, first press the patches in the closed position just as they came off your sewing machine. This sets the seam, melding the fibers of the threads into the fibers of the fabric.
Then press the SA to the dark and away from the first patch.
The newest quilt fabrics to tickle your fancy...
Click the images below to see the full collection. We share any commercial and/or free patterns that showcase them, too. (For inspiration, of course!)
✂️Cutting patches for a Rainbow Flower quilt block
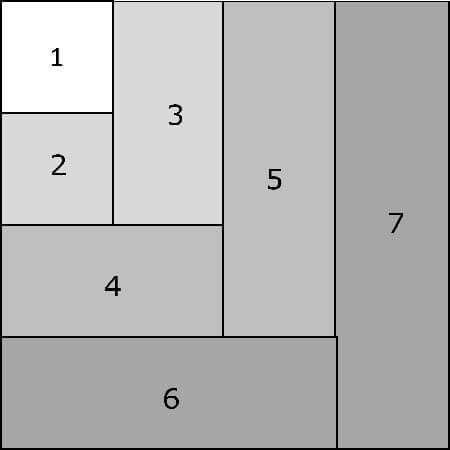 The Rainbow Flower design
Sample Block Size: 6" finished / 6½" unfinished
Grid: 4×4
Design Type: Log Cabin
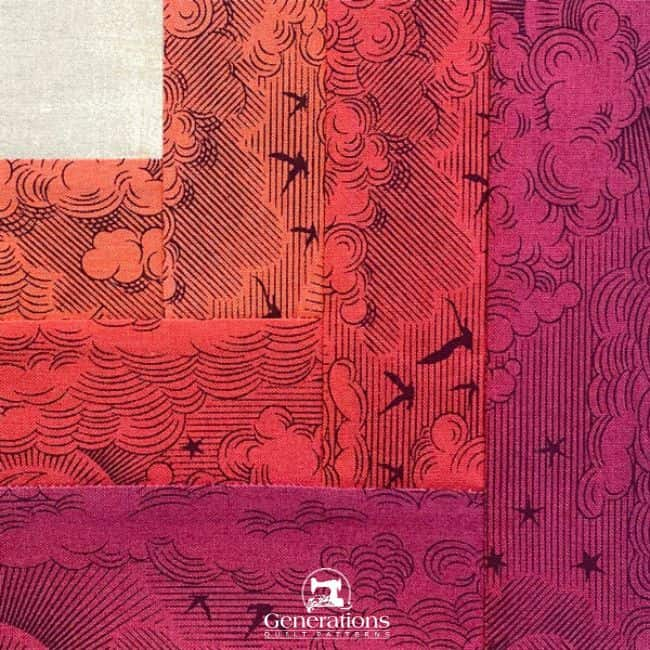
For the sample block, the Bac patch is a Moda Grunge.
Fabrics Light, Medium, and Dark are all cut from a single ombre fabric from Tula Pink's Daydreamer line, the Dragonfruit Little Fluffy Clouds fabric.
While it makes Swiss cheese out of the fabric, the colors shade perfectly for the effect that I want for my 'rainbow' flower.
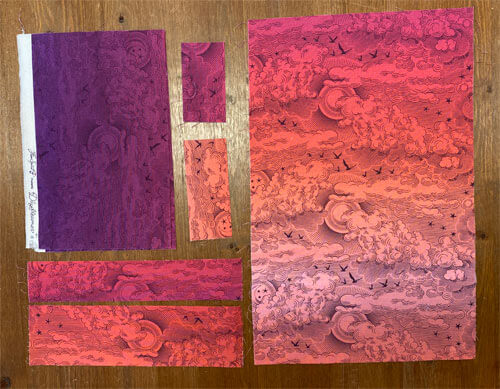 Sliced to smithereens to get the colored patches I wanted for A, B, and C
A stitch in time saves nine, and a label saves confusion. Number your patches as indicated to ensure a hassle-free piecing process.
To print a copy of the block design and cutting chart to use at your cutting table, click here.
 | Cutting Chart for a~ Traditional Piecing ~ | |||||
|---|---|---|---|---|---|---|
| Patch | Fabric | Qty | Finished Block Size | |||
| 4'' | 6'' | 8'' | 10'' | |||
| 1 | Bac | 1 | 1½'' x 1½'' | 2'' x 2'' | 2½'' x 2½'' | 3'' x 3'' |
| 2 | Light | 1 | 1½'' x 1½'' | 2'' x 2'' | 2½'' x 2½'' | 3'' x 3'' |
| 3 | Light | 1 | 1½'' x 2½'' | 2'' x 3½'' | 2½'' x 4½'' | 3'' x 5½'' |
| 4 | Medium | 1 | 1½'' x 2½'' | 2'' x 3½'' | 2½'' x 4½'' | 3'' x 5½'' |
| 5 | Medium | 1 | 1½'' x 3½'' | 2'' x 5'' | 2½'' x 6½'' | 3'' x 8'' |
| 6 | Dark | 1 | 1½'' x 3½'' | 2'' x 5'' | 2½'' x 6½'' | 3'' x 8'' |
| 7 | Dark | 1 | 1½'' x 4½'' | 2'' x 6½'' | 2½'' x 8½'' | 3'' x 10½'' |
| Unfinished Block Size | 4½'' | 6½'' | 8½'' | 10½'' | ||
| Grid Size | 1'' | 1½'' | 2'' | 2½'' | ||
🪡Piece your Rainbow Flower quilt block
With RST, stitch #2 to #1.
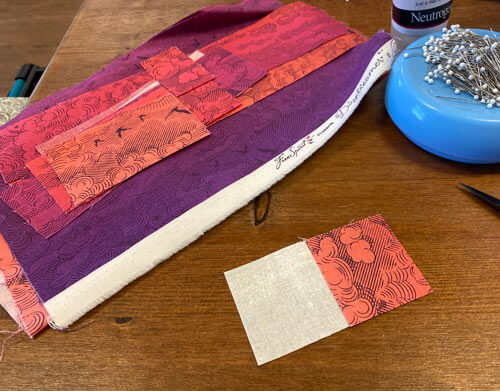 After stitching #1 and #2
Press toward the darker #2 and away from #1.
With RST, layer #3 with #1/#2. I prefer to stitch with the joined patches and their SA on top to avoid flipping the seam allowance when sewing. That means the last patch added, #2, is on top.
This may seem picky, but it's much too easy to add a patch to the wrong side. I'd rather lick the back of my 'fridge than rip out seams. ;)
Press, again away from #2 and to the darker #3 fabric.
With RST, layer #4 with #1/#2/#3, seamed patches on top. The sewn unit is on top; the rectangle is closest to the feed dogs.
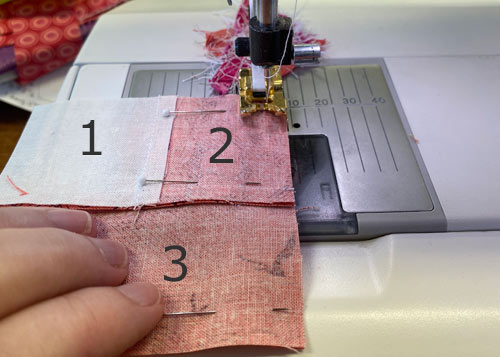 #4 is underneath these patches closest to the feed dogs
Press as before.
Continue adding the remaining patches in this manner.
After adding #5...
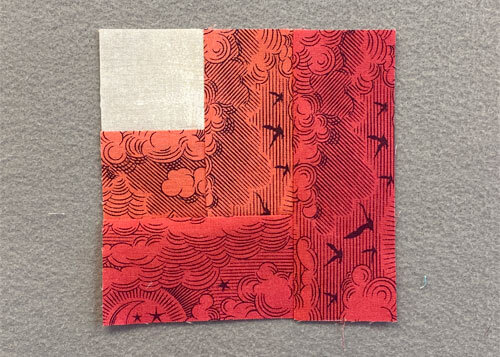 After adding #4 and #5
Add #6 and #7, pressing in between for nice flat seams.
After one last final pressing (do check out my favorite SECRET technique to get the flattest piecing EVER—without having to buy any special tools), this is our finished Rainbow Flower quilt block.
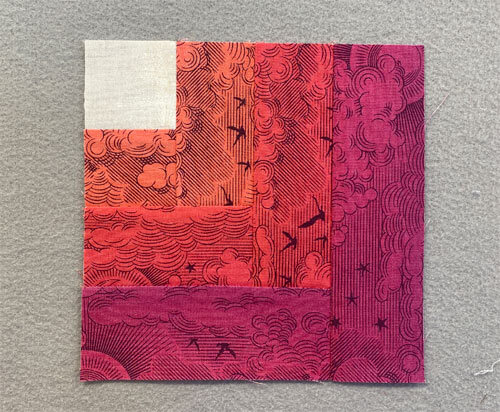 Presto! The finished Rainbow Flower quilt block
A quick peek at the back shows how we pressed all the seams to the darker fabrics and away from #1.
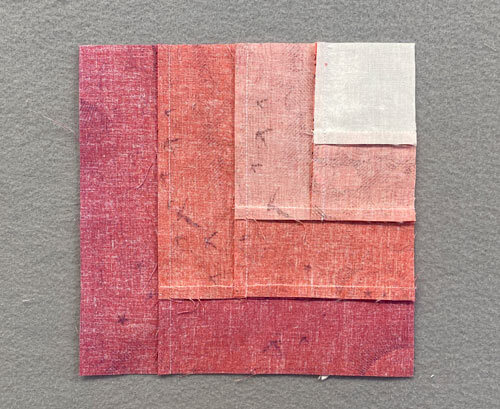 Every SA is pressed away from the first patch
Designing a quilt with the Rainbow Flower block
To make it easier to concentrate on the quilt design, there are no outlines around either the Rainbow Flower block or their patches.
First up, are quilts made with Rainbow Flower block in a straight set and the set on point. They are set edge-to-edge, no sashing in between.
With this simple design, whether you're using a handful of fabrics as in our samples, or maybe going scrappy, what is important is the movement from a light fabric choice to a medium to a dark. That's what gives the design its appeal.
The darker #6 and #7 rectangles separate each Rainbow Flower and make them make sense. Without this separation, you'd have a hot mess for all your piecing time.
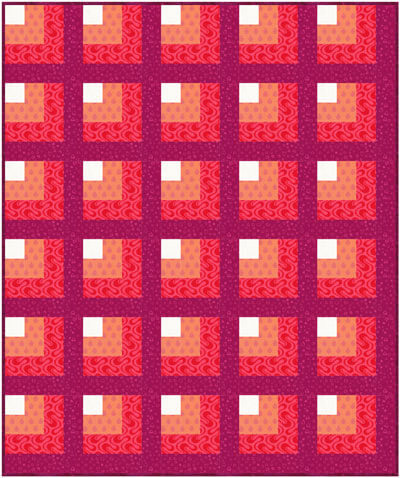
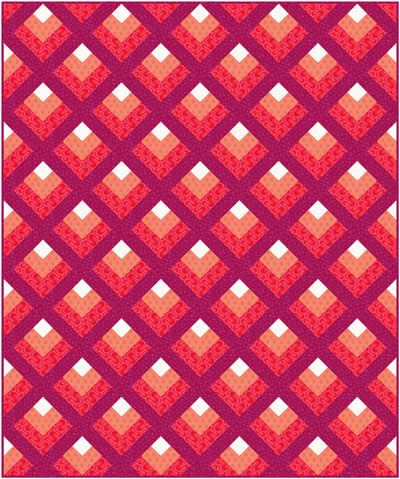
In this second pair of straight set layouts, a light sashing and dark cornerstone layout is first up. Then a dark sashing+cornerstone layout. Both are dramatic.
The light version does a good job separating each Rainbow Flower, while the dark version looks almost like an Attic Windows block—but without any Y-seams.
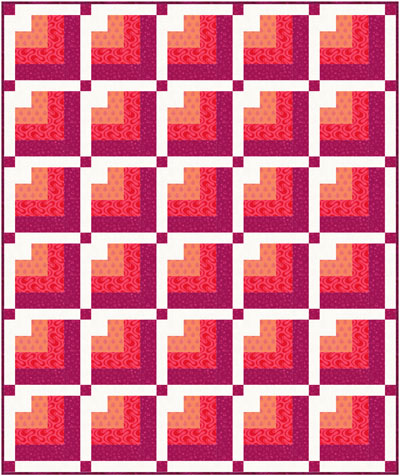
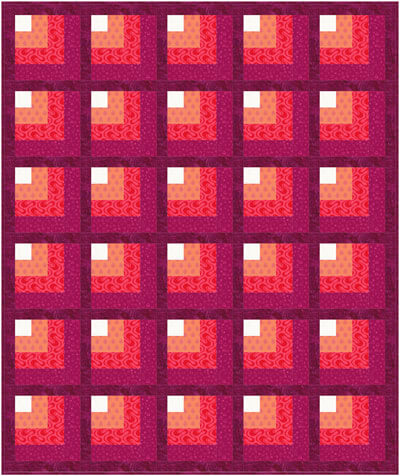
Here are diagonal block layouts of our Rainbow Flowers quilt blocks with the same sashing+cornerstone combinations.
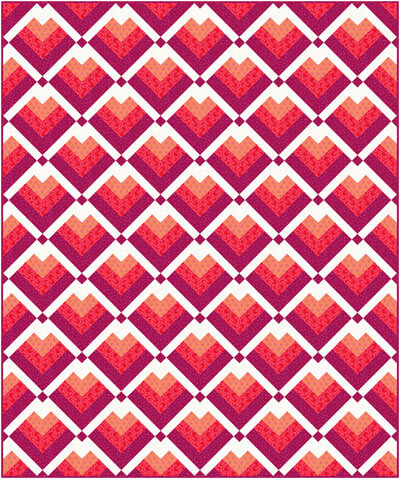
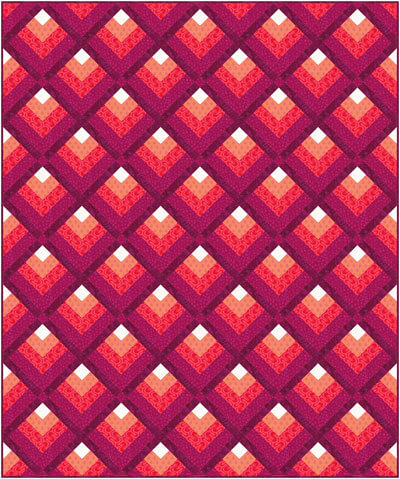
Hmm. So many choices. So little time.
You've Pieced It! Now Watch Your Quilt Garden Grow 🧵🌻
🌈🌸 You've grown a gorgeous Rainbow Flower block from half log to full bloom. 🪡✨ This versatile beauty is ready to brighten any project.
Until next time, may your tension be balanced and your bobbins always full. ⚖️🧵
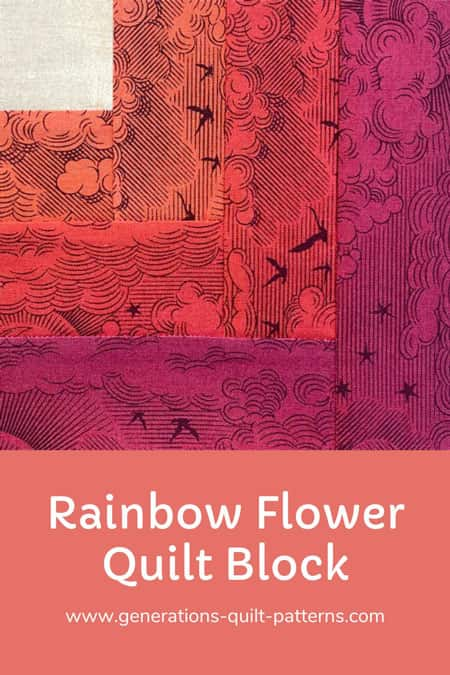
📌Pin now, bloom later🌸
Save this Rainbow Flower tutorial for your next quilting adventure!
More about Log Cabin quilt patterns…
If you love Log Cabin quilts, there's lots more about this favorite pattern here on the website. Use the links below to find YOUR new favorites.
- How to quilt a Streak of Lightning quilt
- Courthouse Steps Quilt Pattern: Design ideas
Try your hand at other related Log Cabin quilt blocks
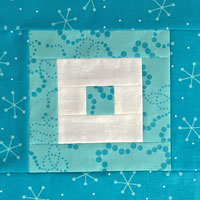
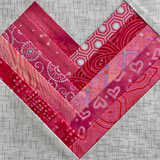
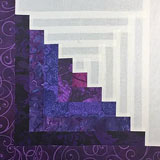
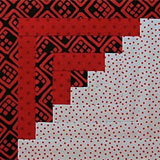
Log Cabin quilt blocks are built around a single shape either in the center of the block, or sometimes on the side like Heart or in a corner like Rainbow Flower.
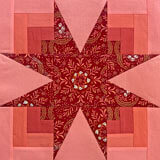
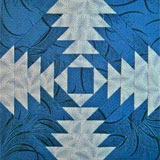
The blocks below are ones where at least a part of the block uses the Log Cabin piecing technique.
Still have a Log Cabin itch that you can't scratch?
Browse through our curated collection of free or paid Log Cabin quilt patterns. These include traditional and modern blocks, Pineapple and Courthouse Steps designs.
Click here for the inspiration.
For even MORE blocks to make... 🧩🎨

...visit our Free Quilt Block Pattern Library, with over 230+ blocks to choose from in multiple sizes.
Free downloads are included in all sizes for any blocks require paper piecing patterns or templates.
- Home
- Free Quilt Block Patterns
- Rainbow Flower Quilt Block
