This post contains affiliate links for which I receive compensation
Quilting with machine embroidery stabilizers
Do I need to cut out the excess backing once my design is complete or can I leave it all in place.
Reply
I'm assuming you're talking about the machine embroidery stabilizers that we use to get a good stitch out.I know that for the quilt blocks that I've used machine embroidery designs in, I have removed as much of the excess backing as possible.
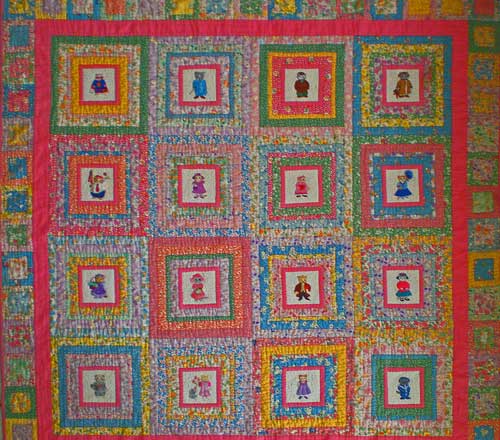
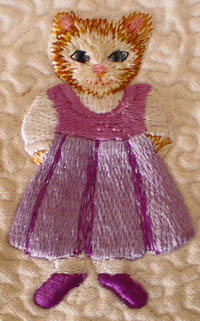
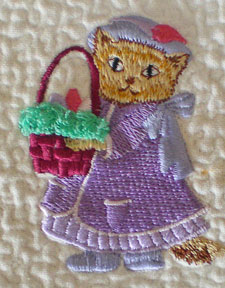
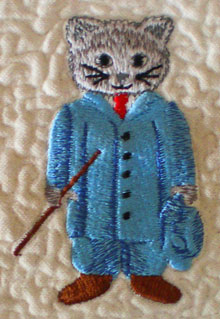
Both of the machine-embroidered quilts that I did use designs by Cactus Punch that had high stitch counts and a dense, luxurious quality to them. One of them is shown below.

Using Stabilizer and Interfacing to Control a Flimsy Fabric

I ironed a fusible tricot interfacing to the back of my squares (I don't recall the brand) making sure the lengthwise grain of the fabric was perpendicular to the lengthwise grain of the interfacing. (You can easily tell which way the most stable grain runs, by giving your material a gentle tug. The lengthwise grain has almost no stretch.) Once they are ironed together, there is lengthwise...very stable...grain running in both directions.
Then I hooped my Sulky Sticky stabilizer, laid the prepared squares in the hoop, basted around the outside of the stitching area and stitched out the design.

Once the design was complete, any excess sticky stabilizer was trimmed away and the interfacing stayed in the block. The only thing I had to remember was to turn down my iron because of the tricot (i.e. man-made fiber will melt at a cotton setting).
When designs like these are put into quilt blocks, I think they need some serious background quilting. The center design of each square was free motion 'ditch quilted' and then the backgrounds were completely stippled.
Stippling makes a background visually recede. In these quilts, it also serves to camouflage the natural tendency of heavily stitched designs to want to 'pillow' or 'bubble' up. If you have dense designs like these, you could also run a line or two of quilting through them to control the bubble.
Using a Cutaway Stabilizer
Now, if I had used a cutaway stabilizer behind these same blocks, then yes, I would have cut away the excess stabilizer where I could.To avoid having the 'hard' edges of the stabilizer possibly showing through to the front use a pair of pinking scissors or if the design is large enough, a rotary cutter with a pinking blade to remove the excess. Then continue by quilting around the stitched design and add some sort of background fill stitching.

The other reason to remove excess stabilizer or backings is that the fabric content differs. Quilt fabric is usually 100%, whereas your stabilizers are typically man-made. The shrinkage will be different between the two. This can affect the final look of your quilt. Depending upon the size of your quilt and cost (in both money and your time), it may make sense to create a one-block quilt from one of your practice stitch outs. Quilt and bind it off as you expect to for the 'real' quilt. Then wash it to evaluate how it looks.
I hope this has given you some helpful advice. I loved making these two quilts for my kids. I've made other baby quilts like these (but smaller) and added a block with the new baby's name, weight, height, and date of birth machine embroidered into one of the blocks.
They have been treasured gifts, AND...
I was able to convince the new parents to use the quilts for every day. Now that was cool!
Piecefully,
Julie Baird
Editor
Comments for Quilting with machine embroidery stabilizers
|
||
|
||
|
||
|
||
|
||


