- Home
- Free Quilt Block Patterns
- Ozark Maple Leaf Quilt Block
Ozark Maple Leaf Quilt Block
From our Free Quilt Block Patterns Library
This post contains affiliate links, for which I receive compensation.
Skill Level: Beginner
The Ozark Maple Leaf quilt block might look complicated, but with our simple every-day quilting techniques, it's a piece of cake!
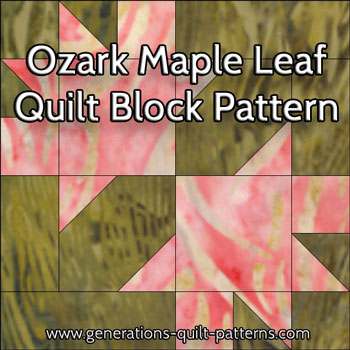
Connector corners, quick-pieced half square triangles and basic piecing is all it takes.
Choose from three different block sizes: 6", 9" and 12".
Find two luscious fabrics and let's get started on our Ozark Maple Leaf quilt block.
📋 General Instructions
All seam allowances (SA) are 1/4".
Press units flat first to set the seam. Then again with the patches opened. Watch out for tucks at the SA.
I used two batiks in this Ozark Maple Leaf sample and I swear! There is nothing easier to sew with than batiks that are lightly starched. Pressing is a dream. (Click here to learn about starching your quilt fabric.)
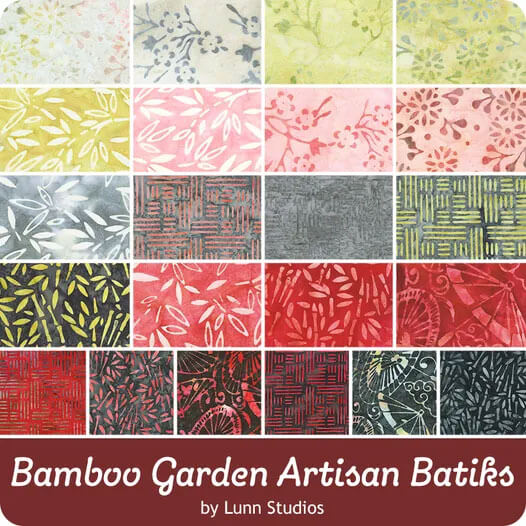
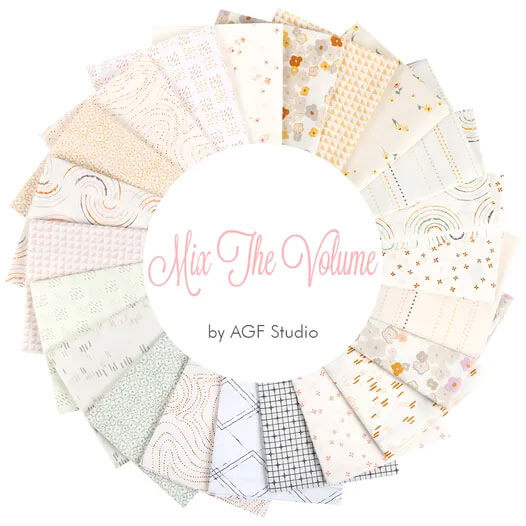
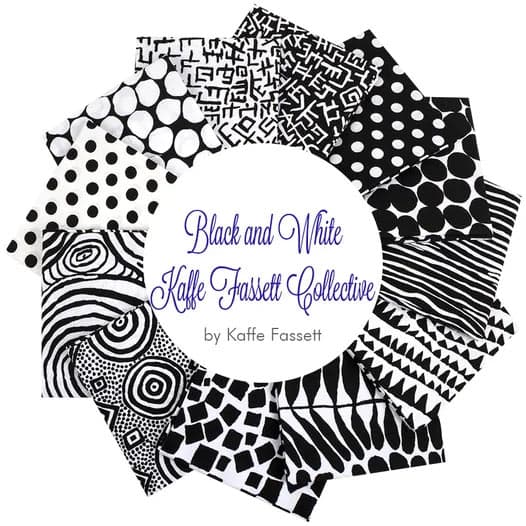
The newest quilt fabrics to tickle your fancy...
Click the images below to see the full collection. We share any commercial and/or free patterns that showcase them, too. (For inspiration, of course!)
Step 1: Cutting the Ozark Maple Leaf patches
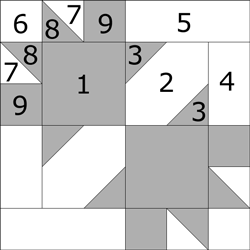 Ozark Maple Leaf
Sample Size: 9" finished / 9½" unfinished
Grid: 6x6
Attributed to: Nancy Page
AKA: Arabic Latticework (Quilter's Newsletter), Broad Arrow (Farm Journal), Broad Arrow (Nancy Cabot), Fig Leaf (Quilter's Newsletter), Maple Leaf Design (Ladies Home Journal)
Design Type: Leaf
In the Cutting Chart, all the dimensions are for cut squares unless otherwise instructed. So 2-1/2" means to cut a 2-1/2"x2-1/2" square.
Patches #7 and #8 are used for quick pieced half square triangles (HST).
While the exact size is given in the chart, before cutting I added another 1/4" to them. (For the 9" sample block, I cut those squares 2-5/8" instead of 2-3/8".)
I prefer using oversized patches to create the HSTs and then trimming them to perfection after stitching.
Choose the method that works best for you!
 |
Cutting Chart for a~ Traditional Piecing ~ | ||||
|---|---|---|---|---|---|
| Patch | Fabric | Qty | Finished Block Size | ||
| 6” | 9” | 12” | |||
| 1 | A | 2 | 2-1/2” | 3-1/2” | 4-1/2” |
| 2 | B | 2 | 2-1/2” | 3-1/2” | 4-1/2” |
| 3, 9 | A | 8 | 1-1/2” | 2” | 2-1/2” |
| 4 | B | 2 | 1-1/2” x 2-1/2” | 2" x 3-1/2” | 2-1/2” x 4-1/2” |
| 5 | B | 2 | 1-1/2" x 3-1/2” | 2” x 5” | 2-1/2” x 6-1/2” |
| 6 | B | 2 | 1-1/2” | 2” | 2-1/2” |
| 7** | B | 2 | 1-7/8” | 2-3/8” | 2-7/8” |
| 8** | A | 2 | 1-7/8” | 2-3/8” | 2-7/8” |
| Unfinished Block Size | 6-1/2” | 9-1/2” | 12-1/2” | ||
| Trim HSTs to... | 1-1/2” | 2” | 2-1/2” | ||
| Grid Size | 1” | 1-1/2” | 2” | ||
Step 2: Assemble the Ozark Maple Leaf units
Unit A
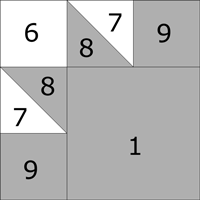
Make 2
Draw a diagonal line with a mechanical pencil on the back of the lighter of #7 or #8.
With right sides together (RST), layer a #7 and #8.
Stitch a 1/4" away from both sides of line. Repeat for the other pair.
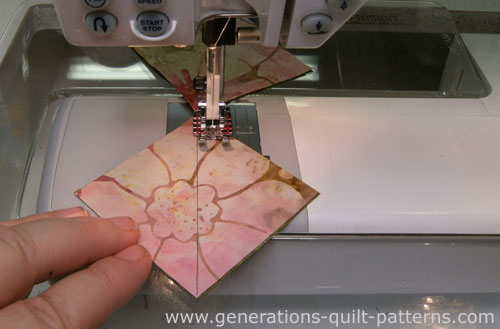 The line I drew—harder for you to see—is just dark enough for me to see. Stitch a 1/4" inch from it on both sides.
Cut apart on the drawn line. Press with seam allowances to the dark.
If you cut oversized squares, as I did, refer to the Cutting Chart. Specifically the intersection of your block size column and the row 'Trim HST to...'. For this 9" sample, that number is 2". (Click here if you're having trouble finding it.)
If you cut squares the exact measurement in the chart, your HST should measure this same size.
You now have four perfect HST.
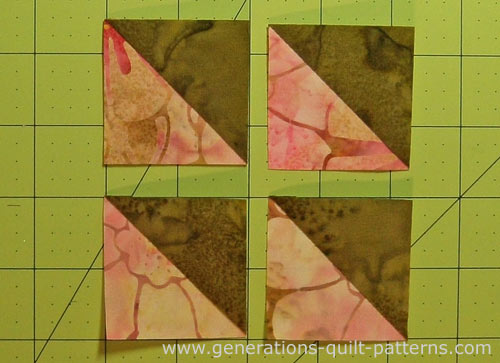 Trimmed to perfection!
With RST, layer a #9 square with a HST. Use the picture below to make the two mirror image units.
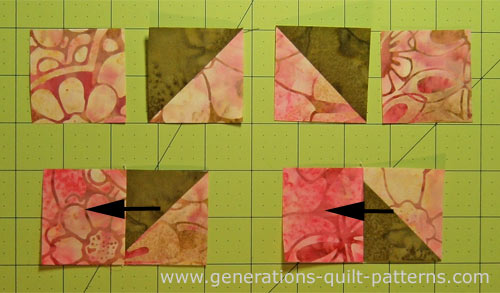
You can see that today just wasn't my day for taking pictures. The pairs are pieced correctly. The lower right one, though, is shown upside down! Clearly my old, blonde, Norwegianess is showing!
Make two of each combination, pressing SAs toward #9.
Take the lower right combo, and with RST, stitch it to the #1 square as shown below. Press the SA toward the #1. Make 2.
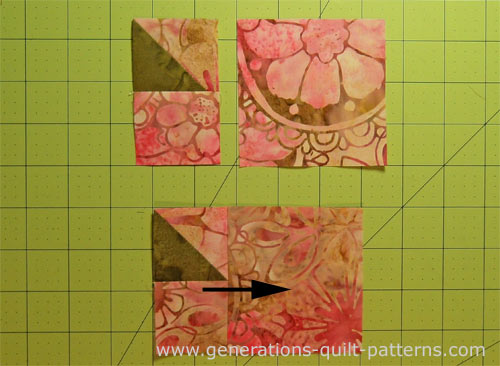
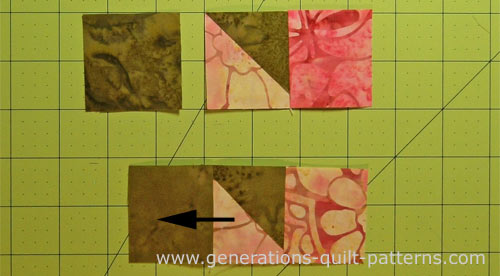
With RST, stitch a #6 to the left side of each of the remaining pairs. Press the SA toward the #6. Make 2.
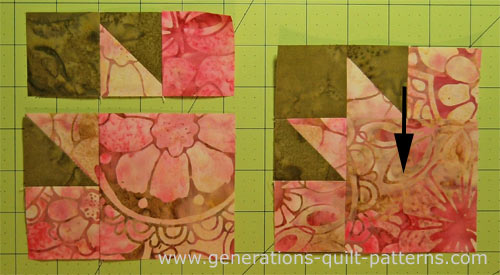
With RST, stitch this 3-piece combo to the top of the partially pieced unit as shown below (the seams will nest). Make 2.
Press SA to the #1 side.
The Unit A's are complete.
Unit B
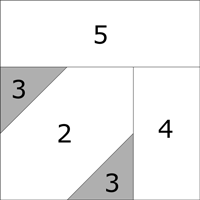
Make 2
Using the connector corners technique, draw a diagonal line on the back of the #3 squares.
With RST, layer a #3 with a #2 (green). Stitch on the line. I like to start my stitching on a 'spider' (that scrap of blue fabric in the photo). It's less likely that my machine will eat the corners as I feed them in.
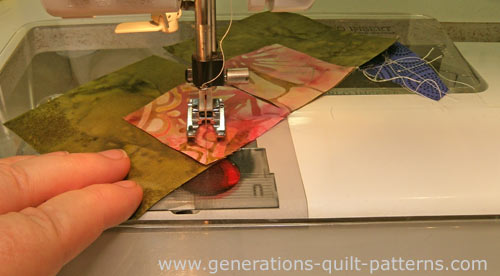 I like to use an open toe applique foot for stitching on drawn lines. It provides an unobstructed view of the needle.
Repeat for a pair of diagonal corners on each #2. Press the patches flat to set the seams.
I prefer to trim away the excess fabric between the seam allowance and the corner (black arrow). Leave a 1/4" seam.
Press. (below, right) Make 2.
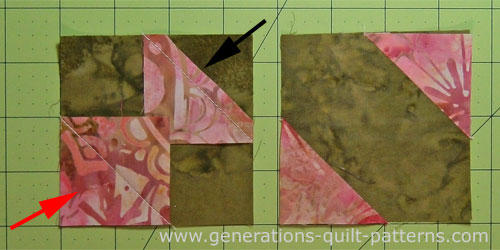 The red arrow points to the untrimmed SA
With RST, sew a #4 to this path on the lefthand side. Press, SA to the #4. Make 2.
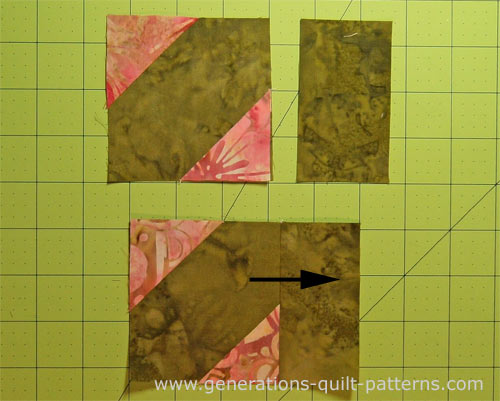
With RST, add the #5 to the top. Press the seams toward #5. Make 2.
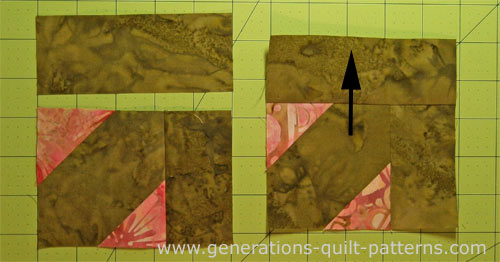
Your two A's and two B's are complete.
Step 3: Assemble your Ozark Maple Leaf quilt block
Arrange the two A's and two B's into rows as shown.
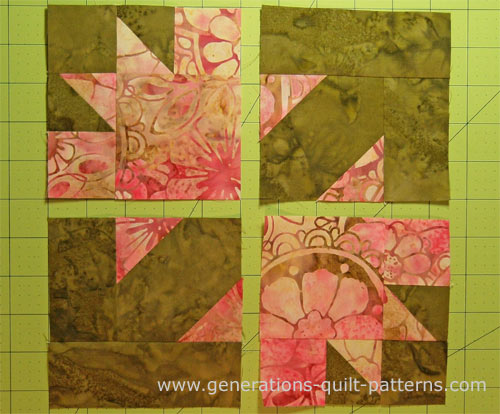
Sew each pair together. Press with the SA towards the #1 side.
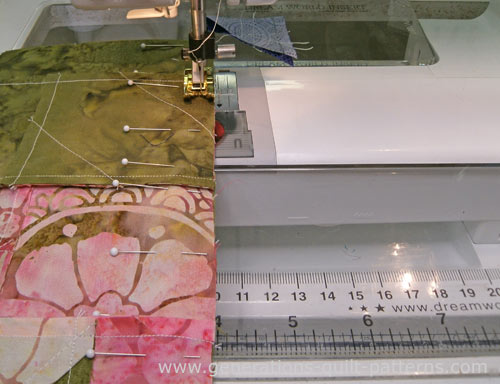
Sew the rows together. There are three seams to match so I used pins.
Your Ozark Maple Leaf quilt block is complete! To minimize bulk in the center, I've twirled the seam allowance by 'un-stitching' a few of the stitches in the SA. Click here to see it.
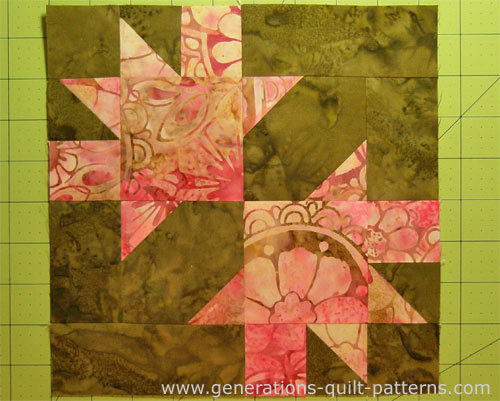 Our completed Ozark Maple Leaf quilt block - we're ready for Fall!
Now's not the time to make like a tree and leaf...
...Your Ozark Maple Leaf may be finished, but there's more blocks to make!
You'll find them all in our Free Quilt Block Patterns collection.
Click the image to go there now!
What about a different quilt block?
For a list of all the 220+ quilt block patterns on this site, start here.
If you know the name of the block, shorten your search by using these links:
Click here if you're looking for blocks with at least some paper piecing.
Click here if you're looking for the basic building blocks of quilting, i.e., Flying Geese, half square triangles, quarter square triangles, etc., along with several techniques to make each.
And finally, use these links to find blocks in these finished sizes:
