- Home
- Free Quilt Block Patterns
- Oklahoma Twister block, 3-fabric variation
Oklahoma Twister Quilt Block: Part 2
The second of two variations...
This post contains affiliate links for which I receive compensation
This 3-color variation of our Oklahoma Twister quilt block gives it a more traditional feel.
For this variation, we'll use the quick pieced method for our HSTs and add another fabric.
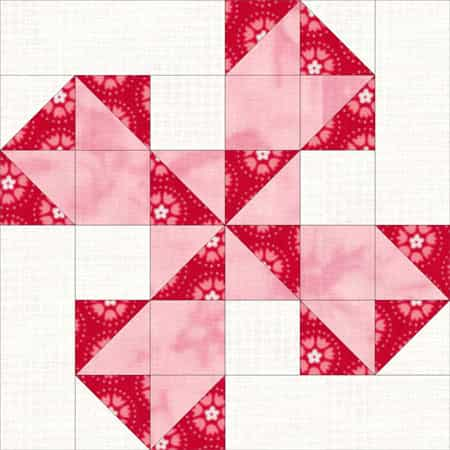 Oklahoma Twister - Variation #2
Everything else is the same.
Don't forget to download the coloring page to come up with your own variations!
Time to get back to work.
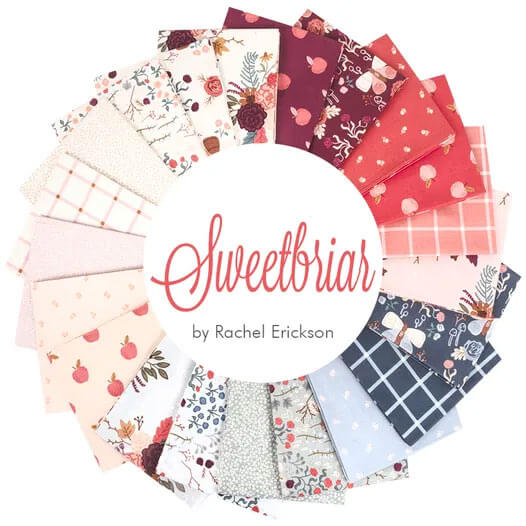
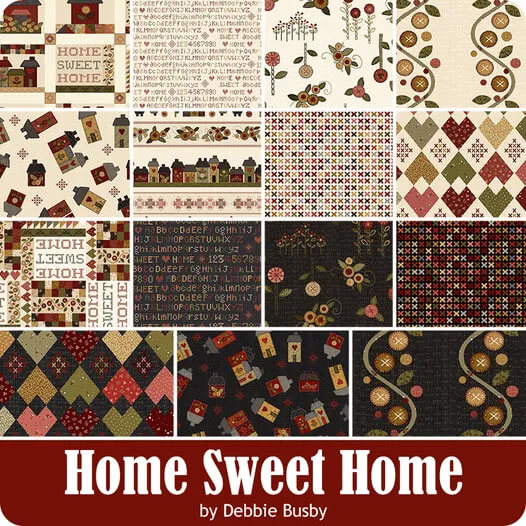
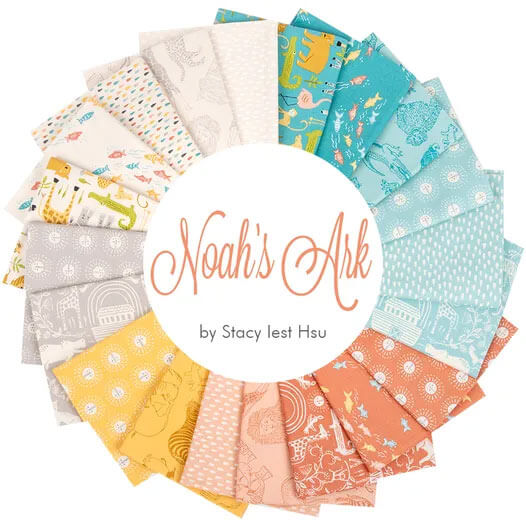
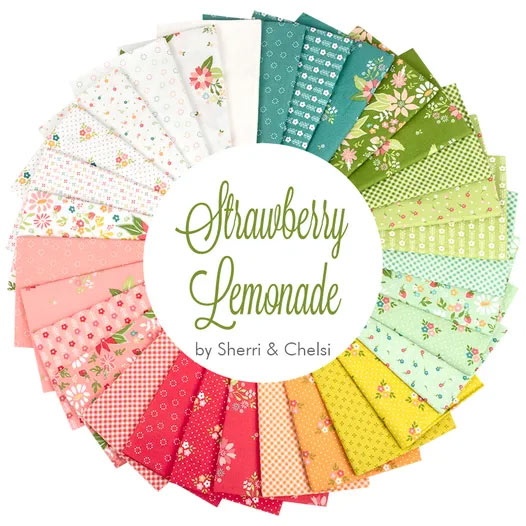
The newest quilt fabrics to tickle your fancy...
Click the images below to see the full collection. We share any commercial and/or free patterns that showcase them, too. (For inspiration, of course!)
✂️ Cutting patches for this 3-fabric Oklahoma Twister
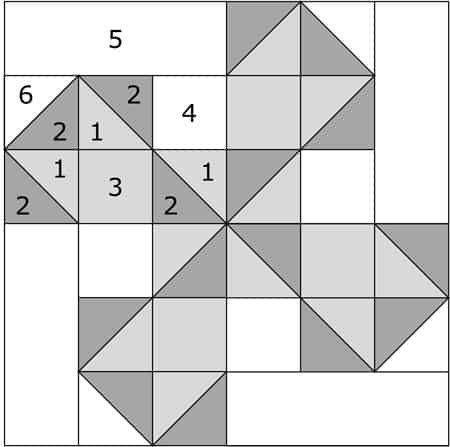 Oklahoma Twister 3-fabric variation
As with any 'pointy' design, choose fabrics with good contrast between all the choices.
Complementary colors or fabrics without common colors in them provide the most contrast.
If you're uncertain, make a sample block to eliminate any uncertainty.
Label your patches.
🎨 Click here to download a coloring/fabric planning page for your Oklahoma Twister.
 | Cutting Chart for an~ Traditional Piecing~ | ||||||
|---|---|---|---|---|---|---|---|
| Patch | Fabric | Qty | Finished Block Size | ||||
| 6'' | 7½'' | 9'' | 12'' | 18'' | |||
| 1 | Med | 6 | 2¼'' x 2¼'' | 2½'' x 2½'' | 2¾'' x 2¾'' | 3¼'' x 3¼'' | 4¼'' x 4¼'' |
| 2 | Dark | 8 | 2¼'' x 2¼'' | 2½'' x 2½'' | 2¾'' x 2¾'' | 3¼'' x 3¼'' | 4¼'' x 4¼'' |
| 3 | Med | 4 | 1½'' x 1½'' | 1¾'' x 1¾'' | 2'' x 2'' | 2½'' x 2½'' | 3½'' x 3½'' |
| 4 | Bac | 4 | 1½'' x 1½'' | 1¾'' x 1¾'' | 2'' x 2'' | 2½'' x 2½'' | 3½'' x 3½'' |
| 5 | Bac | 4 | 1½'' x 3½'' | 1¾'' x 4¼'' | 2'' x 5'' | 2½'' x 6½'' | 3½'' x 9½'' |
| 6 | Bac | 2 | 2¼'' x 2¼'' | 2½'' x 2½'' | 2¾'' x 2¾'' | 3¼'' x 3¼'' | 4¼'' x 4¼'' |
| Unfinished Block Size | 6½'' | 8'' | 9½'' | 12½'' | 18½'' | ||
| Grid Size | 1'' | 1¼'' | 1½'' | 2'' | 3'' | ||
🪡 Assemble the units for your Oklahoma Twister
Two different sets of HSTs are needed to complete this version of the design. Both are constructed using the Quick Pieced method.
Click here for detailed instructions if you are not familiar with this technique.
HSTs #1/#2
Make 12
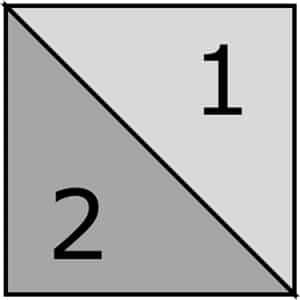
To start, on the backside of six of either the #1 or #2 patches draw a diagonal line between one pair of corners.
As always, mark whichever fabric is easier to see the lines on.
With your favorite quarter inch foot installed, stitch a 1/4" away from both sides of both lines on all six pairs of patches.
After stitching press all the pairs flat to set the seams.
Cut each in half along the drawn line for a total of 12 HST.
Press the units open with the SA towards the darker fabric. Set aside for now.
HSTs #6/#2
Make 4
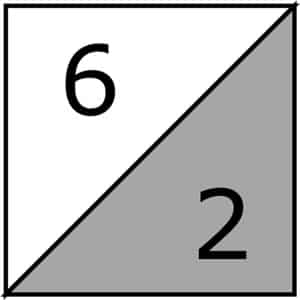
Draw a diagonal line on the back of either the two remaining #2 or the two #6 patches.
With RST layer the two pairs of #2 and #6 together.
Stitch a 1/4" away from the line on both sides.
Press flat to set your seams and cut in half on the original marking.
Press with SA toward the darker #2 patches.
Repeat for a total of four #2/#6 HSTs.
To complete the HST units, trim all of them (the #1/#2s and #2/#6s) to size as needed.
Use the "Trim HST to..." dimension that corresponds to your chosen block size. For a 12" block it's 2-1/2" square.
HST Dimensions | ||
|---|---|---|
| Finished Block Size | Trim HST to… | |
| 6" | 1½" x 1½" | |
| 7½" | 1¾" x 1¾" | |
| 9" | 2" x 2" | |
| 12" | 2½" x 2½" | |
| 18" | 3½" x 3½" | |
Quarter Blocks
Make 4
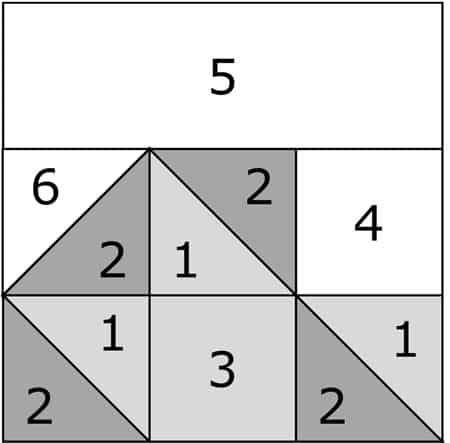 A quarter block
With RST, join a #1/#2 HST to both sides of a #3 square.
The #2 patch is in the lower left for both placements.
SAs are pressed towards the center #3 patch.
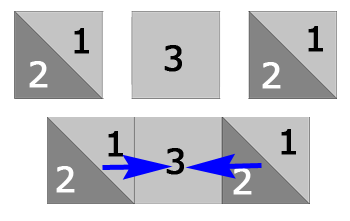 Press SA in the direction of the arrows
Repeat for a total of four units.
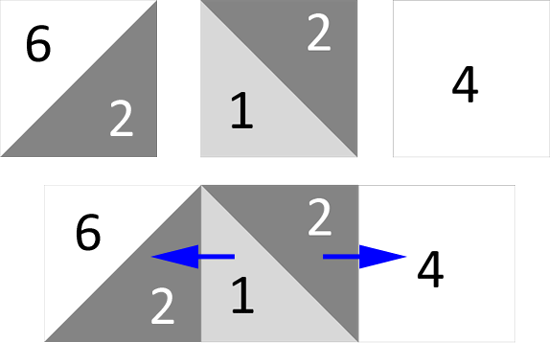
With RST, add a #2/#6 HST and a #4 square to each side of a #1/#2 HST. Note the position of the HSTs in the illustration above.
SA are pressed away from the center #1/#2 HST.
Repeat for a total of four units.
To complete the quarters, arrange the sewn units and a #5 as shown below..
Stitch them together, pressing the SA out from the center (blue arrows).
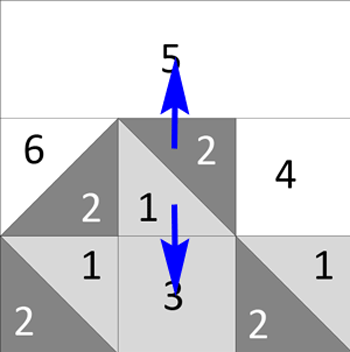
Step 3: Assemble your Oklahoma Twister quilt block
From this point forward, the construction is the same as for our original Oklahoma Twister.
Time for some Oklahoma Twister inspiration
You like the design—either two or three fabric versions—making the HSTs is straight forward.
But what do you DO with them?
I've got 8 different layout ideas for you to consider. Is one of them in YOUR future piecing plans.
🌀More playful pinwheel quilt blocks to stitch!
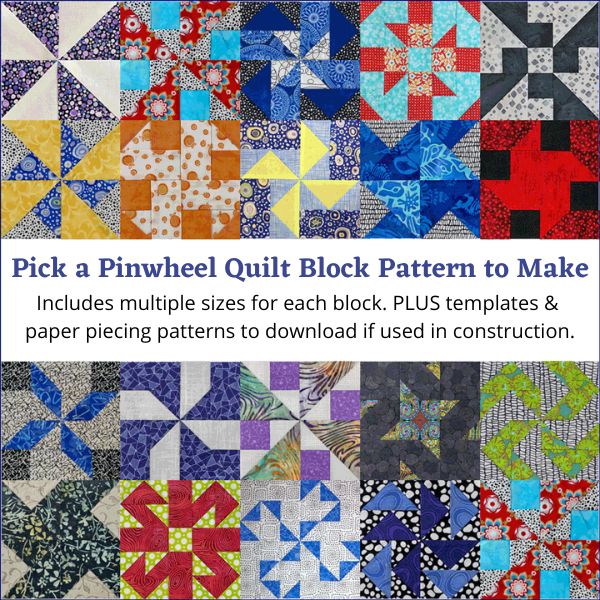
You've finished your pinwheel quilt block, and you're ready for more!
Our pinwheel quilt blocks are a delightful blend of playful interlocking patterns and vivid, eye-catching color. The interlocking patterns dazzle your eyes and inspire your creativity, while our step-by-step instruction ensures that you can create these stunning blocks with ease.
Click here to dive in and turn your fabric into MAGIC!
For even MORE blocks to make… 🧩🎨

...visit our Free Quilt Block Pattern Library, with over 260+ blocks to choose from in multiple sizes.
Free downloads are included in all sizes for any blocks require paper piecing patterns or templates.
- Home
- Free Quilt Block Patterns
- Oklahoma Twister block, 3-fabric variation

