- Home
- Free Quilt Block Patterns
- Ohio Star Quilt Block
Midwest Masterpiece: Ohio Star Quilt Block Tutorial
Turning squares into stars, just like magic! ✨🎩
This post contains affiliate links, for which I receive compensation.
Skill Level: Confident beginner
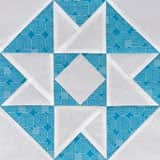
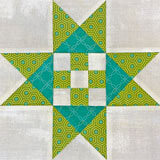
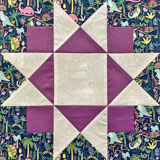
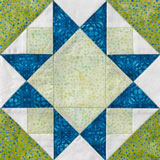
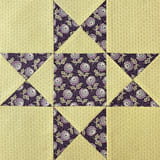
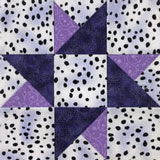
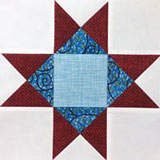
The Ohio Star quilt block pattern is a stalwart of quilt design with its pointy points and jaunty angles adding dynamic movement to the pattern.
This block frequently makes an appearance in sampler quilts (quilts made from all unique blocks used to teach different techniques to beginning quilters).
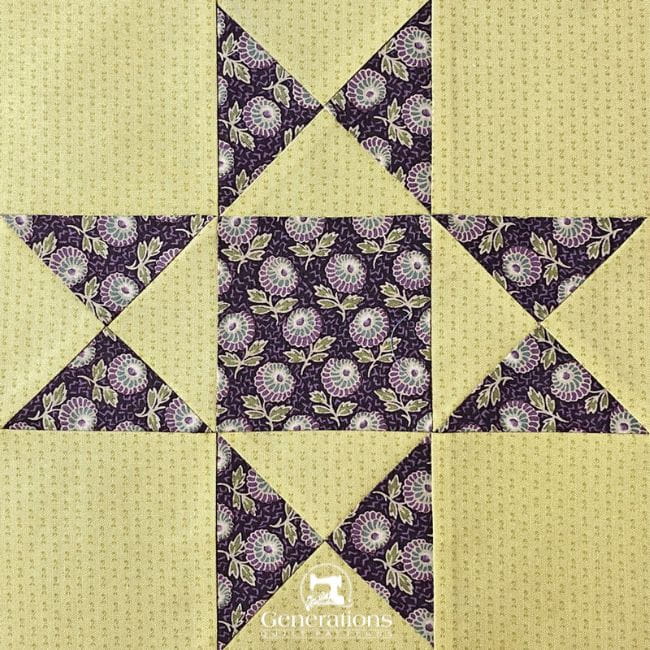
In this tutorial, you'll learn to make this block using your everyday
ruler and rotary cutter and employ the 'sew it bigger and then cut it to
perfection' technique.
The Ohio Star goes by a lot of other names, too, including:
- Eastern Star
- Eight Point Design - Ladies Art Company
- Eight Point Star
- Lone Star (really???)
- Shoofly (click here for directions to another version of this block)
- Star
- Texas (click for an entirely different design)
- Texas Star
- Tippecanoe and Tyler, Too
Whew! That's a lot of aliases.
We've got patchwork to make, let's get busy!
🧭 Ready to navigate the celestial spheres of the Ohio Star? 🔍
Use these starry signposts to plot your course through our tutorial:
Cut. Sew. Press. Blast your fabric into the quilt-o-sphere!
📋General Instructions
Several abbreviations are used in this tutorial:
- SA - seam allowance
- RST - right sides together
- QST - quarter square triangle
- HST - half square triangle
All the seam allowances (SA) are a 1/4".
Starching your fabric before cutting helps control all the bias edges we'll be stitching.
If your QSTs turn out lumpier then you expected, try my favorite pressing technique to flatten them into submission. You won't believe the results you get with such a quick trick.
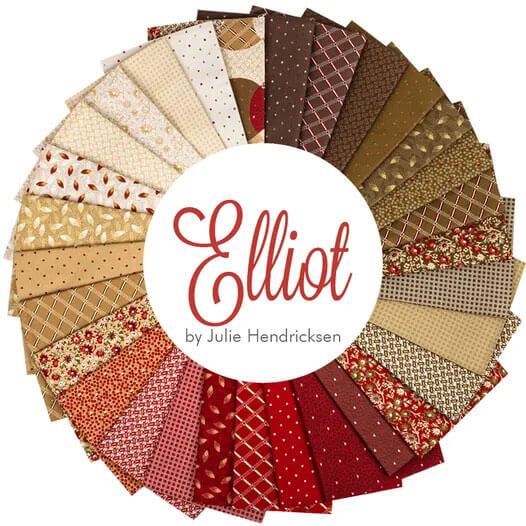
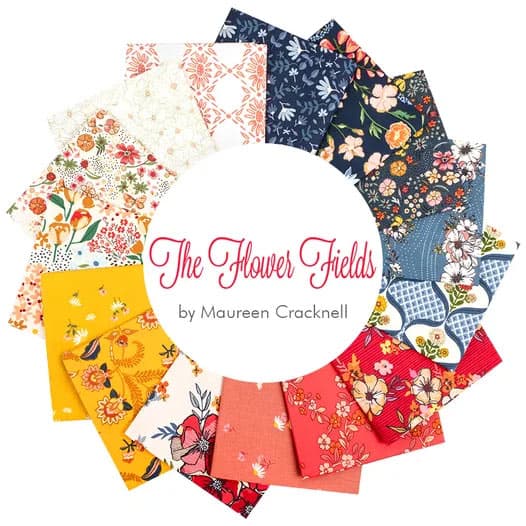
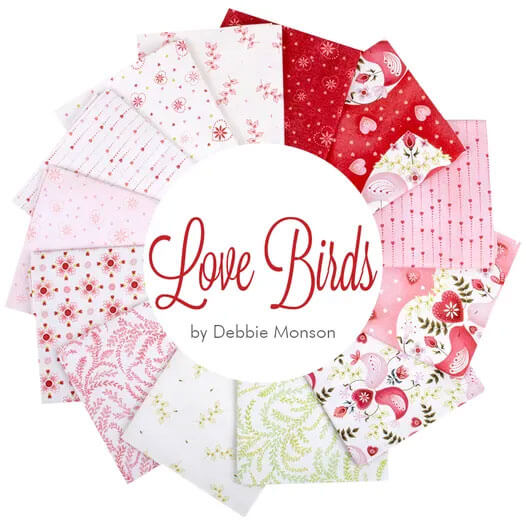
The newest quilt fabrics to tickle your fancy...
Click the images below to see the full collection. We share any commercial and/or free patterns that showcase them, too. (For inspiration, of course!)
✂️Choose a size and cut the patches for your Ohio Star
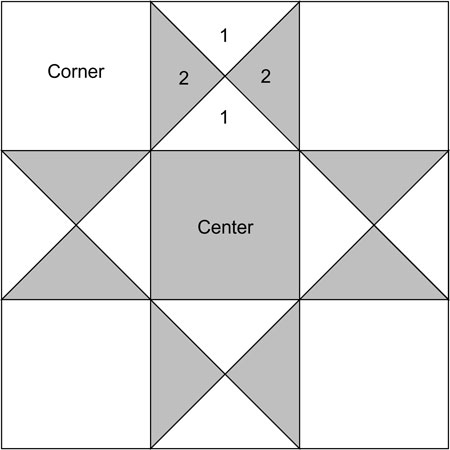 Ohio Star block design
Sample Block Size: 9" finished / 9½" unfinished
Grid: 3x3
Design Type: Even 9-patch | Star
I ALWAYS cut my patches for QSTs larger than they need to be, make the unit, and then trim it to size. This Ohio Star quilt block is no different.
When you cut patches for QSTs, the patch size is computed as…
Finished QST Size + 1-1/4"
That formula assumes that you cut and sew precisely. That your quarter inch SA is always spot on. (You can a quick sewing test to check your accuracy.)
And not once, but twice, for sewing AND cutting during the construction.
That's a lot of opportunity to be off a bit. That's why I cut oversized to begin with.
The dimensions in the chart are computed using the +1-1/4" formula above.
Since I prefer to cut generously sized patches for half- and quarter-square triangles, before cutting I added another 1/2" to the #1 and #2 dimensions shown in the chart.
That's what works best for me. I suggest you add a 1/2", too, make some QSTs, and then fine-tune this 'insurance' measurement, up or down, as needed.
To print a copy of the block design and cutting chart to use at your cutting table, click here.
 | Cutting Chart for an~ Traditional Piecing ~ | |||||||
|---|---|---|---|---|---|---|---|---|
| Patch | Fabric | Qty | Finished Block Size | |||||
| 3'' | 4½'' | 6'' | 7½'' | 9'' | 12" | |||
| 1** | Bac | 2 | 2¼'' x 2¼'' | 2¾'' x 2¾'' | 3¼'' x 3¼'' | 3¾'' x 3¾'' | 4¼'' x 4¼'' | 5¼" x 5¼" |
| 2** | A | 2 | 2¼'' x 2¼'' | 2¾'' x 2¾'' | 3¼'' x 3¼'' | 3¾'' x 3¾'' | 4¼'' x 4¼'' | 5¼" x 5¼" |
| Corner | Bac | 4 | 1½'' x 1½'' | 2'' x 2'' | 2½'' x 2½'' | 3'' x 3'' | 3½'' x 3½'' | 4½" x 4½" |
| Center | A | 1 | 1½'' x 1½'' | 2'' x 2'' | 2½'' x 2½'' | 3'' x 3'' | 3½'' x 3½'' | 4½" x 4½" |
| Unfinished Block Size | 3½'' | 5'' | 6½'' | 8'' | 9½'' | 12½" | ||
| Grid Size | 1'' | 1½'' | 2'' | 2½'' | 3'' | 4" | ||
There is a chart further down in these instructions where you need it for trimming them to size.
If you have a perfectly reliable 1/4" seam allowance use the dimensions in the cutting charts for these patches.
🪡Assemble the QSTs
Make 4
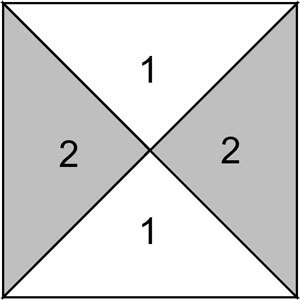 QST unit
Mark the diagonal on the back of the two light #1 patches.
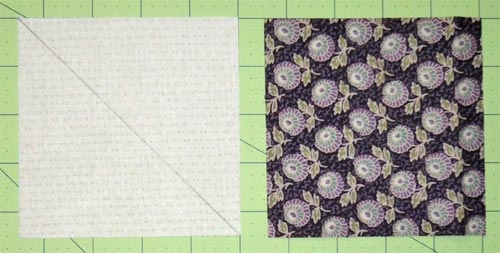 Mark only as dark as YOU need to see it.
With right sides together (RST), layer a #1 and #2 together. Stitch a quarter inch away from both sides of the line.
The red arrow points to my anchor cloth—a scrap of fabric that helps prevent my machine from chewing up the points of the patches.
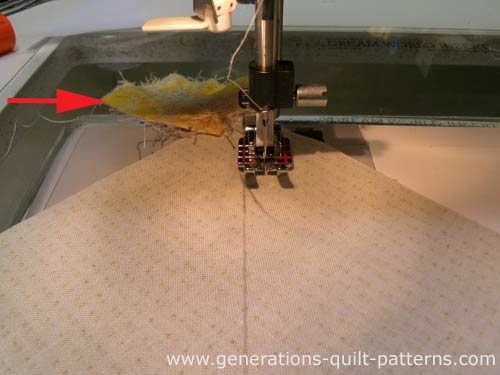
Cut the units apart on the drawn line.
Press. First with the patches closed to set the seam and then open with the SAs towards the darker fabric.
Repeat for both pairs.
At this point you have, for all practical purposes, four half square triangles (HSTs).
Draw a diagonal line (blue in the photo below) that bisects the sewn seam on two of these HSTs.
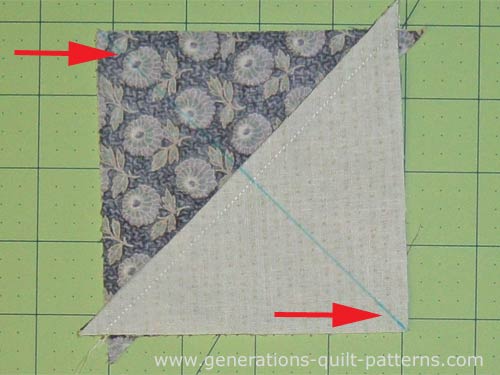 This line is perpendicular (90° to the previous stitching.
With RST, sandwich a marked and unmarked HST, nesting the seam to make matching the center easier.
Align the edges of the HSTs. Use pins to hold things in place if needed.
Again, stitch a 1/4" inch from both sides of the drawn line.
See how the SA is pointed toward the needle. That makes it easier to 'push' the match at the center of the QST.
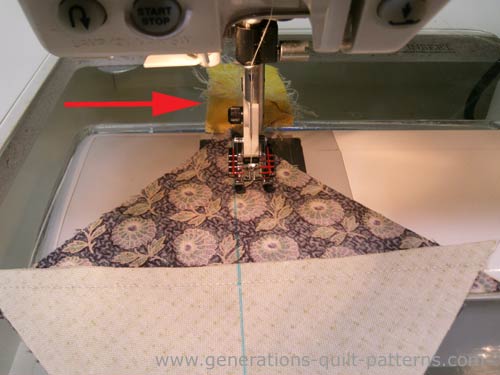
Repeat for the second pair.
Cut the two apart on the marked line. Press. First closed to set the seam and then open.
You now have four QSTs.
Trimming
Find the Finished Size of the Ohio Star block you're making and the corresponding Center Measurement.
NOTE: Regardless of whether you cut your patches to the exact size or if you added a bit, like I did, these measurements are the same, because you're basing them on the center of your block.
QST Dimensions | ||
|---|---|---|
| Finished Block Size | Center Measurement | Trim QST to… |
| 4½" | 1" | 2" |
| 6" | 1¼" | 2½" |
| 7½" | 1½" | 3" |
| 9" | 1¾" | 3½" |
| 12" | 2¼" | 4½" |
At your cutting mat, align your square ruler over the QST. The diagonal 45° line is directly over the seam.
This next step is CRITICAL to properly trimming your block.
Using the Center Measurement, align that ruler mark with the intersection of the seams in the center of your QST.
For our 9" finished sample Ohio Star, the Center of our QST is 1-3/4" and is trimmed to 3-1/2" square.
Shown below, the 1-3/4" mark on the ruler (both vertical and horizontal) is positioned right on top of the intersection of all seams in the center.
Make sure nothing has shifted. Trim the two exposed sides.
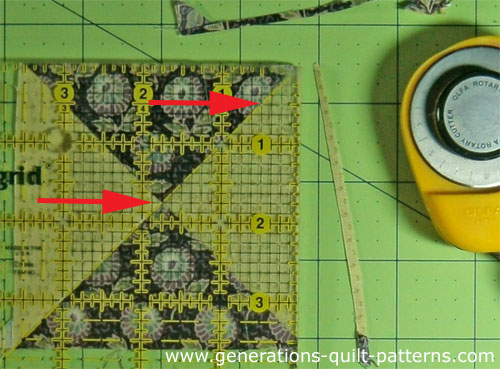
Flip the unit 180°.
Repeat these trimming steps so that your QST equals the 'Trim QST to' size from the chart above. Repeat for the remaining three units.
🧩Stitch your Ohio Star quilt block together
Lay out the cut patches and stitched QSTs into rows making sure the 'star points' point to the outside edges of the block.
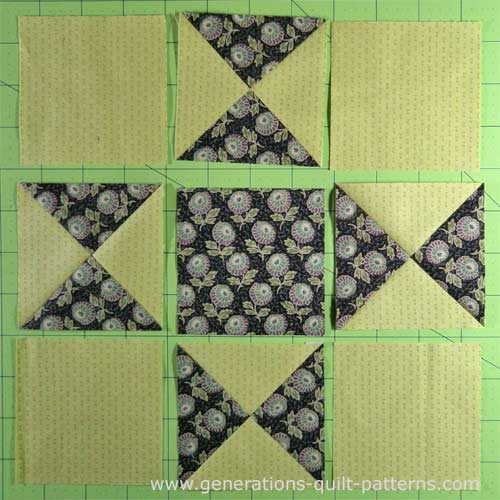 Did you catch it???
It's easy to get them switched! Did you notice the ones on the top and
right are positioned incorrectly—a quick double-check is faster than
ripping!
Stitch the units into rows and press with the SAs in the direction of the arrows. This is to reduce the bulk in the seams.
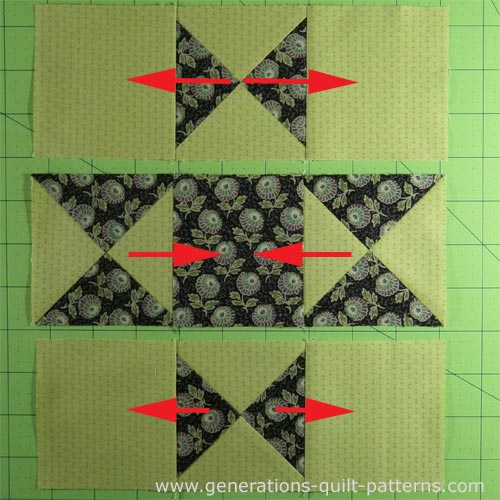 Glad I caught that mistake before sewing!
Stitch the rows together and give your block one final press. (Use our Best Pressing Technique to really get your patchwork wickedly flat!)
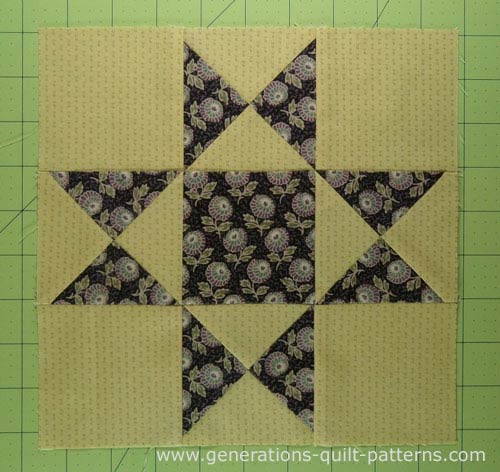
And this is the finished Ohio Star quilt block.
More related 8-pointed star quilt block patterns
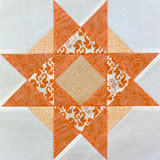
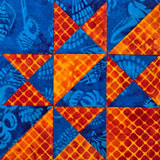
There are several tutorials available to you on this website that start with an Ohio star as its base. Click on any of the images below to go straight to that tutorial.
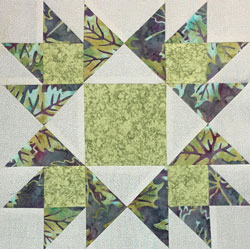
Aunt Dinah and Twin Star may seem a little suspect.
But look closely. Those are 3-patch quarter square triangles on each side.
You'll find confirmation in Barbara Brackman's BlockBase+ (love the software). These blocks are listed in the '09 Equal Nine Patch' library in '03 Like Ohio Star'.
📌Star-struck by this tutorial?
Pin it faster than you can say 'O-high-O'! 📌🌟
🔭 Looking for something truly stellar?
You've finished your star quilt block, and you're ready for more!
Browse our collection of 60 stellar star quilt block patterns. All have instructions and cutting charts in multiple sizes. If templates or paper piecing is used in the tutorial, there's a free download for you of those materials.

Eeny. Meenie. Miney. Moe.
Which star quilt block will you sew?
For a star-studded quilting experience, choose from 100+ bedazzling star quilt patterns—for beginners and beyond—click here.
For even MORE blocks to make... 🧩🎨

...visit our Free Quilt Block Pattern Library, with over 230+ blocks to choose from in multiple sizes.
Free downloads are included in all sizes for any blocks require paper piecing patterns or templates.
- Home
- Free Quilt Block Patterns
- Ohio Star Quilt Block
