- Home
- Free Quilt Block Patterns
- Maypole Dance Quilt Block
Maypole Dance Quilt Block
From our Free Quilt Block Patterns Library
This post contains affiliate links, for which I receive compensation.
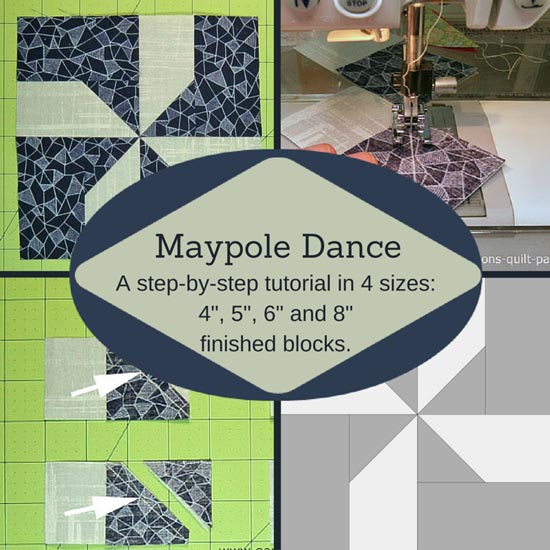
A Maypole Dance quilt block is a great introduction to pinwheel quilt blocks for the beginning quilter.
No triangles to cut.
No bias edges to mess with!
Learn to stitch up this pattern quickly using the Connector or Folded Corners technique.
There are instructions to make this block in 4 different sizes.
Let's get started.
📋 General Instructions
These abbreviations are used in this tutorial:
- SA - seam allowance
- RST - right sides together
- CC - connector corners
SA are 1/4" and pressed toward the dark fabric unless noted otherwise.
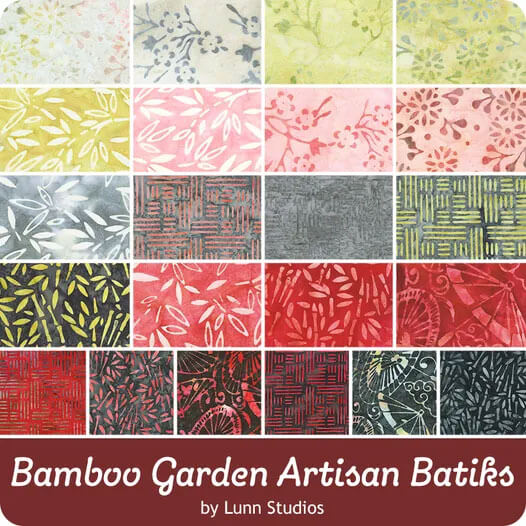
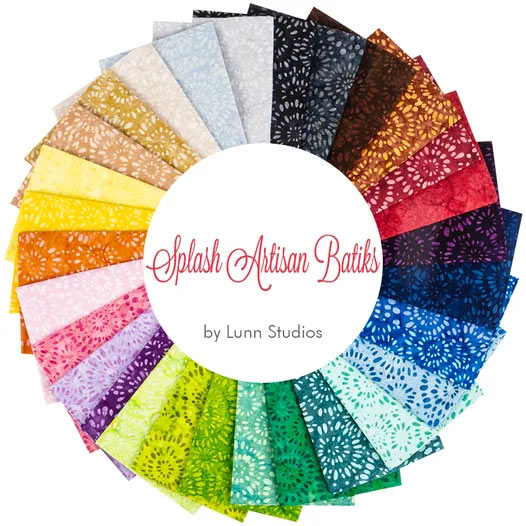
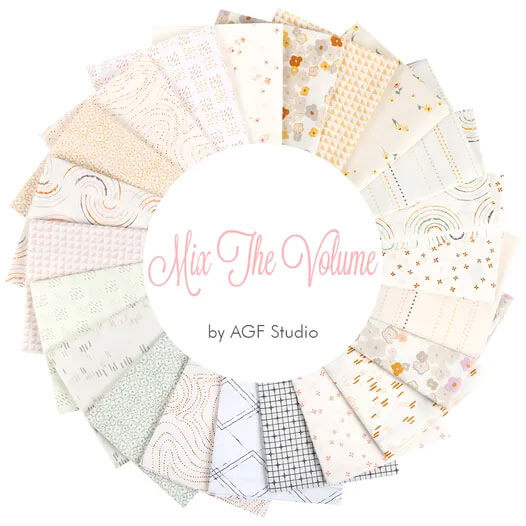
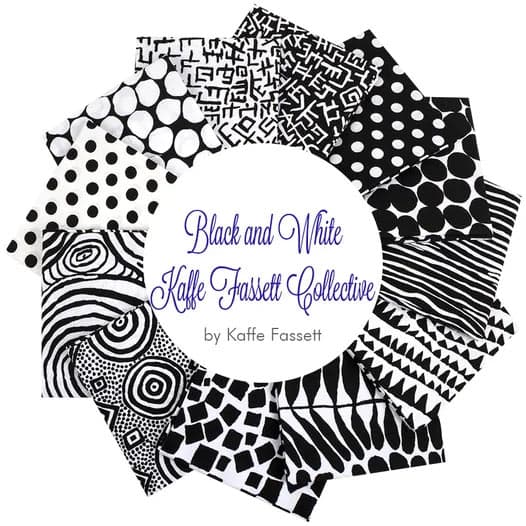
The newest quilt fabrics to tickle your fancy...
Click the images below to see the full collection. We share any commercial and/or free patterns that showcase them, too. (For inspiration, of course!)
Step 1: Cutting patches for a Maypole Dance
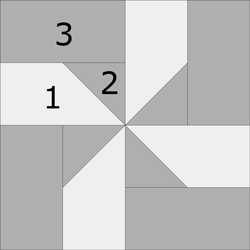 Maypole Dance design
Sample Size: 6" finished / 6½" unfinished
Grid: 4x4
Attribution: Quiltmaker
Design Type: 4-patch
Choose fabrics with good contrast so that the points in the center of the pinwheel aren't lost.
The Connector Corners (CC) technique is used to create the half square triangle.
When making CC, I find it easier to fingerpress the patches when the fabric is starched before cutting.
[Learn more about starching fabric here...]
 |
Cutting Chart for a~ Traditional Piecing ~ | |||||
|---|---|---|---|---|---|---|
| Patch | Fabric | Qty | Finished Block Size | |||
| 4" | 5" | 6" | 8" | |||
| 1 | L | 4 | 1½" x 2½" | 1¾" x 3” | 2” x 3-1/2” | 2½" x 4½" |
| 2 | D | 4 | 1½" x 1½" | 1¾" x 1¾" | 2” x 2” | 2½" x 2½" |
| 3 | D | 4 | 1½" x 2½" | 1¾" x 3” | 2” x 3½" | 2½" x 4½" |
| Unfinished Block Size | 4½" | 5½" | 6½" | 8½" | ||
| Grid Size | 1" | 1¼" | 1½" | 2" | ||
Step 2: Assemble the Maypole Dance units
Make 4

With a pencil (I've used my Bohin Mechanical Chalk Pencil) mark a diagonal line on the backside of all four #2 patches.
With right sides together (RST), align the #2 square with the right side of the #1 patch as shown below.
Sew on the drawn chalk line. (Using an open toe applique foot makes it easier to see where you need to stitch.)
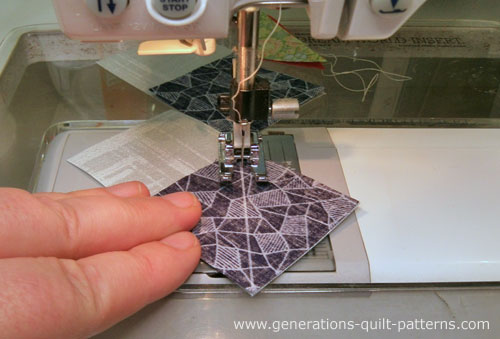 Sewing on the drawn line with an open toe applique foot.
Now you have a choice to make. You can either trim away just the excess #2 fabric (below, top), or both the excess #1 and #2 fabric (below, bottom). Be sure to leave behind a 1/4" seam.
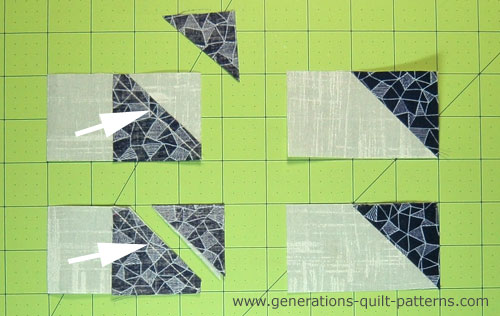 Leaving a quarter inch SA, trim away either #2 or #2 AND #1. The final result is the same.
Trim all four pairs of patches.
With RST, add the #3 to the top of each #1/#2 unit, pressing the SA towards the darker #3 fabric.
Repeat for a total of 4 matching units.
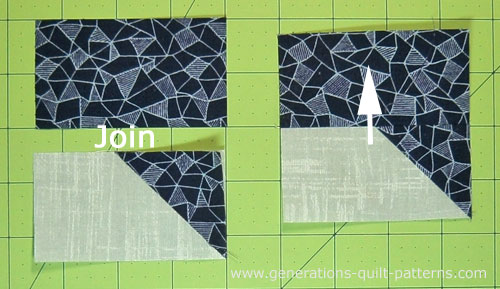 After sewing, press the SA toward #3, the darker fabric.
Step 3: Assemble your Maypole Dance quilt block
Arrange the patches into the Maypole Dance design, remembering to rotate each a quarter turn as you make your way clockwise around the block.
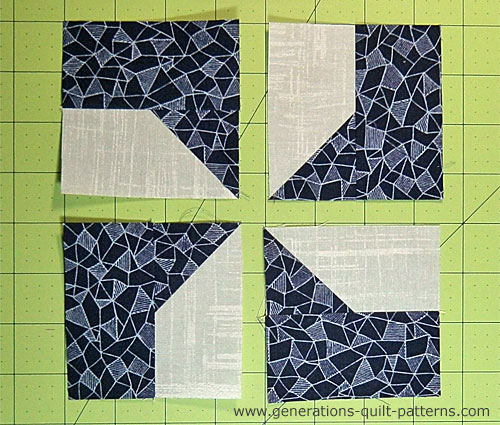 Each unit is rotated a quarter turn.
Stitch the patches into rows. The seams nest in the center which makes it easy to get a good match. Use pins if needed to hold everything together. (I do!)
Press with the SA away from the #1 light rectangle.
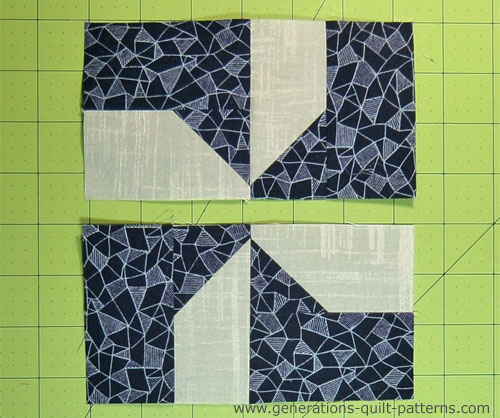
Sew the rows together. Again, the SAs nest. Pin the center match point if needed. A pinwheel block with a perfectly matched center is a BEAUTIFUL thing!
After checking to see that the match is good, remove a couple of the stitches in the SA from the backside so that you can twirl the SA. This distributes the bulk in the center making the block easier to machine quilt.
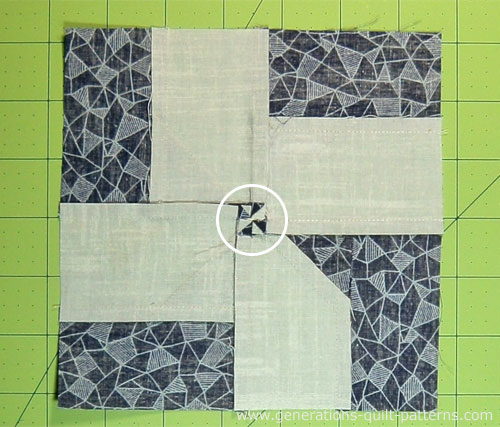 Twirl the seam allowances in the center to reduce bulk. When done correctly, a tiny pinwheel forms in the center.
Our Maypole Dance quilt block is complete!
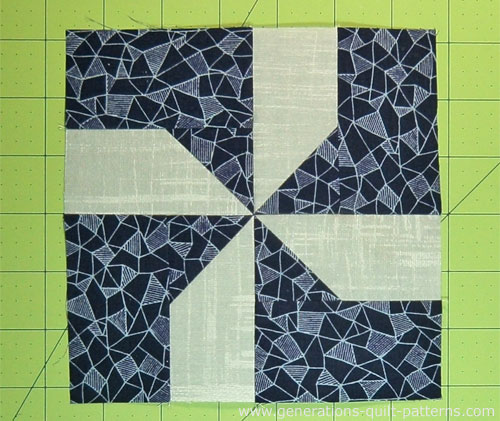 The Maypole Dance is finished!
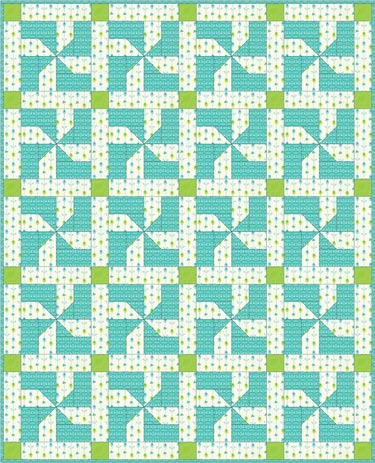
An idea for a quick baby quilt...
It doesn't get much easier than this.
Three fabrics. Simple sashing and cornerstones.
A quick baby quilt to whip up at the last minute!
What about a different quilt block?
For a list of all the 220+ quilt block patterns on this site, start here.
If you know the name of the block, shorten your search by using these links:
Click here if you're looking for blocks with at least some paper piecing.
Click here if you're looking for the basic building blocks of quilting, i.e., Flying Geese, half square triangles, quarter square triangles, etc., along with several techniques to make each.
And finally, use these links to find blocks in these finished sizes:
