- Home
- Free Quilt Block Patterns
- Log Cabin Quilt Block
Mastering the Log Cabin Quilt Block: A tutorial in 3 sizes
Beginner-friendly instructions for the new quilter
This post contains affiliate links for which I receive compensation.
The Log Cabin quilt block is perhaps the most well-known, best loved of all quilt designs. Simple enough for a beginner quilter to confidently stitch...
...yet versatile enough to pique the interest of a more experienced quilter.
The basic structure of this quilt block is a center shape surrounded by strips, or 'logs'.
 Remember to Pin It for later!
While square blocks typically come to mind, log cabin blocks can be square, rectangular, triangular, diamond shaped, twisted or even curved. The starting shape can be centered or anywhere else in the block.
You create the standard log cabin block by adding strips (the logs) one at a time around a centered square.
In this tutorial, you'll find:
- A cutting chart for three different sizes
- Trimming charts to keep each round accurate
- A list of more Log Cabin resources at the bottom of the page
Let's begin!
General Instructions
We use several common abbreviations are throughout this tutorial:
- RST—right sides together
- SA—seam allowance
'Logs' is another name for 'patches'. Since we're talking about a Log Cabin block, the word seems only fitting!
SA are all 1/4".
I prefer to prewash and starch my quilt fabric before cutting.
In my humble opinion, the cutting and sewing are both more accurate when using starched fabric. The downside is that you'll need to wash the quilt after it's finished to remove the starch completely.
But hey!
We're not having to beat the crap out of our quilt on a rock at the stream. We simply throw it in the washing machine and turn the knob.
An easy way to improve the accuracy of your Log Cabin quilt blocks
To further improve the accuracy of my blocks, I cut all my rectangular patches with the long edge on the lengthwise grain (parallel to the selvedge).
Lengthwise grain has far less stretch than cross-grain patches. That means you won't accidentally stretch your units out of shape as you stitch. Learn more about grain line here.
Finally, I do a sewing test with scraps from the fabrics I'll use in my quilt. A perfect seam allowance is a beautiful thing!
For a more on these techniques, go to "Perfecting Log Cabin Quilt Blocks: Two simple techniques no one talks about...".
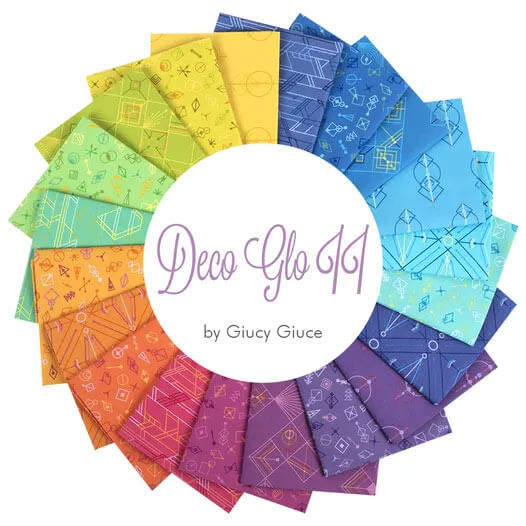
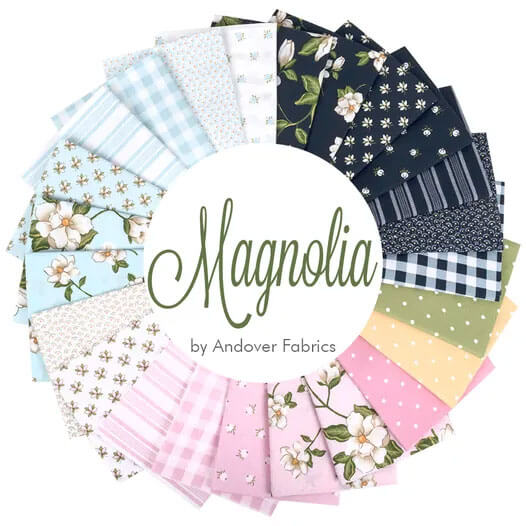
The newest quilt fabrics to tickle your fancy...
Click the images below to see the full collection. We share any commercial and/or free patterns that showcase them, too. (For inspiration, of course!)
Step 1: Cutting patches for a Log Cabin quilt block
Our Log Cabin block has a center square surrounded by five 'rounds' of logs.
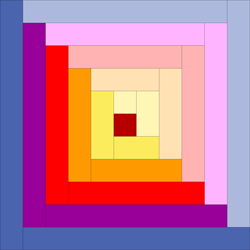 Round 1 is yellow, 2 is orange, etc.
Pictured here each round is colored in a unique hue that includes both light and dark values to represent the opposite sides—light and dark—of the block.
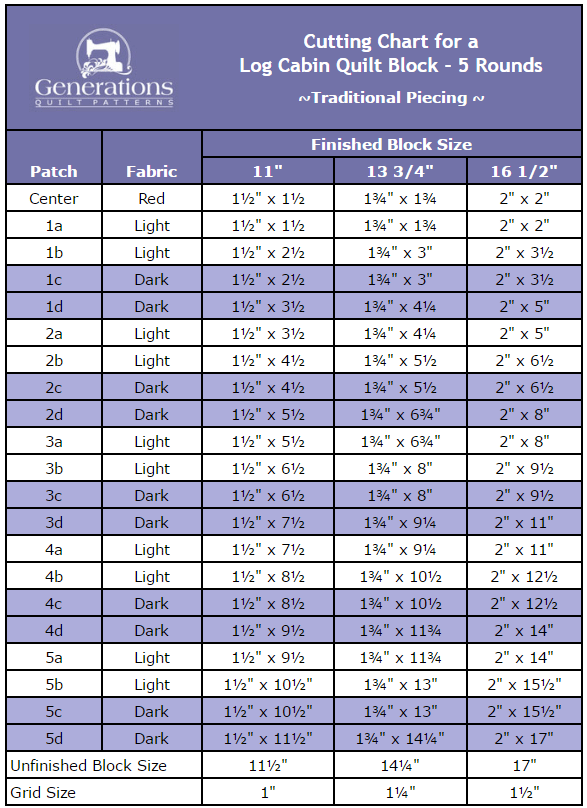
For the Patch names in the chart below the number refers to the 'round', so all Patch names that start with 1 are in the first round of logs.
The letter—a, b, c or d—refers to the order of piecing.
Cut one of each patch for each block you make. So if you have a design with 40 blocks, cut 40 Centers, 40 1a, 40 1b, etc.
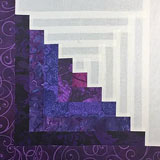
The sample in this tutorial is constructed with like pairs of dark logs. 5 different purple fabrics are used where 1c/1d is one fabric, 2c/2d is another, etc.) and a single light fabric.
You, of course, are free to use any combination of fabrics. Choose what makes YOUR heart sing!
The only 'rule' to follow is there should be a clear difference between your light and dark fabric values.
The stepped diagonal line created by the piecing should be strong and easy to distinguish.
Download the coloring page for the block here.
Use it to help you plan the fabric placement in your block, or for something your young quilting companion can work on while you stitch. :)
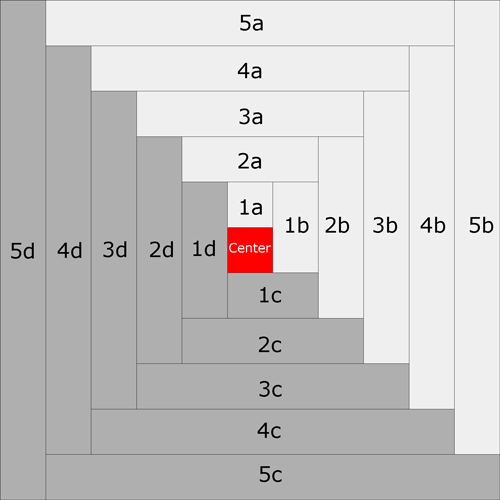 Log Cabin block, 5 rounds of logs. Each round contains 2 light & 2 dark logs.
The cutting chart below is for strip widths that finish at 1", 1-1/4" and 1-1/2". This results in blocks with finished sizes of 11", 13-3/4" and 16-1/2" respectively.
Click here to download a copy of this cutting chart for a Log Cabin quilt pattern.
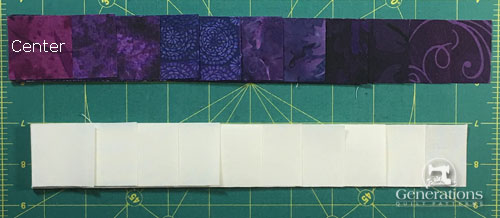
Below are all the patches, stacked one on top of the other.
It's easy to see that for our 11" finished sample block, each patch is 1" longer than the previous one. Instead of a traditional red center, I've chosen to use a shade of violet.
 All the patches are cut and ready for sewing.
If I'm making a single block, I like to keep my patches stacked this way to keep things organized.
If I'm making loads of blocks, then I'll sort out the pairs of lights and pairs of darks by round.
You might choose to label the patches instead. Do what works best for how YOU work.
For more on Log Cabins, check out:
- Log Cabin Quilt Designs—ideas for YOUR Log Cabin quilt patterns
- Log cabin quilts can be paper pieced—try it for yourself
- How to quilt a Streak of Lightning quilt—a Log Cabin quilting suggestion
💫 Log Cabin Block Buffet (All You Can Make!)
Feast your eyes on these beauties! 🎯 Each one uses the same "master the method, skip the stress" philosophy you just learned. ✨ Time to put those skills to work on something new! 💪
The blocks below are ones where at least a part of the block uses the Log Cabin piecing technique.
Still have a Log Cabin itch that you can't scratch?
Browse through our curated collection of free or paid Log Cabin quilt patterns. These include traditional and modern blocks, Pineapple and Courthouse Steps designs.
Click here for the inspiration.
For even MORE blocks to make… 🧩🎨

...visit our Free Quilt Block Pattern Library, with over 260+ blocks to choose from in multiple sizes.
Free downloads are included in all sizes for any blocks require paper piecing patterns or templates.
- Home
- Free Quilt Block Patterns
- Log Cabin Quilt Block
