- Home
- Free Quilt Block Patterns
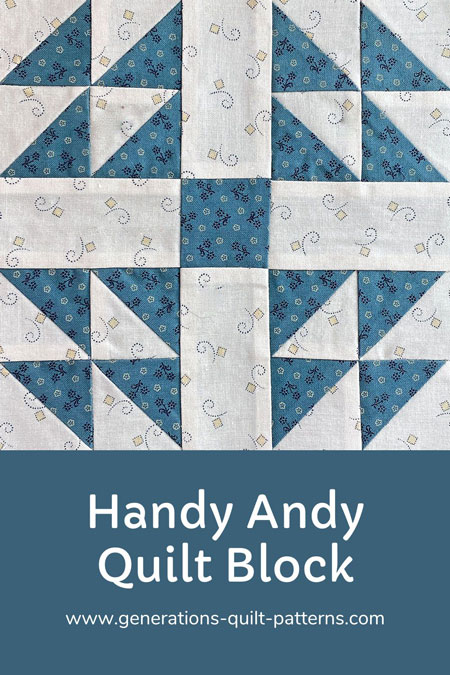
- Handy Andy Quilt Block
Master the Handy Andy Quilt Block: 8 HSTs at a Time
Piece Out with Handy Andy: No Stress, Just Success! 🧩🏆
This post contains affiliate links, for which I receive compensation.
Skill Level: Confident Beginner
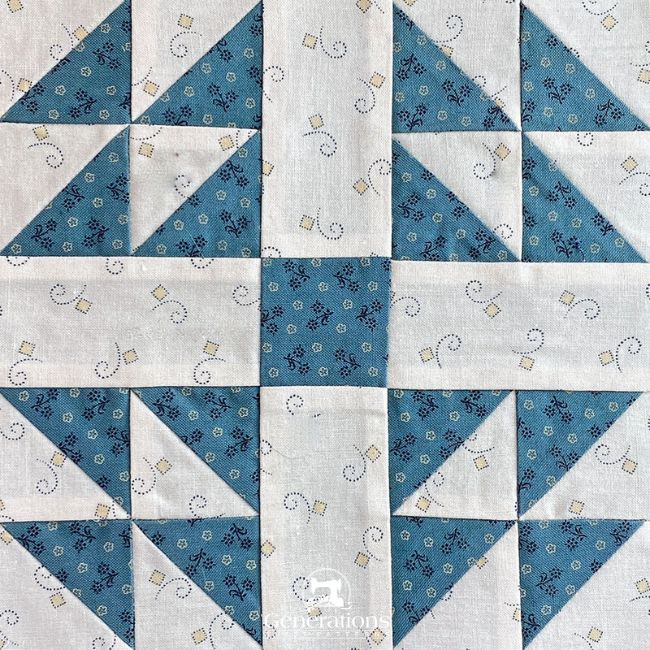
The Handy Andy quilt block uses a total of 16 half square triangles (HST) which makes it the perfect place to practice a wickedly speedy method to make these basic units.
In this lesson we'll use the 8 at a time technique—perfect for when all the triangles are made from the same two fabrics.
If you'd prefer a different approach, check out our Basic Quilt Blocks page for alternative techniques.
There are a bunch of blocks that go by the same name. They are shared after the tutorial.
Let's get started!
🧭Navigate this Handy Andy adventure like a pro! 🔍
Use these anchor links to zip straight to the juicy bits of our tutorial. Whether you're here for the cutting chart or craving some coloring fun, we've got you covered faster than you can say "HST"!
- A cutting chart in three sizes with a download of the chart and block design
Cut. Sew. Press. Let Andy work his Handy magic!
📋 General Instructions
Abbreviations used in this tutorial:
- SA - seam allowance
- RST - right sides together
- HST - half square triangle
- QST - quarter square triangle
SAs are 1/4" and pressed to the darker fabric unless otherwise noted.
When you are instructed to press, first press the pieced unit flat to set the seam. This helps to meld the thread into the fabric. Then open the patch, pressing from the front to minimize the occurrence of tucks.
The newest quilt fabrics to tickle your fancy...
Click the images below to see the full collection. We share any commercial and/or free patterns that showcase them, too. (For inspiration, of course!)
✂️ Cutting for a Handy Andy block
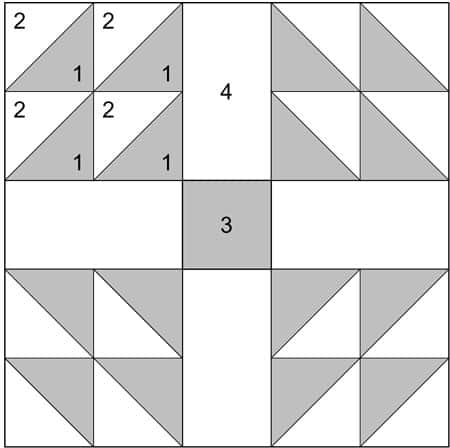 Handy Andy design
Sample Size: 7½" finished / 8" unfinished
Grid: 5x5
Attribution: Ruth Finley
Design Type: Uneven 9-patch, small center | Blocks with unpieced bars
Patches #1 and #2 are cut oversized. The HST are then trimmed to size after stitching to create perfect units, which make piecing them together more accurate.
Choose fabrics with enough contrast so that the points of your HSTs show.
Select a block size from the chart below and cut the patches for your Handy Andy quilt block.
To print a copy of the block design and cutting chart to use at your cutting table, click here.
 | Cutting Chart for a~ Traditional Piecing ~ | ||||
|---|---|---|---|---|---|
| Patch | Fabric | Qty | Finished Block Size | ||
| 5'' | 7½'' | 10'' | |||
| 1 | Dark | 2 | 4¼'' x 4¼'' | 5¼'' x 5¼'' | 6¼'' x 6¼'' |
| 2 | Light | 2 | 4¼'' x 4¼'' | 5¼'' x 5¼'' | 6¼'' x 6¼'' |
| 3 | Dark | 1 | 1½'' x 1½'' | 2'' x 2'' | 2½'' x 2½'' |
| 4 | Light | 4 | 1½'' x 2½'' | 2" x 3½'' | 2½'' x 4½'' |
| Unfinished Block Size | 5½'' | 8'' | 10½'' | ||
| Grid Size | 1'' | 1½'' | 2'' | ||
🪡 Assembling the HST units
Individual HST
Make 16
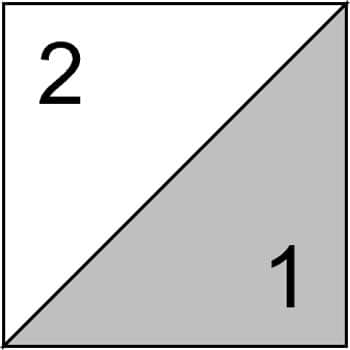
On the back side of the two light #2 squares, draw an 'X' on the back that connects the diagonal corners. I use a mechanical pencil because the line always stays fine.
With right sides together (RST) layer a marked #2 with a #1 and sew a quarter inch from both sides of each line for a total of four stitching lines.
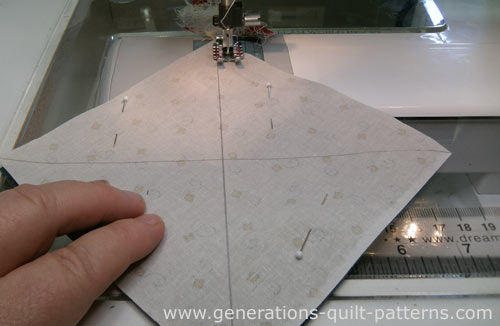
Press the unit flat to set all the seams at once.
To create the HSTs we need to trim this sewn unit into 8 pieces.
Refer to the chart below and find the Center Measurement.
HST Dimensions | ||
|---|---|---|
| Finished Block Size | Center Measurement | Trim HST to… |
| 5" | 2⅛" | 1½" |
| 7½" | 2⅝" | 2" |
| 10" | 3⅛" | 2½" |
For our 7-1/2" finished sample block that number is 2-5/8".
Find the Center Measurement on your ruler and match it to one of the edges of the sewn squares (red arrow). The center edge of the ruler (black arrow) should touch the intersection of the lines you drew (or be very, very close).
Cut.
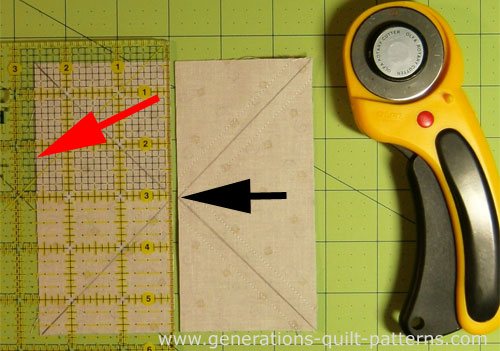 For the 7½" sample, the Center Measurement, 2⅝" is aligned with the left edge.
Repeat for the adjacent side. The sewn square is now in four pieces (below, left). Cut each square in half along the drawn line (below, right).
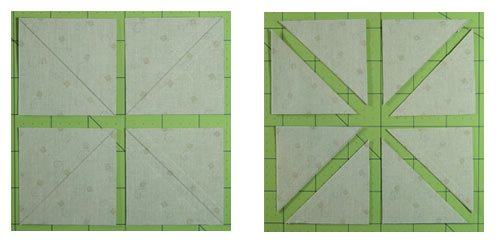 After the first two cuts, you have 4 squares (left, above), after the second two cuts you have 8 (right, above).
Press each sewn pair of squares and trim to the 'Trim HSTs to...' size from the chart above.
For our 7-1/2" finished block, trim them to 2"x2".
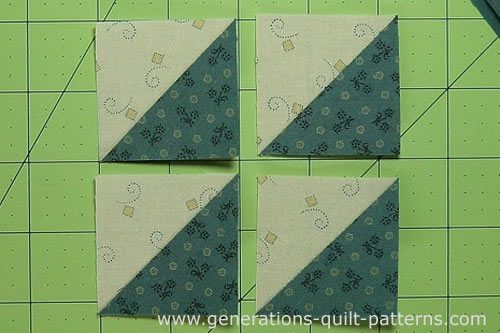
Repeat for the second set of #1/#2 squares for a total of 16 HSTs.
Click here if you would like more detailed instructions to make Half Square Triangles 8 at a time.
HST Corners
Make 4
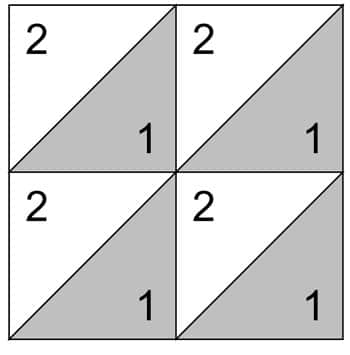
Sew 8 pairs of HSTs together.
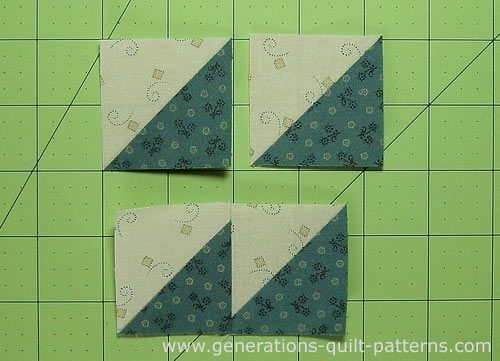
Press 4 pairs with the SA towards the dark and 4 pairs toward the light fabric.
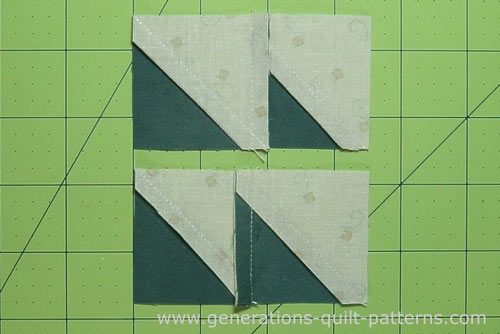 Join pairs of HSTs to make 8 of these units
Sew one of each of the differently pressed units together. The SAs nest to make matching easier.
Repeat for the three remaining pairs.
To reduce bulk in the center, twirl the seams (below, right).
To twirl or fan the seam, loosen and undo a couple of stitches at the center. Enough so that you can fan the seams with your fingers. DO NOT CUT AWAY THOSE THREAD TAILS.
Give the patches on final press. Since these units can be rather lumpy, I like to use our Best Pressing Technique to tame them.
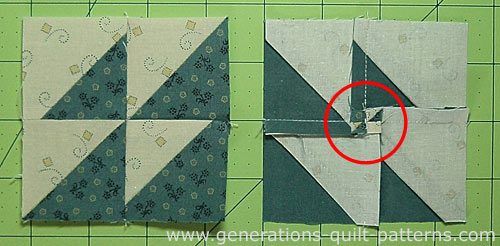 Our twirled seam allowance from the back (right, above)
🧩 Putting our Handy Andy quilt block together
Lay out the pieced and cut patches into rows. You can see that even though the design is drawn on a 5x5 grid, the Handy Andy block is assembled as an uneven 9 patch.
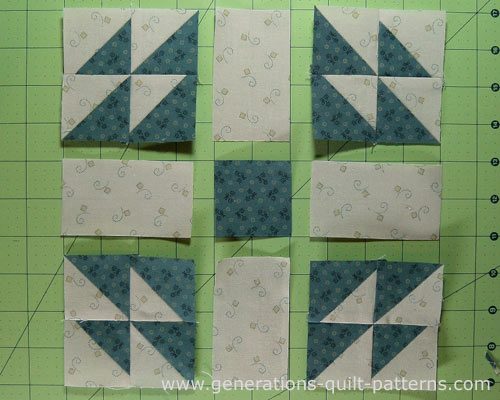
Stitch the units into rows. Press, with the SAs toward the #4 rectangles.
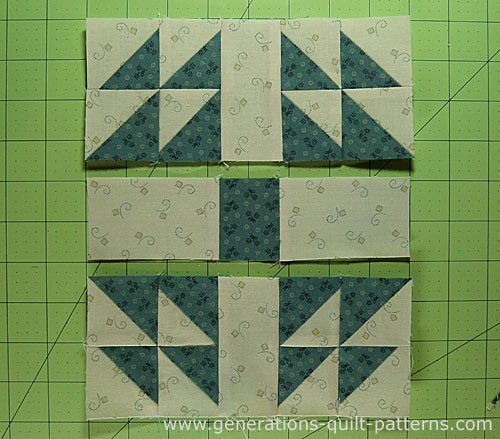
And our Handy Andy quilt block is finished...
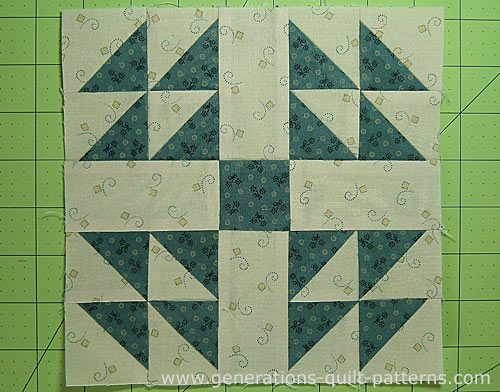 Handy Andy quilt block
Same name—different block
There are four other blocks I've found that also sometimes go by the name 'Handy Andy'. All have lots of pointy points in common...

Boxes
This 7 fabric block looks nothing like its original Handy Andy quilt block.
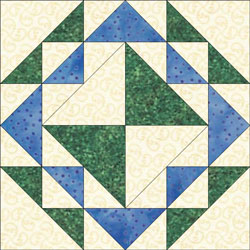
Corn and Beans
Full of half square triangles, but drawn on a 6x6 grid.
AKA: Crazy Ann, Ducks and Ducklings, Hen and Chickens, Hen and Chicks, Shoo Fly
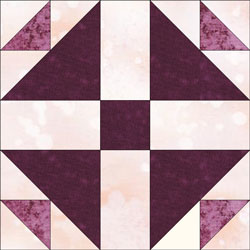
Duck and Ducklings
AKA: Corn and Beans, Ducklings, Ducklings for Friendship, Fox & Geese, Hen & Chickens, Shoo-fly, Wild Goose Chase
Click here for instructions for both traditional and paper piecing this block in 5", 7-1/2" and 10" finished sizes
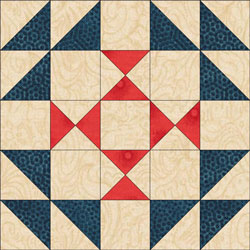
Foot Stool
Closely based on this page's block, but includes a quartet of quarter square triangles (QST).
AKA: Mrs. Jones' Favorite
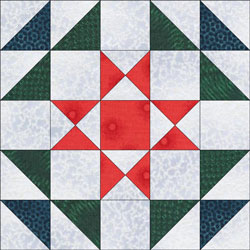
Foot Stool Variation 1
The QSTs of the previous Foot Stool are rotated a quarter turn to create an Ohio Star in the center.
📌Put a pin in it! 🎯
Andy's too Handy to lose in the feed. Save now, sew later!
For even MORE blocks to make… 🧩🎨

...visit our Free Quilt Block Pattern Library, with over 260+ blocks to choose from in multiple sizes.
Free downloads are included in all sizes for any blocks require paper piecing patterns or templates.
- Home
- Free Quilt Block Patterns
- Handy Andy Quilt Block
