Half the Logs,🪵 Twice the Fun: Mastering the Half Log Cabin Block🏠
Embrace your inner lumberjack with Half Log Cabin blocks! 🪓👷♀️
This post contains affiliate links for which I receive compensation
A fun twist on the traditional log cabin, the Half Log Cabin quilt block is an easier beginner-friendly variation that's a total breeze to sew.
In this simple tutorial, you'll learn how easy it is to make neat, crisp Half Log Cabins in 4 sizes—from small 3½" to large 14" finished blocks.
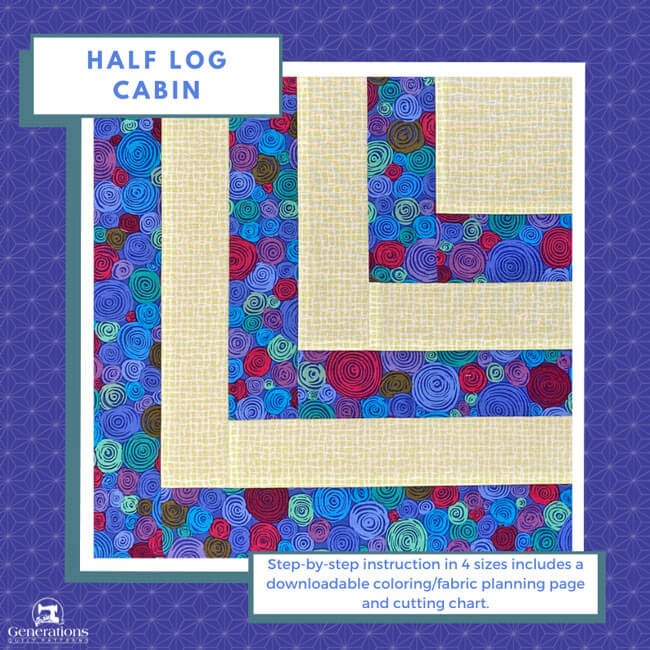
This version of the classic uses half the number of logs for double the visual impact. With fewer seams to match and easier piecing, it's the perfect small start to patchwork that makes a big statement.
What's in a name... 🤔📛🏷️
You may have heard of or called a Half Log Cabin quilt block a 'Chevron' or 'Quarter Log Cabin'. And you wouldn't be wrong.
I know the name confused the living daylights out of me for a long time. Either of those two names seemed more appropriate to my dense, fiber-filled brain.
If a Log Cabin looks like the block below left, a Courthouse Steps variation, then wouldn't the block below right be a 'quarter' of that?
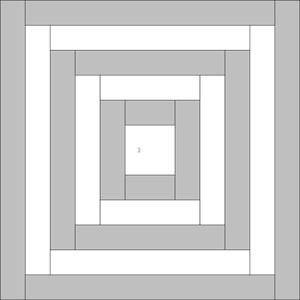 Courthouse Steps
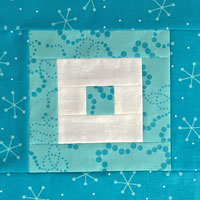
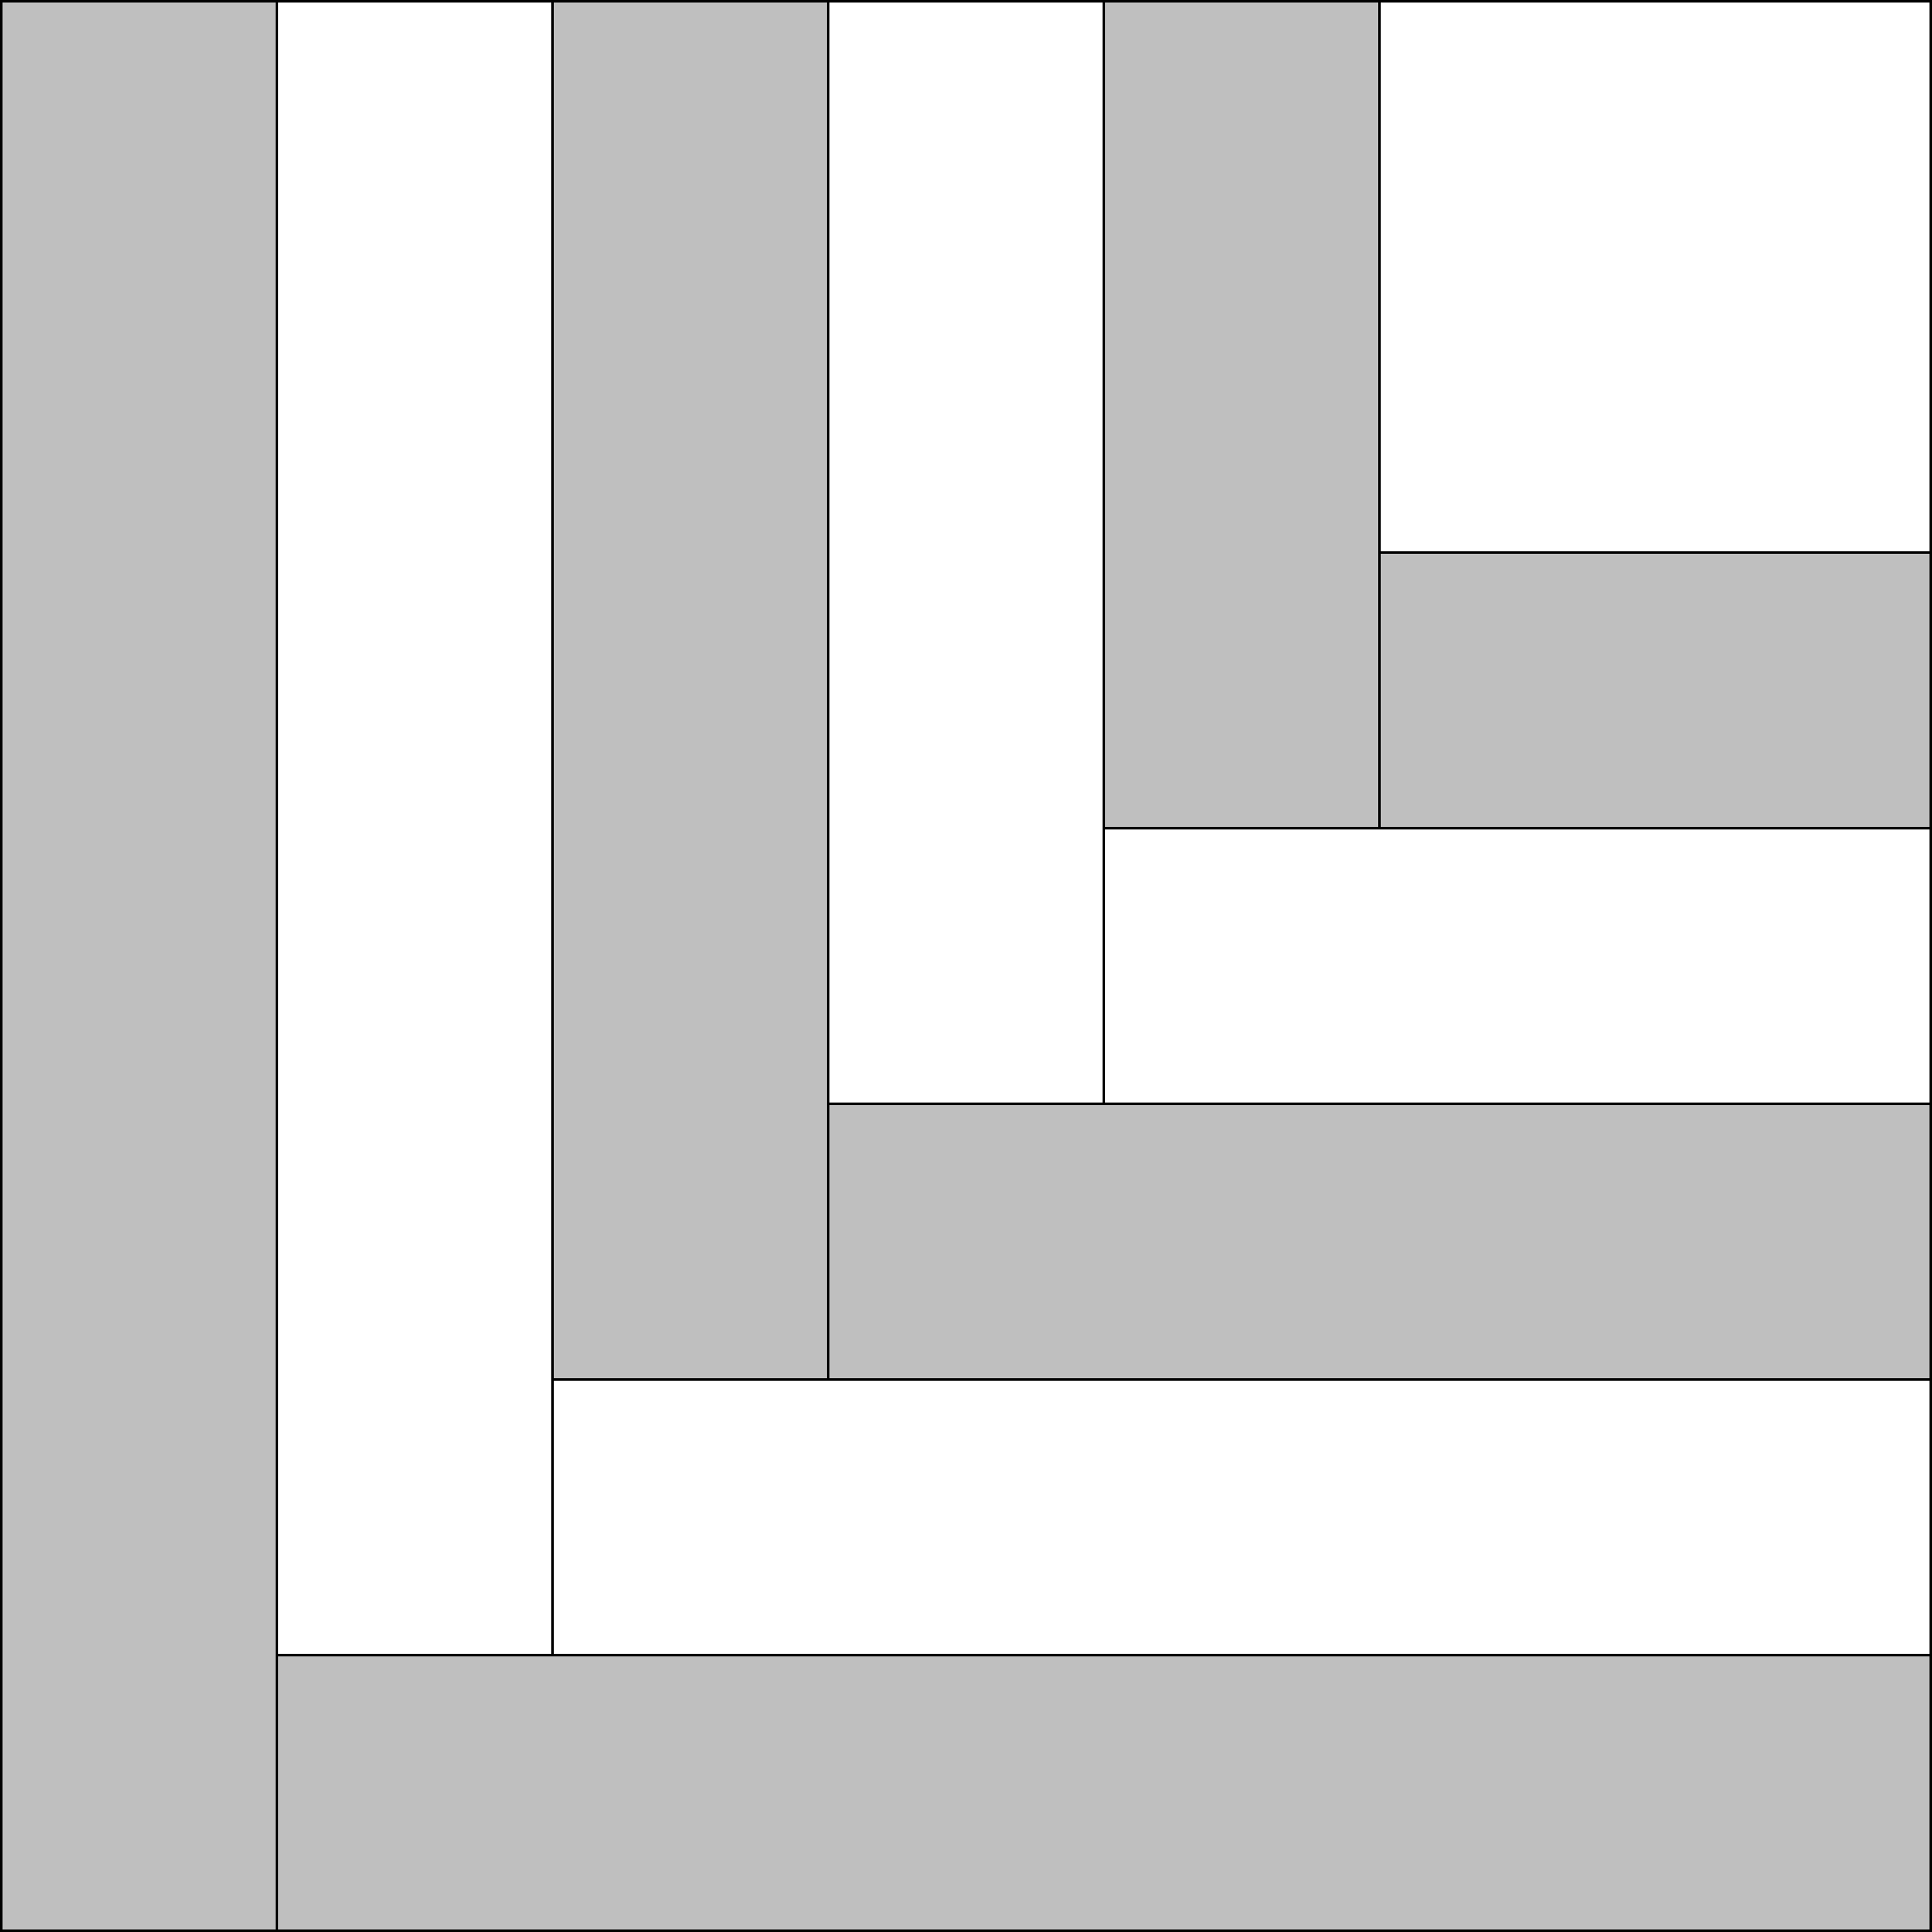 Half Log Cabin
Well, my addled brain finally kicked in. For our Half Log Cabin, we're adding logs on two sides, i.e., HALF the logs that you'd use for the regular block.
Ah-ha!
Thankfully, the construction isn't as confusing as the name. Just sew those two logs onto adjacent sides of the first square.
Wash. Rinse. Repeat.
It really couldn't be simpler to whip up.
🧭Ready to navigate this quilting adventure? 🔍
Use these handy links to hop around faster than a bunny in a log pile! 🐰🏠
- A cutting chart in four sizes, with downloads of the chart and block design
- Too pooped to piece patches? Bookmark or Pin this primer for when you perk up and prioritize playful patchwork.
It's time to cut up and sew! Log in to your quilting superpowers!
📋General Instructions
We use a couple of abbreviations in these instructions. They are:
- SA – seam allowance
- RST – right sides together
1/4” SA are used through this tutorial.
When pressing, first press the patches in the closed position just as they came off your sewing machine. This sets the seam, melding the fibers of the threads into the fibers of the fabric.
You can choose the way you want to press in the instructions below. There are a few options.
These instructions are highlighted in yellow throughout to make them easy to find.
I'm a huge fan of starching your quilt fabrics before piecing. a 50/50 mix of StaFlo Liquid Starch Concentrate to water is my go-to.
Another helpful tip when making any Log Cabin block is to cut the length of your logs on the lengthwise grain of your fabric. Lengthwise grain has little if any stretch.
As long as your 1/4" SA is good, your blocks will practically piece themselves.
For more on these tips to making the perfect Log Cabin, read, "Perfect Log Cabin Quilt Blocks: Secrets no one spills!"
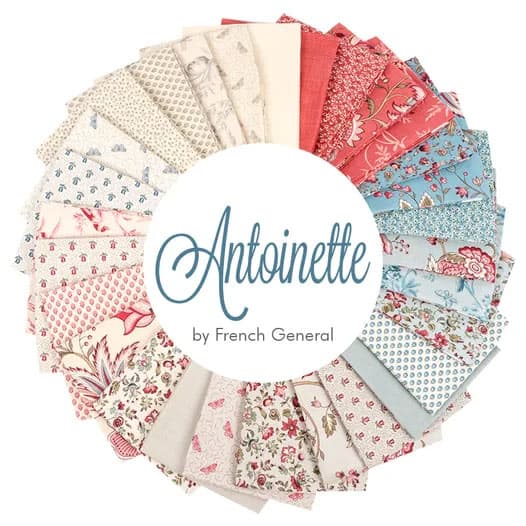
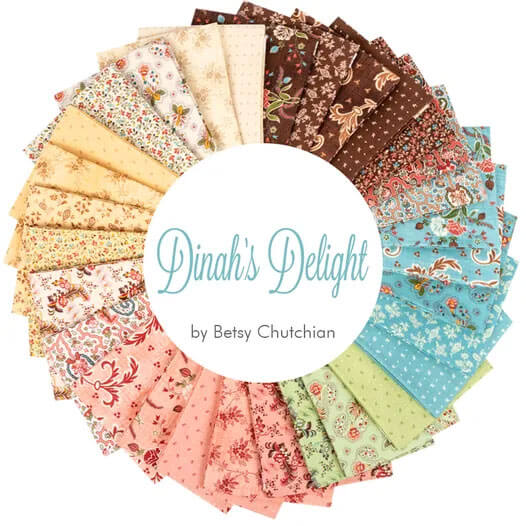
The newest quilt fabrics to tickle your fancy...
Click the images below to see the full collection. We share any commercial and/or free patterns that showcase them, too. (For inspiration, of course!)
✂️Cut patches for your Half Log Cabin quilt block
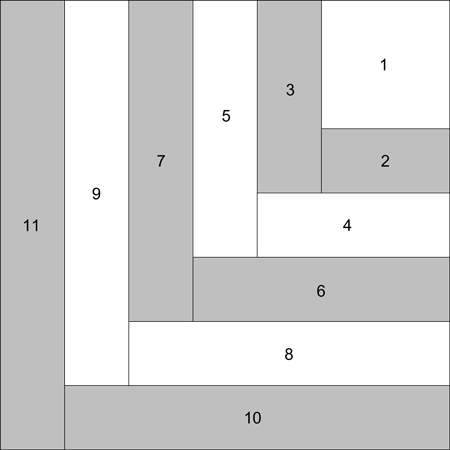
Sample Block Size: 10½" finished / 11" x unfinished
AKA: Chevrons (Aunt Kate's Quilting Bee), Quarter Log Cabin
Grid: 7×7
Design Type: Log Cabin
Label all your patches. We refer to their numbers throughout this tutorial.
The 14" block is Jelly Roll friendly if you'd like to speed up the cutting process.
 | Cutting Chart for a~ Traditional Piecing ~ | |||||
|---|---|---|---|---|---|---|
| Patch | Fabric | Qty | Finished Block Size | |||
| 3½'' | 7'' | 10½'' | 14'' | |||
| 1 | Light | 1 | 1½'' x 1½'' | 2½'' x 2½'' | 3½'' x 3½'' | 4½'' x 4½'' |
| 2 | Dark | 1 | 1'' x 1½'' | 1½'' x 2½'' | 2'' x 3½'' | 2½'' x 4½'' |
| 3 | Dark | 1 | 1'' x 2'' | 1½'' x 3½'' | 2'' x 5'' | 2½'' x 6½'' |
| 4 | Light | 1 | 1'' x 2'' | 1½'' x 3½'' | 2'' x 5'' | 2½'' x 6½'' |
| 5 | Light | 1 | 1'' x 2½'' | 1½'' x 4½'' | 2'' x 6½'' | 2½'' x 8½'' |
| 6 | Dark | 1 | 1'' x 2½'' | 1½'' x 4½'' | 2'' x 6½'' | 2½'' x 8½'' |
| 7 | Dark | 1 | 1'' x 3 '' | 1½'' x 5½'' | 2'' x 8'' | 2½'' x 10½'' |
| 8 | Light | 1 | 1'' x 3 '' | 1½'' x 5½'' | 2'' x 8'' | 2½'' x 10½'' |
| 9 | Light | 1 | 1'' x 3½'' | 1½'' x 6½'' | 2'' x 9½'' | 2½'' x 12½'' |
| 10 | Dark | 1 | 1'' x 3½'' | 1½'' x 6½'' | 2'' x 9½'' | 2½'' x 12½'' |
| 11 | Dark | 1 | 1'' x 4" | 1½'' x 7½'' | 2'' x 11" | 2½'' x 14½'' |
| Unfinished Block Size | 4" | 7½" | 11" | 14½" | ||
| Grid Size | ½" | 1'' | 1½'' | 2'' | ||
🪡Assemble your Half Log Cabin quilt block
One thing to point out before we start stitching
In the sample, a log is added, and then the unit is rotated a 1/4 turn counterclockwise.
YOU are the designer. If you want your logs to rotate in the opposite (clockwise) direction, it really is up to you.
All we really want is our Half Log Cabins to be identically stitched when they're all finished.
Let's be honest. We quilters really want to be able to just sit at our machines and feed patches through in our happy, zen-like quilting bubble. To that end, it's well worth an extra couple of minutes to take a little Sewing Test to fine-tune your seam allowance.
Seams that match easily make assembling the quilt top just that much more enjoyable. Don't you agree?
Another aid is the chart below with the edge-to-edge measurements after adding every pair of logs. Use it periodically to check your SAs as you stitch.
Check the Accuracy of your Half Log Cabin Block(Edge-to-edge Measurements) | ||||
|---|---|---|---|---|
| After adding… | Finished Block Size | |||
| 3½" | 7" | 10½" | 14" | |
| #3 | 2" x 2" | 3½" x 3½" | 5" x 5" | 6½" x 6½" |
| #5 | 2½" x 2½" | 4½" x 4½" | 6½" x 6½" | 8½" x 8½" |
| #7 | 3" x 3" | 5½" x 5½" | 8" x 8" | 10½" x 10½" |
| #9 | 3½" x 3½" | 6½" x 6½" | 9½" x 9½" | 12½" x 12½" |
| #11 | 4" x 4" | 7½" x 7½" | 11" x 11" | 14½" x 14½" |
Finally! The fun part!
With RST, match the long edge of #2 with #1 and sew with your perfected 1/4" seam allowance.
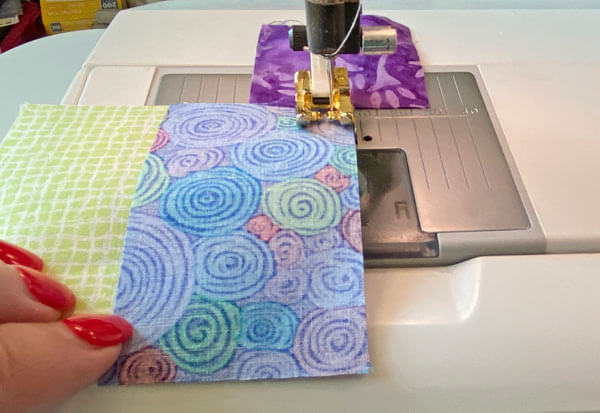 Sewing #2 to #1
SAs can be pressed either toward the #1 square or away from it. Just be consistent in the direction you choose. (I press mine away from #1 unless I'm going to be matching seams. More on that in the section below called, 'More on Pressing...'.
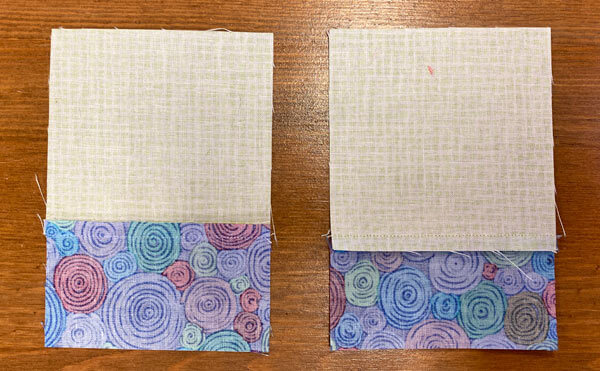 SA pressed toward #1 (left) and away from #1 (right)
Rotate your block a 1/4 turn (counterclockwise for the sample, what's important is to be consistent in the direction you choose). With RST, stitch a #3 to #1/#2.
Pin to hold the edges even if it helps you.
Helpful Hint
When there are seams in one of the patches and none in the other (like our logs in this block) I prefer to sew them together with the pieced unit on top. That way, I can make sure not to flip the SA inadvertently as I stitch. Saves a lot of ripping.
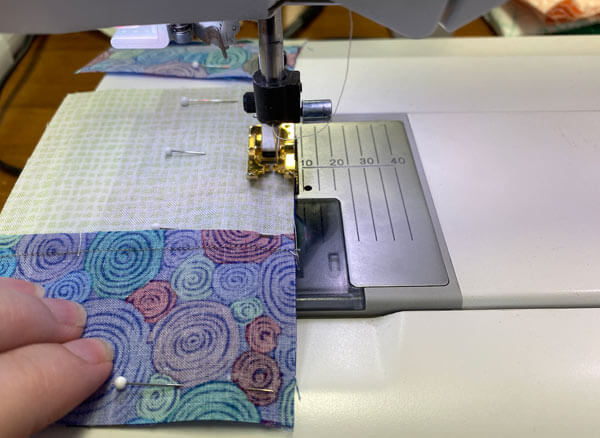 Sewing #3 to #1/#2
Press in the direction of your choice or need.
From the top, our #1/#2/#3 units.
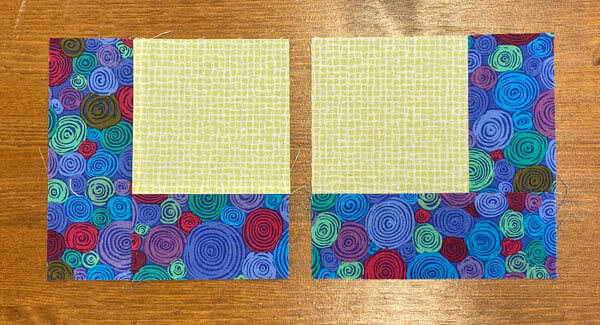
And from the wrong side.
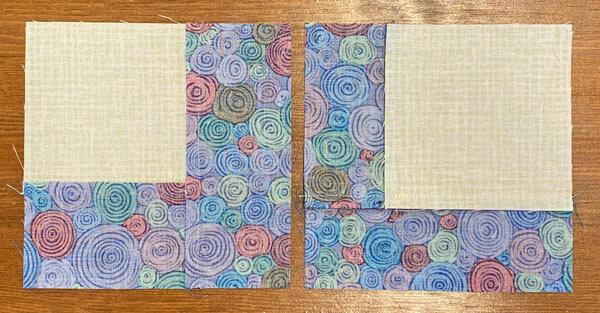
Use the chart above to confirm the accuracy of your stitching. Make any adjustments now.
Stitch and press #4 and #5 in the same manner.
From the front...
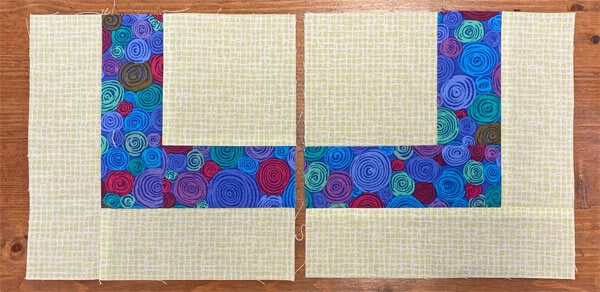
...and from the back.
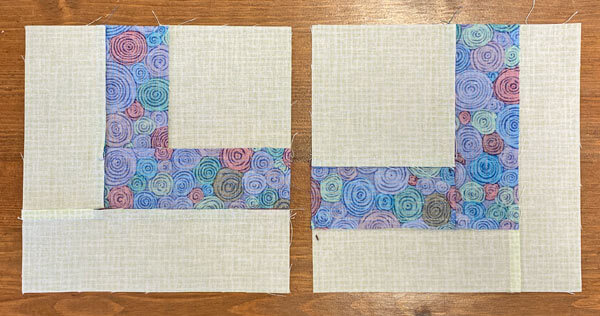
Keep adding #6 & #7, #8 & #9 and #10 & #11 patches. Just like you've done.
The #11 is halfway sewn.
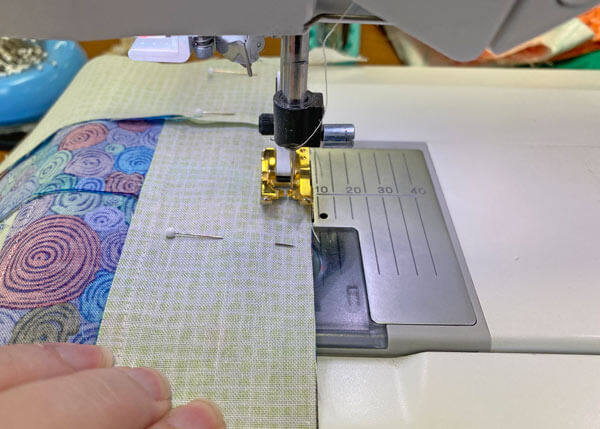 Again, the pieced patch is on top as I stitch to avoid flipping a SA
After one last trip to the ironing board, our two sample blocks are finished.
Neat. Even. Crisp.
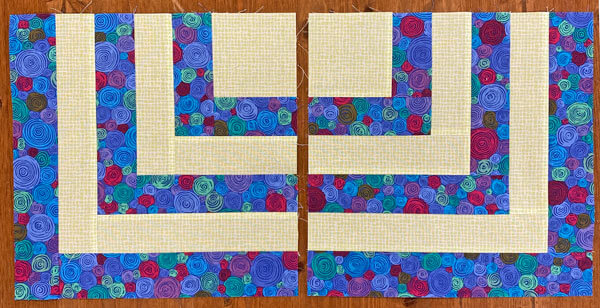
One final look from the backside. If we need to piece these together, all the seams would nest or abut, making that matching a cinch.
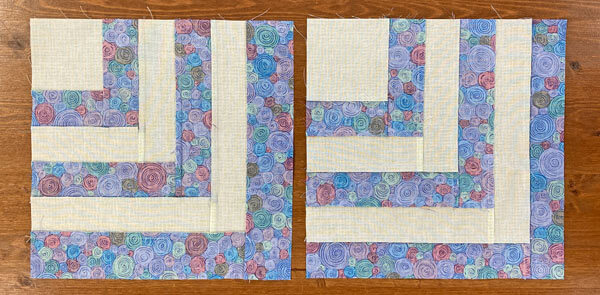 SAs pressed toward #1 (left) and away from #1 (right)
More on pressing your Half Log Cabin blocks
Throughout this tutorial, you saw the SAs being pressed either all towards or all away from the initial square.
Let's say you're working on a design something like this.
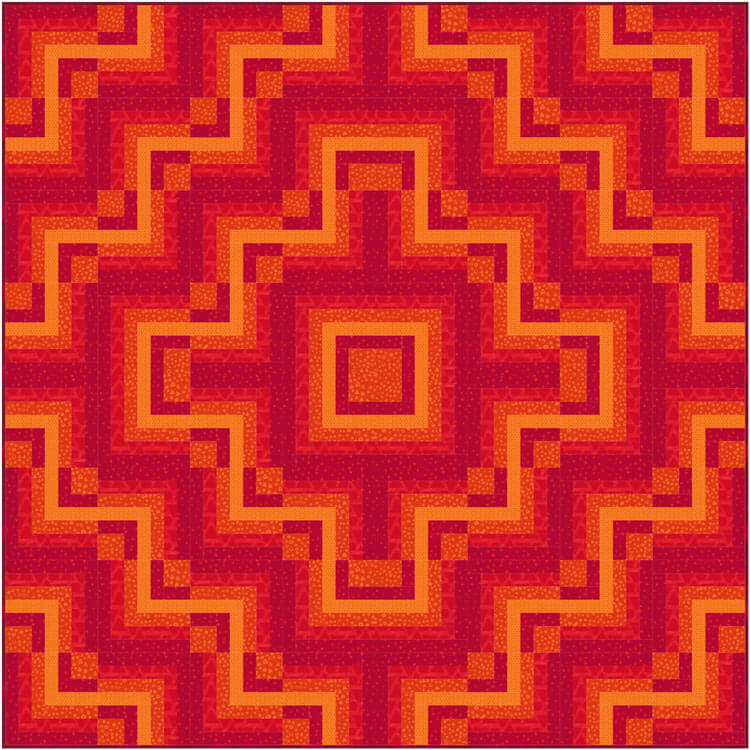 Half Log Cabin quilt design
8x8 blocks
Anytime the short ends of the logs meet—look at the center four blocks to start—it'd be easier to match those seams if the SAs nest.
As your eyes wander around the rest of the design, you'll see that each block has 1–2 sides where those seams need to match.
You'd press the SAs on 32 of them toward #1 and the other 32 away from #1.
Would you like to play with this Half Log Cabin quilt design?
Another option is to press all the seams open
In this smaller, 7-1/2" finished Half Log Cabin, all the SAs were pressed open.
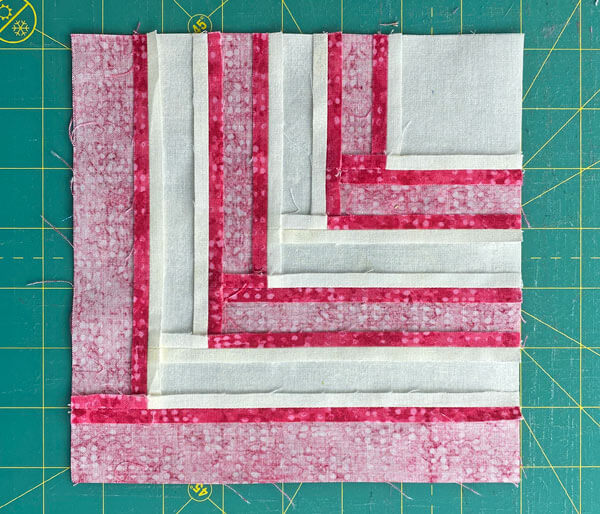 A 7½" version of the block. This time the seams are pressed open.
The reasons are twofold:
- To create a flatter block. There's less bulk where the seams meet.
- To avoid shadowing of the darker through the lighter fabric.
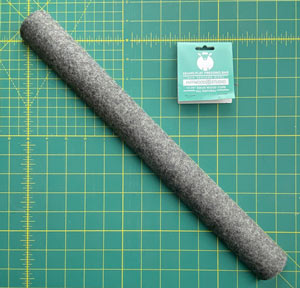
If you choose to press your seams open, you may find using a wooly pressing bar helpful.
The wool covering cushions your SA, makes it easier to push the SA open with your finger, and prevents imprints while allowing crisp pressing.
It's helpful for many quilters—including this one—though can be a bit on the pricey side.
Cabin Fever Cured: You're a Half Log Cabin Master Now! 🧵😎
Congrats, quilt warriors! 🎉🏆 You've mastered the Half Log Cabin block and joined the log-splitting quilt elite. 🪵🦸♀️
Remember, half a log builds a quilt-tastic masterpiece!
Until next time, may your seams be straight and your Half Log Cabins be heavenly! 📐😇
📌Half the block, all the awesome!
Pin this tutorial and log it in your quilting memory bank! 🧠🏡
Feeling tempted to try another Log Cabin variation?
My first quilt was a Log Cabin using Eleanor Burns' book, "Make a Quilt in a Day Log Cabin Pattern".
And though the size I make has shrunk over the years, it's still my go-to pattern when I just want to sit and sew.
Browse through our tutorials for the Amish Squares, Courthouse Steps or other design variations.
Discover how changing up a traditional block keeps quilting fun and fresh!
For even MORE blocks to make… 🧩🎨

...visit our Free Quilt Block Pattern Library, with over 260+ blocks to choose from in multiple sizes.
Free downloads are included in all sizes for any blocks require paper piecing patterns or templates.
- Home
- Free Quilt Block Patterns
- Half Log Cabin Quilt Block
