- Home
- Beginner Quilt Blocks
- Flying Geese
Learn to Make a Flying Geese Quilt Block
Technique #5: Paper Piecing
This post contains affiliate links, for which I receive compensation.
Paper pieced Flying Geese are perfectly accurate, because after the stitching is complete, they are trimmed to size.
Are they more work?
Yep, but just a wee bit!

But perfect units make assembling ANY BLOCK so much easier, so much faster.
And we've added placement lines to the free patterns for you to download to speed up the process to maximize YOUR piecing time!
Let's get started!
Hate to paper piece?
Don't worry. We've got you covered!
Just click here to learn other quick techniques for making one of quilting's most basic blocks.
🧭 Find your way around this tutorial
Welcome aboard! Use these quick links to navigate directly to any section of our paper piecing tutorial. Whether you need the pattern download or are ready to start stitching, we've mapped out every step of your Flying Geese journey! ✨
- A cutting chart in EIGHT sizes, with a download of the chart and block design
- A download of the paper piecing patterns and templates for each size
- Trimming instructions—the secret sauce to all paper piecing
The newest quilt fabrics to tickle your fancy...
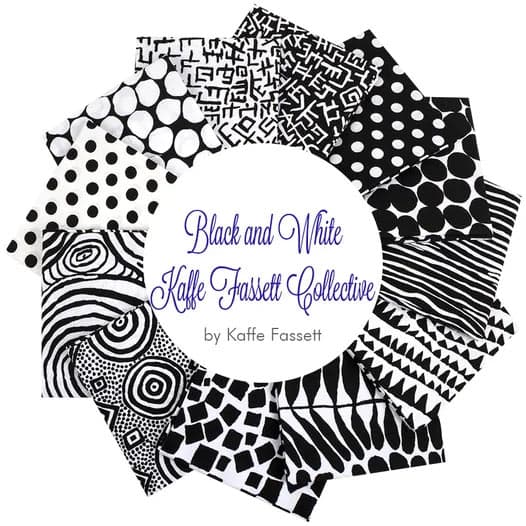
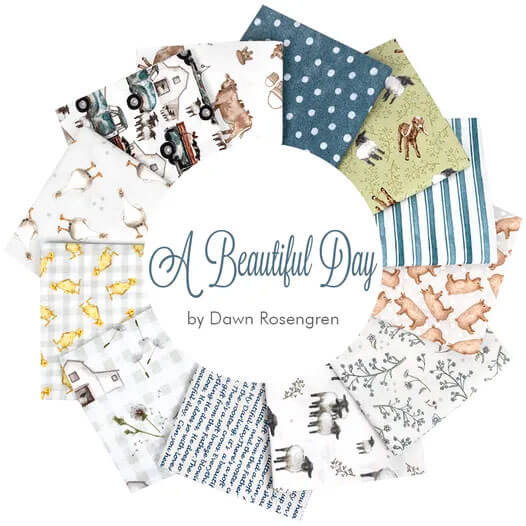
Click the images below to see the full collection. We share any commercial and/or free patterns that showcase them, too. (For inspiration, of course!)
📥 Download and print the paper piecing pattern
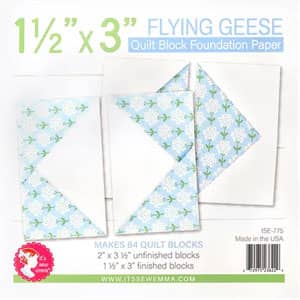
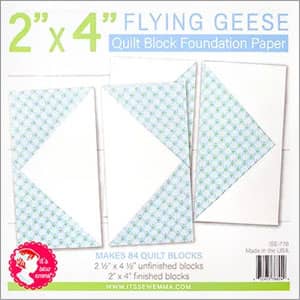
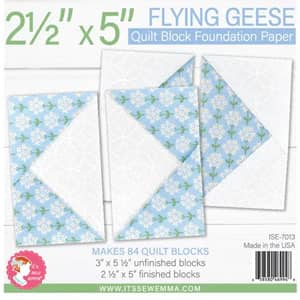
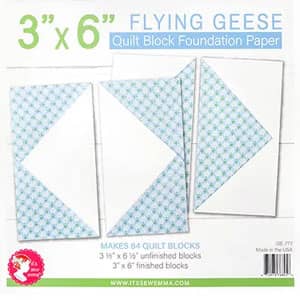
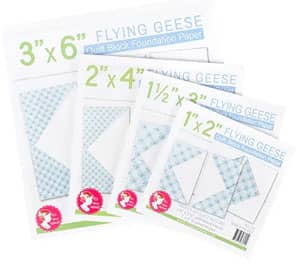
Use the chart below to choose the size that you need.
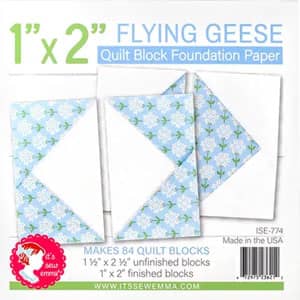
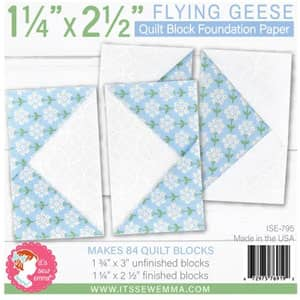
Download and print the corresponding pattern. Each sheet contains as many Flying Geese as I could fit comfortably. That number is in the second column in the chart below.
Download and print the Flying Geese patterns | |
|---|---|
| Finished Block Size Download Link | # of FG on each page |
| ¾" x 1½" | 18 |
| 1" x 2" | 12 |
| 1¼" x 2½" | 8 |
| 1½" x 3" | 6 |
| 2" x 4" | 4 |
| 2½" x 5" | 3 |
| 3" x 6" | 2 |
| 4" x 8" | 1 |
You'll need the most current version of Adobe installed on your computer to download the pattern.
On the Adobe Print Menu page, under 'Page Size and Handling' set 'Custom Scale' to 100% before printing for accurate results. Click here to see what it looks like on the Print Menu page.
After printing, use the 1" square graphic on the printed pages to confirm they are printed accurately.

Not sure which paper to use?
Take a look at my review of several of the most popular brands available to us quilters on the market.
You want a super-easy paper to tear away—less stress on the stitches.
✂️ Cutting patches for Flying Geese
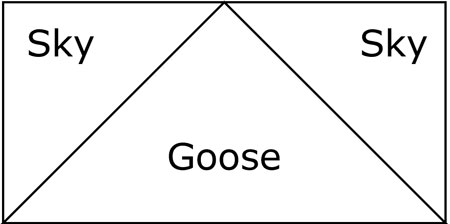 The Flying Geese design
The patches for this Flying Geese technique are cut amply over-sized so piecing is wickedly foolproof—you won't be spending time un-sewing misaligned patches and shredding your pattern.
I suggest that you make several of these blocks using our dimensions. THEN decide if you need to adjust the size of the patches. What's important is that the patch size works FOR YOU and maximizes YOUR quilting time!
In the chart below:
- One Goose square makes 4 Goose patches
- One Sky square makes 2 Sky patches
Most quilt block designs contain FG in multiples of 4. To make 4 FG cut:
- 1 Goose, and
- 4 Sky
The dimensions are for squares, i.e. for a 2" x 4" unit, from your Goose fabric cut one 5-5/8" x 5-5/8" square. Then sub cut it twice on the diagonal.

 | Cutting Chart for a~ Paper Piecing ~ | ||
|---|---|---|---|
| Block Size | Cut Patches for… | ||
| Finished | Unfinished | Goose* Subcut: | Sky** Subcut: |
| ¾" x 1½" | 1¼" x 2" | 3⅛" | 2⅛" |
| 1" x 2" | 1½" x 2½" | 3⅝" | 2⅜" |
| 1¼" x 2½" | 1¾" x 3" | 4⅛" | 2⅝" |
| 1½" x 3" | 2" x 3½" | 4⅝" | 2⅞" |
| 2" x 4" | 2½" x 4½" | 5⅝" | 3⅜" |
| 2½" x 5" | 3" x 5½" | 6⅝" | 3⅞" |
| 3" x 6" | 3½" x 6½" | 7⅝" | 4⅜" |
| 4" x 8" | 4½" x 8½" | 9⅝" | 5⅜" |
*Subcut twice on the diagonals
**Subcut once on the diagonal
🪡 Piecing your Flying Geese
Cut out the patterns just outside the dashed line. Won't worry about being neat, we'll clean up things when we trim to size.
Use the tiniest dab of Elmer's Washable Glue Stick (goes on purple dries clear) to glue the wrong side of a Goose triangle to the unprinted side of the pattern.
The bias cut edges meet the dashed placement marks; the straight of grain edge extends past the outside dashed line (on purpose!)
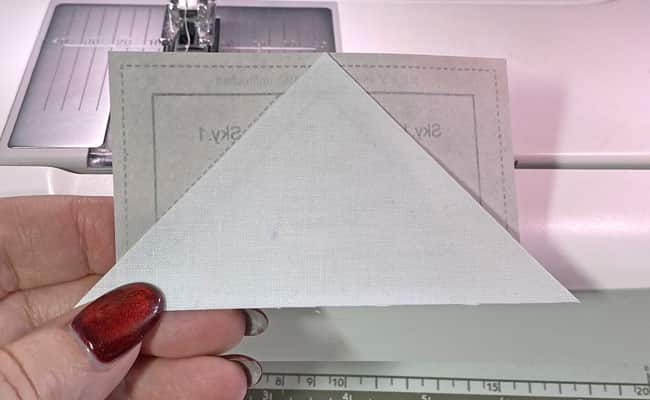
To add a Sky, with RST, match the bias edge of one with a bias edge of Goose.
It doesn't matter which side goes first, though I suggest you be consistent. That way, if you are making a number of these, they can be chain pieced efficiently.
YES! You can chain piece if the line of stitching runs from edge to edge of the paper pattern. (For more about Chain Piecing, click here.)
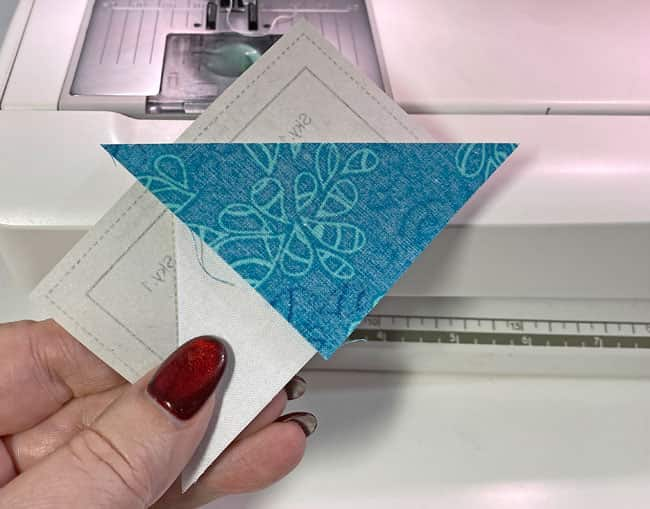
Set your stitch length to 15-18 stitches/inch. Install an open toe applique foot if you've got one (makes seeing where you're sewing so much easier!)
Stitch from the printed side, starting and stopping past the outside dashed line (see arrows).
No need to backstitch. Just like a regular block, subsequent piecing secures the thread tails.
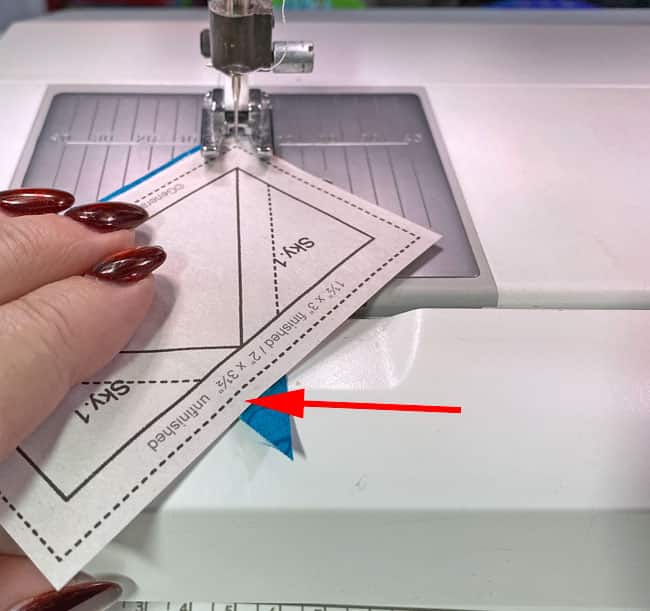 Stop your stitching about at the red arrow point
Press.
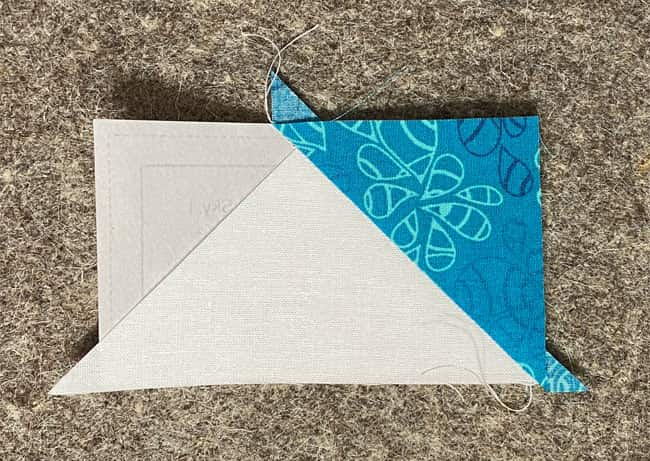
Position the second Sky.
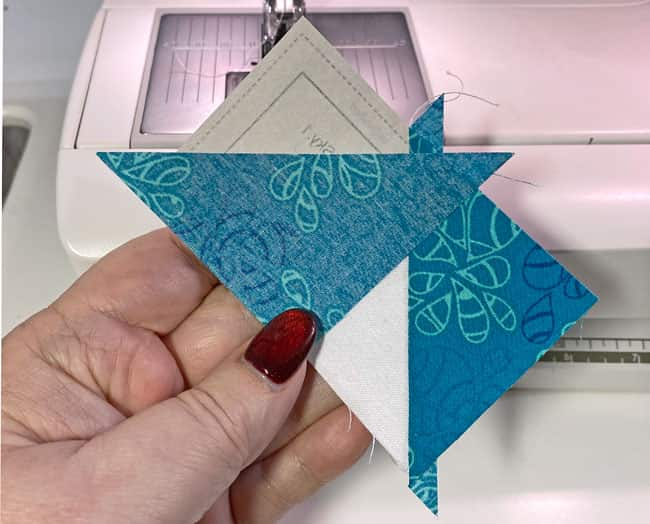
After sewing and pressing, here's our sample Flying Geese in all its untrimmed glory! Don't bother with those threads tails, we'll get to that next.
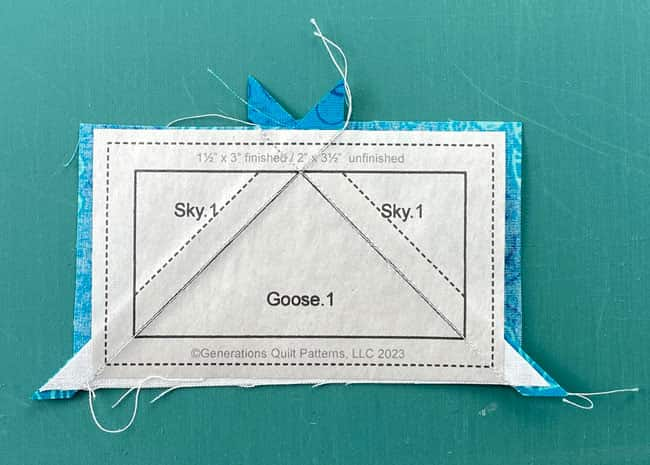
Trimming your Flying Geese to perfection
Trim to size by aligning the 1/4" mark of your ruler (see arrow) with the solid outside line. Cut away the excess with your rotary cutter.
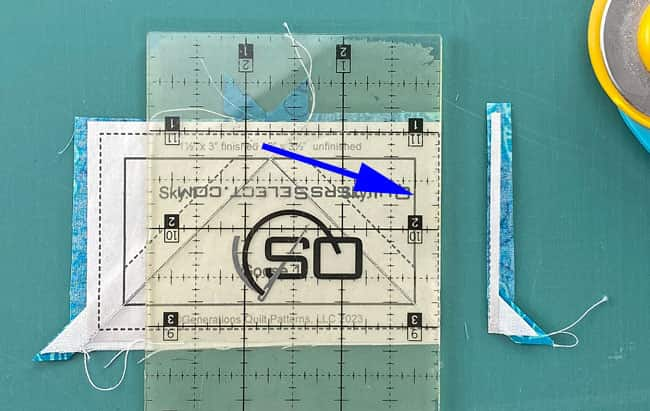
Repeat for the remaining sides.
 Trim 2, left, trim 3, center and the final trim, right.
Your thread tails are all automatically removed—all the lines of stitching started or stopped outside the unfinished edge of the block.
Remove the paper and give your Flying Geese unit a final press.
This is your finished Flying Geese unit!
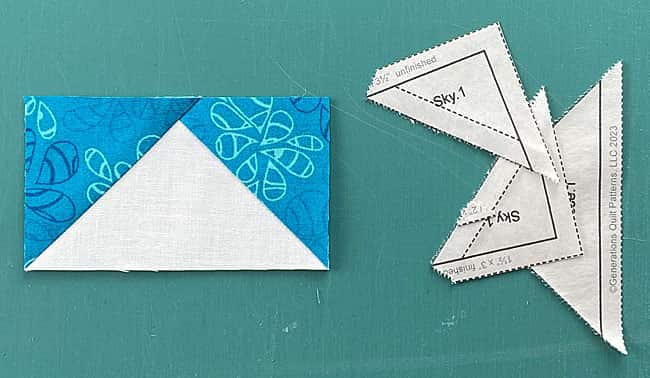
Perfectly accurate and ready to be pieced into your next quilt or quilt block.
Sweet!
📢 Here from another block tutorial? Click your browser's back button to return there and continue your quilting journey. We'll be here when you need us again! 🌟
There's more than one way to cook a 'geese'?!
Click here to find them under Flying Geese (naturally!) in our Beginner Quilt Block Pattern series.
There you'll also find a variety of tried and true methods for making half and quarter square triangles, Square- and Triangle-in-a-Square quilt blocks, Rail Fence units and several other of the basic building blocks of quilting.
You're sure to find a method to suit your needs and skill level!
When you're ready, move on to our Free Quilt Block Patterns Library where you can put your newly polished skills to good use.
- Home
- Beginner Quilt Blocks
- Flying Geese
