- Home
- Free Quilt Block Patterns
- Evening Star Quilt Block
The Sun Never Sets on an Evening Star Quilt Block ~ A tutorial in 5 sizes
From our Free Quilt Block Patterns Library
This post contains affiliate links, for which I receive compensation.
Skill Level: Beginner
The Evening Star quilt block is one of many variations of a Sawtooth Star block—this time the star is light and the background is dark.
We'll use a technique called 'connector' or 'folded' corners to make the four Flying Geese units needed for this block.
Since the piecing goes so quickly, this is a great option for a last minute baby quilt.

If you're a machine embroiderer, the open, un-pieced center square in the 8" finished block is 4", making it the perfect size to showcase one of your many 4" machine embroidery collections.
That open space also makes this block ideal for a signature quilt—for a retirement party, bridal shower or for a child going off to college in need of some reassurance.
Included on this page are instructions for 4", 6", 8", 10" and 12" blocks.
📋General Instructions
All seams are 1/4".
The following abbreviations are used:
- SA - seam allowance(s)
- RST - right sides together
- FG - Flying Geese units
When it's time to press, first press the pieced unit flat to set the seam. Then open the patch, pressing from the front. Suggestions as to which way to press the seams are included below.
A directional print is used as the light fabric in this example. Instructions are given so that the fabric design flows in one direction when the block is finished.
Pressing instructions are highlighted in yellow to make them easy to find.
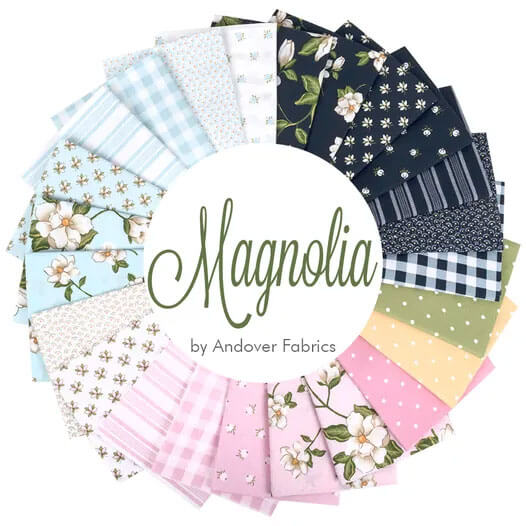
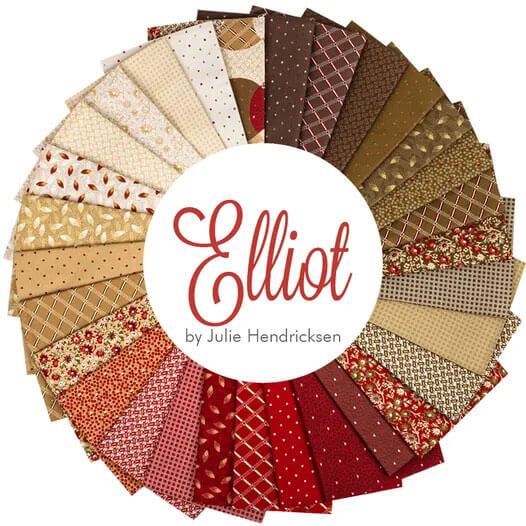
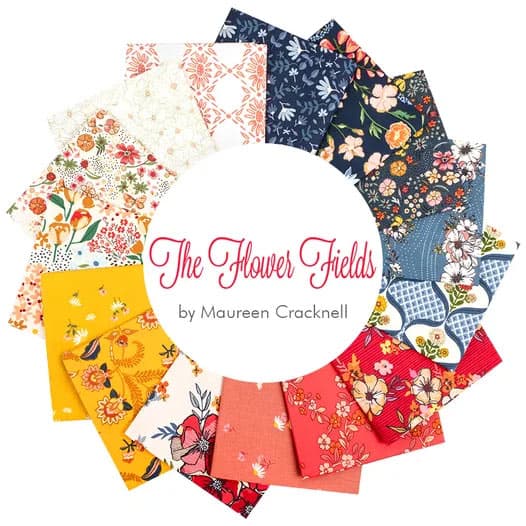
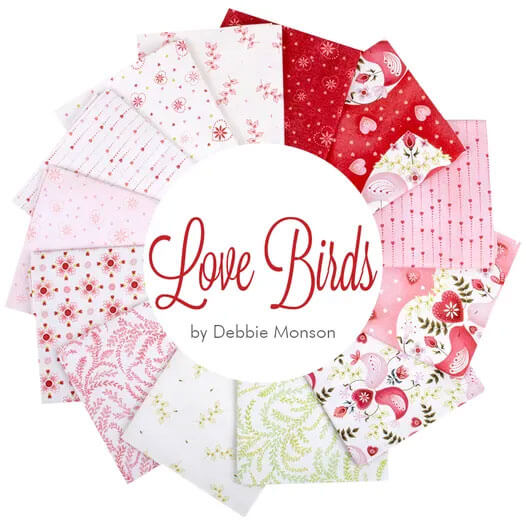
The newest quilt fabrics to tickle your fancy...
Click the images below to see the full collection. We share any commercial and/or free patterns that showcase them, too. (For inspiration, of course!)
✂️Cut patches for an Evening Star block
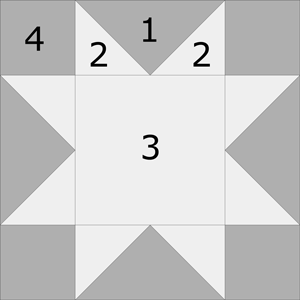 Evening Star design
Sample Size: 8" finished / 8½" unfinished
Grid: 4x4
Design Type: Star | Uneven 9-patch, large center
Attributed to: Ladies Art Company
AKA: Cluster of Stars (Jean DuBois)
While the diagram and our 8" sample block have a dark background, there's no reason that you can't swap the values.
As with any design with points, use fabrics with a good contrast (either in value or pattern) so that your points show from a distance.
I like to starch my quilt fabric before cutting. For this block, it'll make finger pressing the FG so much easier to do.
Here are two downloads you may find helpful as you construct your block. Click on the link to download.
 | Cutting Chart for an~Traditional Piecing ~ | ||||||
|---|---|---|---|---|---|---|---|
| Patch | Fabric | Qty | Finished Block Size | ||||
| 4" | 6" | 8" | 10" | 12" | |||
| 1 | D | 4 | 1½" x 2½" | 2" x 3½" | 2½" x 4½" | 3" x 5½" | 3½" x 6½" |
| 2 | L | 8 | 1½" x 1½" | 2" x 2" | 2½" x 2½" | 3" x 3" | 3½" x 3½" |
| 3 | L | 1 | 2½" 2½" | 3½" x 3½" | 4½" x 4½" | 5½" x 5½" | 6½" x 6½" |
| 4 | D | 4 | 1½" x 1½" | 2" x 2" | 2½" x 2½" | 3" x 3" | 3½" x 3½" |
| Unfinished Block Size | 4½" | 6½" | 8½" | 10½" | 12½" | ||
| Grid Size | 1" | 1½" | 2" | 2½" | 3" | ||
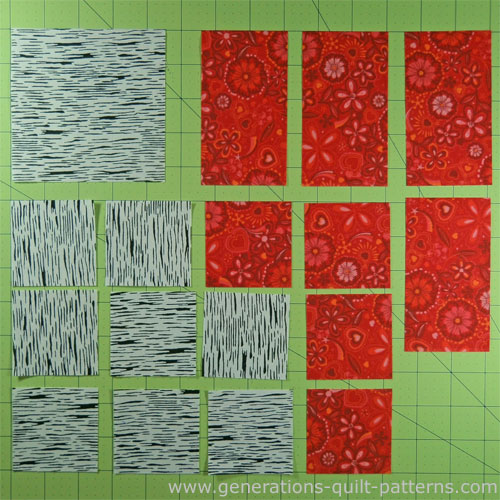
These are the cut patches to make this block.
🪡Assemble the units in an Evening Star
Flying Geese Units
Make 4
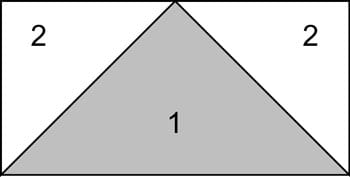 Flying Geese unit
Mark the back of each of the eight #2 light squares with a diagonal line drawn from corner to corner.
Use a light touch, marking only as dark as you need to see the line.
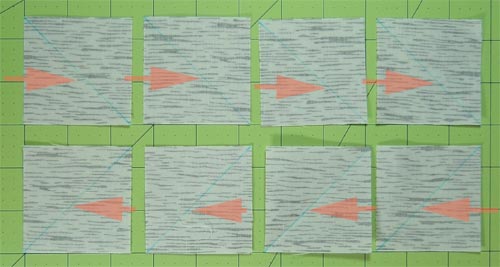
In the top row (above) the line is drawn from upper left to lower right. In the bottom row the line is drawn the opposite direction from upper right to lower left.
To keep the lines of our light directional fabric aligned in the finished block, notice that the line is drawn in one direction for half the squares and the opposite way for the other half.
If you are using a non-directional fabric, it makes no difference which direction the lines are drawn in.
Each Flying Geese will take one #1 and two #2 patches to make.
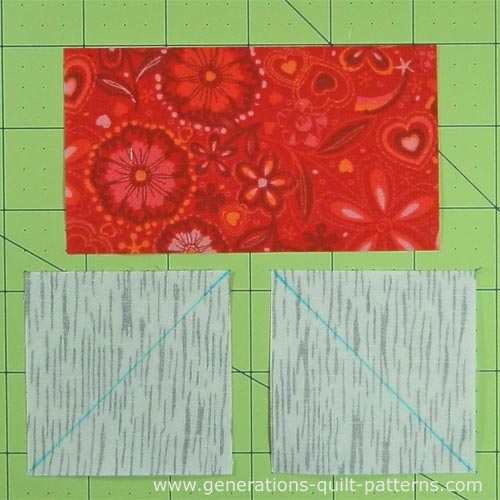
Draw the lines only as dark as needed to see them. These are drawn darker than usual so that YOU can see them.
With RST, align one light #2 square with the end of a #1 dark rectangle. The drawn line bisects the corner.
Start your stitching on an anchor cloth to avoid having your machine 'chew' up the corner of the patches. I like to use an open toe appliquéing foot for this sewing—it's easier to see the marking.
Stitch from one end of the drawn line to the other. You can chain stitch these units one after another.
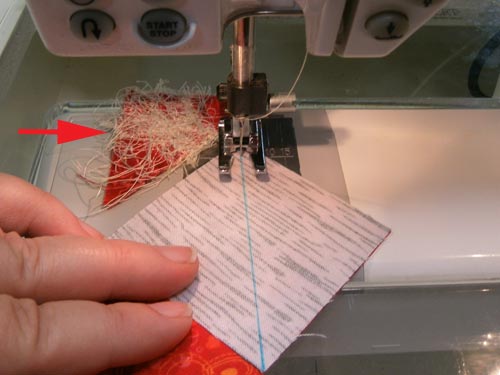
Press flat to set the seam. Trim a quarter inch seam allowance into the side of the stitching line closest to the unsewn corner.
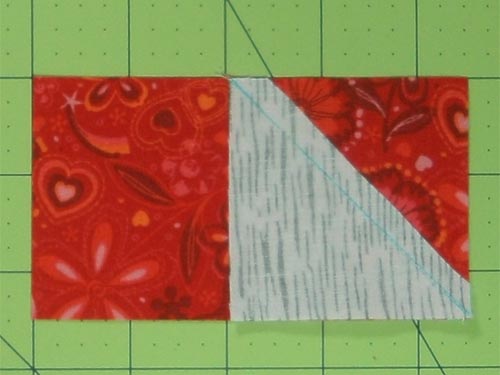
Press the light patch open and towards the corner.
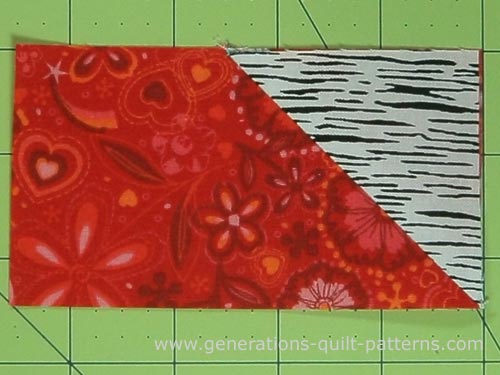
Repeat for the 3 remaining rectangles. Remember that if you're using a directional print to alternate the position of the connector corners as you stitch.
Do take a second while holding the square in position to flip it open to confirm the direction of the print. It's faster than ripping.
With RST, stitch the second connector corner, #2, to the other end of the rectangle.
The drawn line bisects the corner on the same long side as the previous connector corner does. Again, you can chain stitch these units one after another because the seams run from edge to edge.
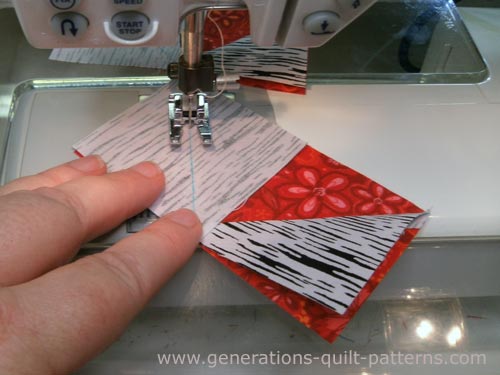
Press flat to set the seam. Then trim the seam allowance to a quarter inch. Then press the light patch open and towards the corner.
Check to make sure the edges of the patches align.
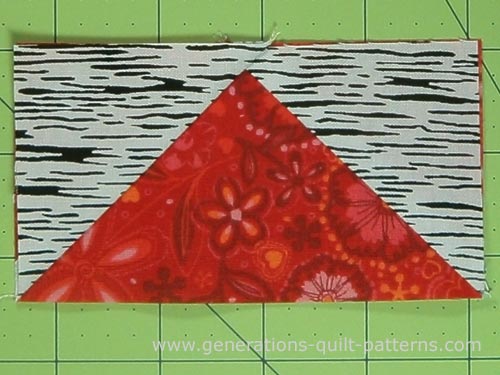
Before moving on, use the chart below to check that your FG are the correct size. Make any adjustments now if needed.
| Flying Geese Measurement after Sewing | ||
|---|---|---|
| Finished Block Size | FG Edge-to-edge measurement | |
| 4" | 1½" x 2½" | |
| 6" | 2" x 3½" | |
| 8" | 2½" x 4½" | |
| 10" | 3" x 5½" | |
| 12" | 3½" x 6½" | |
🧩Assemble the Evening Star
Lay out the pieces for your Evening Star quilt block.
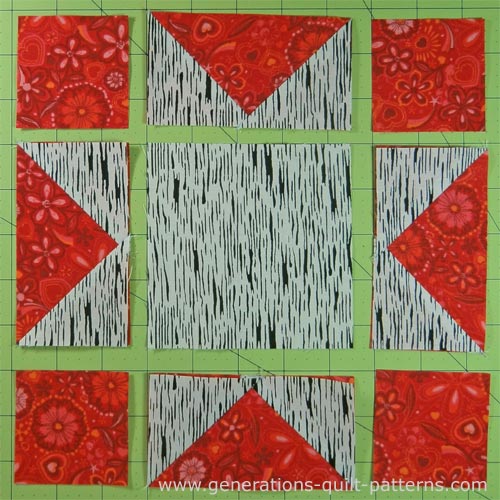
Sew the units in each row together. Press the seam allowances in the direction of the arrows.
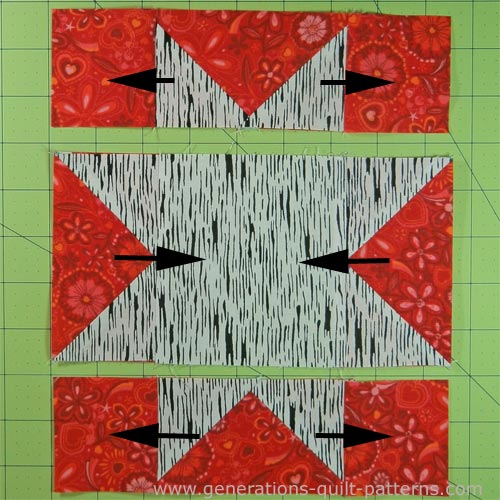
Stitch the rows together, pinning if needed.
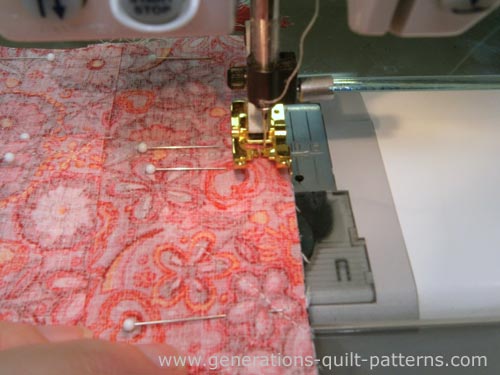
Press.
This is your Evening Star from the backside.
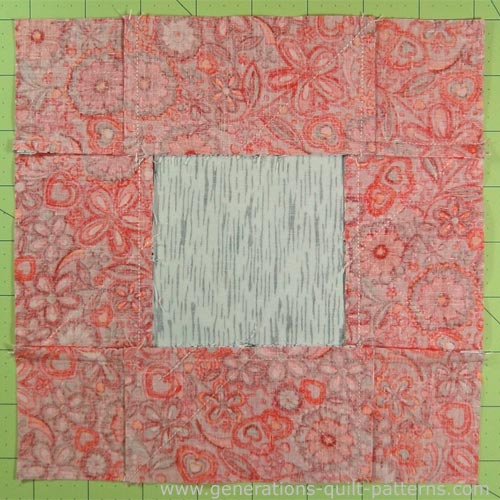
Click here to learn the secret of how to press your quilt blocks flatter than ever before. You won't believe just how simple it is, even with the extra layer of fabric in this connector corners technique.
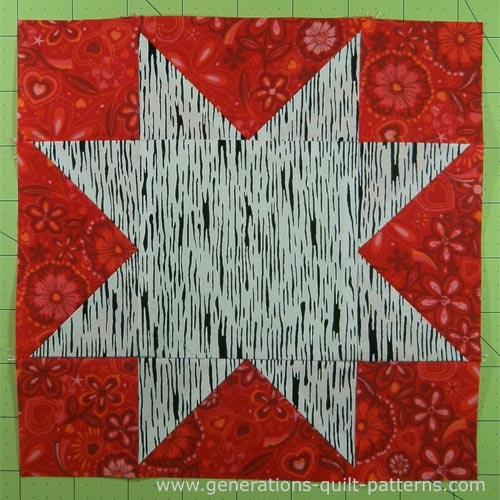
Your finished Evening Star quilt block looks like this.
🔭 Looking for something truly stellar?
You've finished your star quilt block, and you're ready for more!
Browse our collection of 70 stellar star quilt block patterns. All have instructions and cutting charts in multiple sizes. If templates or paper piecing is used in the tutorial, there's a free download for you of those materials.

Eeny. Meenie. Miney. Moe.
Which star quilt block will you sew?
For a star-studded quilting experience, choose from 100+ bedazzling star quilt patterns—for beginners and beyond—click here.
For even MORE blocks to make… 🧩🎨

...visit our Free Quilt Block Pattern Library, with over 260+ blocks to choose from in multiple sizes.
Free downloads are included in all sizes for any blocks require paper piecing patterns or templates.
- Home
- Free Quilt Block Patterns
- Evening Star Quilt Block
