- Home
- Free Paper Piecing Patterns
- Economy Quilt Block
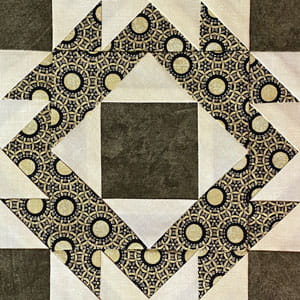
Nothing is Wasted with our Economy Quilt Block Pattern
🎨 Create with confidence, stitch with precision
This post contains affiliate links, for which I receive compensation.
Ready to master the Economy quilt block? 🌟
Through paper piecing, this classic design transforms into a precision powerhouse.

We'll guide you through each step, from first placement to final trim, ensuring your success in any of our nine size options. Say goodbye to stretched edges and hello to perfectly pointed triangles!
The Economy block is a popular one!
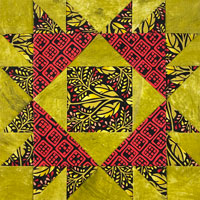
This block is used as a unit in the construction of other patchwork designs, including:
 Around the Corner Around the Corner |
 South Carolina Star South Carolina Star | |
 Tea Party Tea Party |
🧭 Navigate with ease
Welcome to your Economy block journey! We've organized this tutorial into easy-to-follow sections, each accessible with a simple click. Whether you're ready to download patterns, choose fabrics, or dive into construction, you'll find what you need below. Bookmark this page—you can always return to review specific steps or download additional size options. Let's get started!
- A cutting chart in four sizes with a download of the chart and block design
- A download for the paper piecing patterns for each size
- 🎨 A coloring/fabric planning page to download and print
- The final trimming
- If you'd rather purchase preprinted patterns than print them yourself, check out this option
📋 General Instructions
Reduce your stitch length to 15-18 stitches per inch for paperpiecing. This reduced stitch length perforates the paper more making its removal at the end easier.
Install an open toe appliqué foot if you have one. It makes it easier to see the line you're sewing on.
When you are instructed to press, first press the pieced unit flat to set the seam. Then open the patch, pressing from the front.
Check out our Best Technique for Pressing Quilt Blocks. It works for paperpiecing, too!
📥 Download and print Economy patterns
You'll need the most current version of Adobe installed on your computer to download the pattern.
On the Adobe Print Menu page, under 'Page Size and Handling' set 'Custom Scale' to 100% before printing for accurate results. Click here to see what it looks like on the Print Menu page.
After printing, use the 1" square graphic on the printed pages to confirm they are printed accurately.
Download and print the Economy quilt block patterns | |
|---|---|
| Finished Block Size | # of blocks on each page |
| 1½" | 12 |
| 2" | 6 |
| 2½" | 6 |
| 3" | 4 |
| 4" | 2 |
| 4½" | 2 |
| 5" | 1 |
| 6" | 1 |
| 8" | 1 |

Not sure which paper to use?
Take a look at my review of several of the most popular brands available to us quilters on the market.
You want a super-easy paper to tear away—less stress on the stitches.
The newest quilt fabrics to tickle your fancy...
Click the images below to see the full collection. We share any commercial and/or free patterns that showcase them, too. (For inspiration, of course!)
✂️ Cut the patches for your Economy block
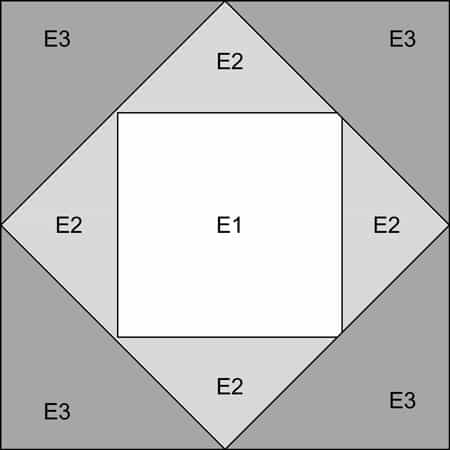
Sample Size: 6" finished / 6½" unfinished
Grid: 4x4
Attribution: Carrie Hall and Rose Kretsinger
AKA: Hour Glass (Ladies Art Company), This and That (KC Star), Thrift Block (Nancy Cabot)
Design Type: Square in a Square | Log Cabin | Paper Pieced
The first patch is cut to its exact size. The rest of the patches are over-sized to make their placement virtually foolproof. This minimizes ripping and saves time.
I suggest that you make a couple of blocks to test whether these sizes work for you, then make any necessary adjustments and note those changes. Store this customized cutting chart for future reference.

 | Cutting Chart for an~ Paper Piecing ~ | |||
|---|---|---|---|---|
| Block Size | Cut Patches | |||
| Finished | Unfinished | E1 Cut 1 Fabric A | E2 Cut 2 Fabric B Subcut: | E3 Cut 2 Fabric C Subcut: |
| 1½" | 2" | 1¼" x 1¼" | 2" x 2" | 2⅛" x 2⅛" |
| 2" | 2½" | 1½" x 1½" | 2⅛" x 2⅛" | 2⅜" x 2⅜" |
| 2½" | 3" | 1¾" x 1¾" | 2¼" x 2¼" | 2⅝" x 2⅝" |
| 3" | 3½" | 2" x 2" | 2½" x 2½" | 2⅞" x 2⅞" |
| 4" | 4½" | 2½" x 2½" | 2¾" 2¾" | 3⅜" x 3⅜" |
| 4½" | 5" | 2¾" x 2¾" | 3" x 3" | 3⅝" x 3⅝" |
| 5" | 5½" | 3" x 3" | 3⅛" x 3⅛" | 3⅞" x 3⅞" |
| 6" | 6½" | 3½" x 3½" | 3½" x 3½" | 4⅜" x 4⅜" |
| 8" | 8½" | 4½" x 4½" | 4¼" x 4¼" | 5⅝" x 5⅝" |
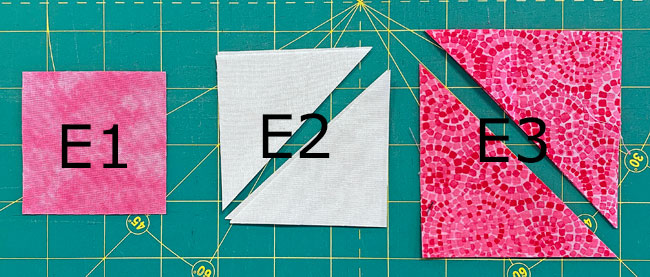
Subcutting the E2, E3 patches
Both the E2s and E3s are subcut once on the diagonal to create half square triangle shapes,
🪡Assemble the Economy quilt block
📢Updated Tutorial Note
I updated the paper piecing pattern for this block.
- The Finished/Unfinished Size is now in the seam allowance to make it easier to store any leftover patterns
- The prefix 'E' appears before the numbers. The numbers haven't changed positions. Since this block appears as a center unit in so many quilt block designs, it will be added to the Basic Beginner Quilt Blocks section on this website.
If you have old copies of the pattern, they are still good.
Setup your sewing machine for paper piecing
We need to make a few adjustments to our machine settings to paper piece.
- Reduce your stitch length to 16–20 stitches per inch (1.3-1.6 mm). This perforates the paper and stabilizes the seam when you remove the pattern. [Learn more about stitch length here.]
- Reduce your machine's speed or just plain slow down. Sew only as fast as you can and stay on the solid stitching line.
- Install an open toe appliqué foot (sometimes called an 'embroidery' or 'satin stitch' foot) if you have one (it's easier to see where you're stitching with one installed).
- Use a larger needle (90/14) IF you have problems removing the pattern. Personally, I use an 80/12 Microtex Sharp for paper piecing without any problems.
Cut the Economy unit from the page you downloaded. A rough cut will do, just cut outside the dotted line that marks the unfinished edge. You will trim to size in the last step.
Position patch E1 on the unprinted side of your paper pattern, centering it between the dashed placement lines. A tiny dab of Elmer's Washable Glue Stick will hold it in place while you work.
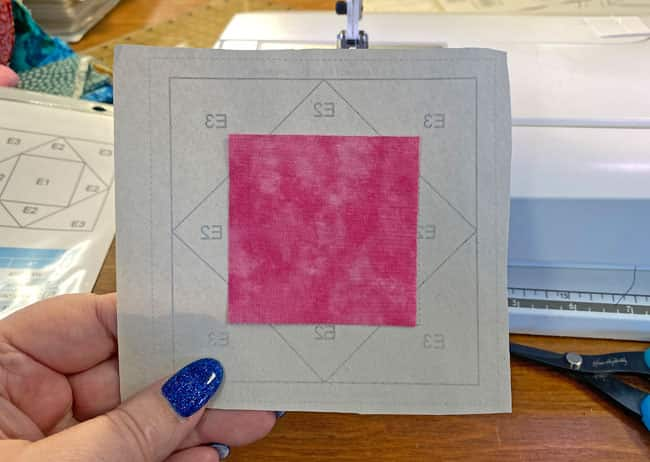
Align the long bias edge of #E2 triangle with one side of patch #E1.
Since I'm adding a much lighter patch over a darker one, I nudge the edge of the lighter E2 a couple of threads past the darker E1. This prevents the dark fabric from shadowing through in your finished quilt top.
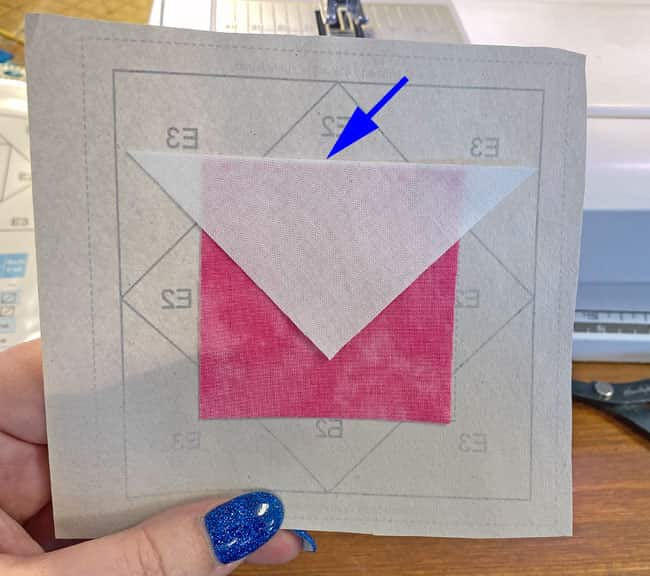
Stitch from the printed side, starting before and ending (at about the blue arrow) after the solid stitching line. These extra stitches are secured with subsequent lines of stitching.
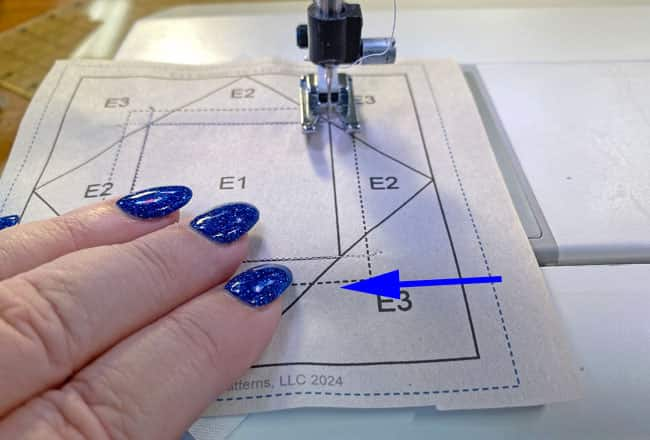
Repeat for the opposite side.
Construction Note:
For smaller block sizes, sometimes there isn't enough room to add a patch to a PAIR of opposite sides in the same sitting. In that case, add the patches one at a time, pressing in between each.
Press.
I'm not going to trim away the excess on the E2s.
I am glue basting—applying tiny dots of Elmer's Glue within the 1/4"—to hold my next E2 patches in position.
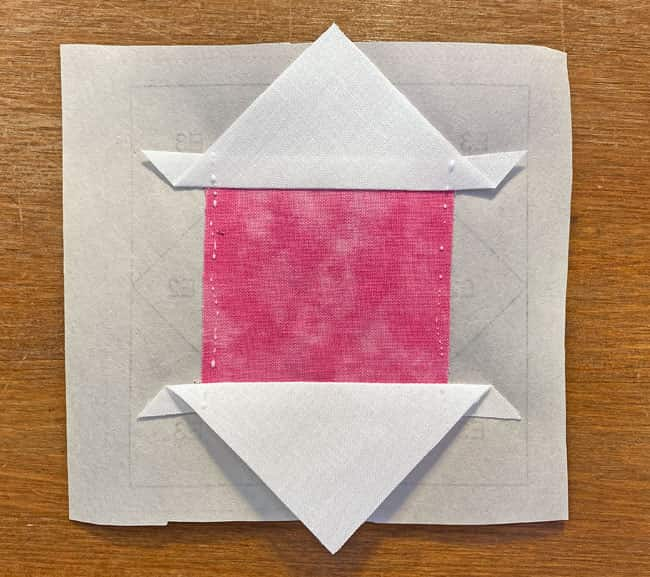
After positioning the second pair of E2s, give the unit a quick press with your iron to set (i.e. dry out) the glue.
 These lighter E2s are nudged over a few threads, too, to prevent shadowing
And press.
At this point, I like to clean up my edges—remember the patches were cut over-sized—and establish the exact place to position the final 4 patches.
First pull the paper away from your stitches a bit. (below, left) You need to do this to fold back the pattern.
Line up the edge of your ruler with the solid stitching line, creasing the paper with your fingernail to help fold it back on the seam line.
Now align the 1/4" mark with the folded edge and cut. This establishes your seam allowance and perfect placement for the next patch. (below, right)
And trim with your rotary cutter...
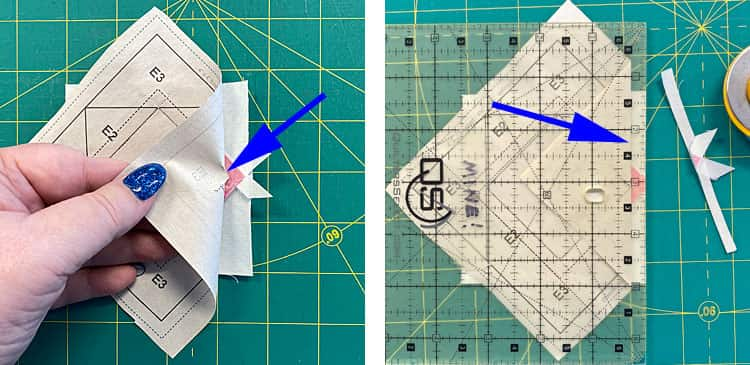
...and repeat for all four sides. You're halfway there!
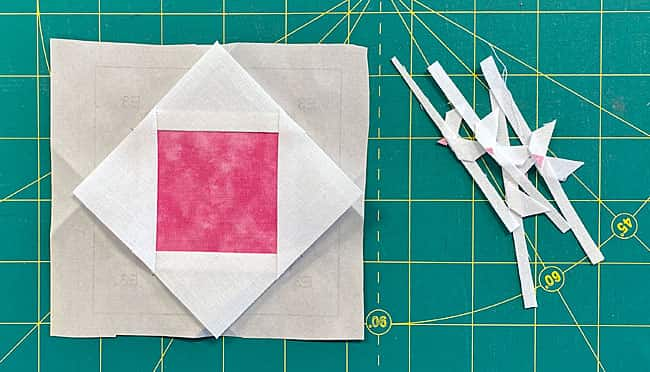 All four E2s are trimmed and ready for adding the final round of triangles
With RST, line up the long bias edge of a #E3 triangle with one side of the pieced unit. Again, I've glue basted these seams.
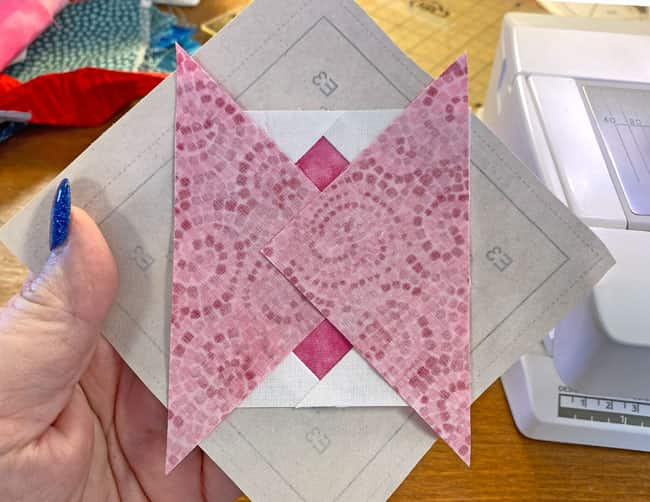
Stitch the seam from the printed side, again starting and stopping a quarter inch off the solid line ending at the blue arrow.

Repeat for the opposite side.
Press.
Add the final set of triangles in the same manner and press.
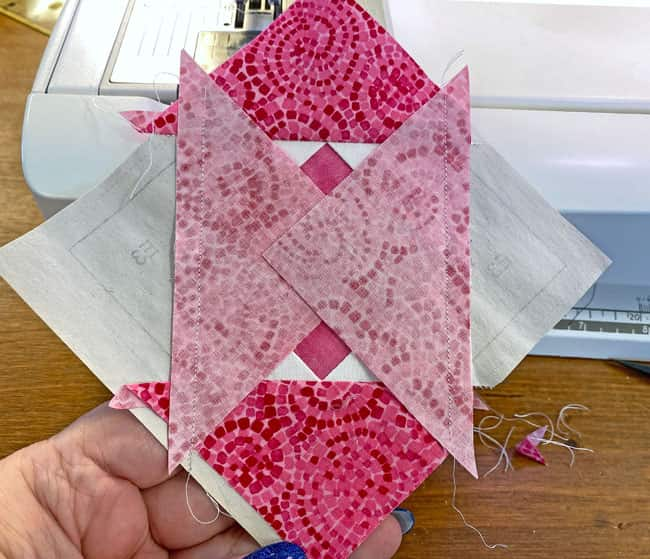
The sewing is complete. All that's left to do is to trim.
Take a minute to appreciate how paper piecing gives us those nice, crisp, sharp points.
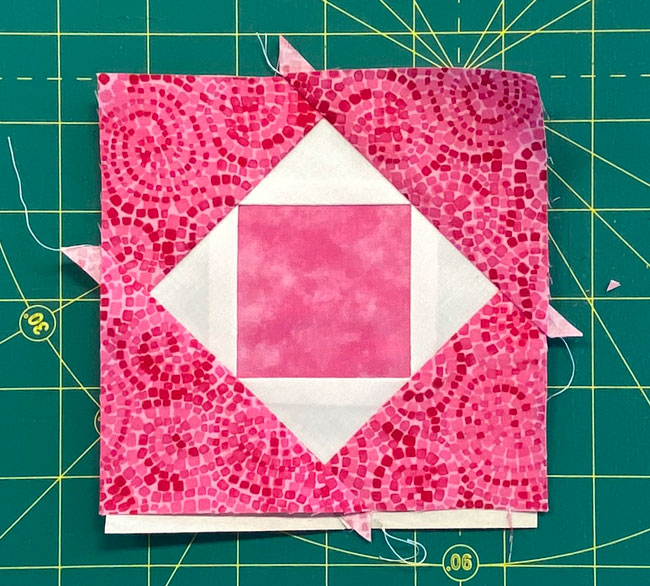
Trim your Economy quilt block to size
Line up the quarter inch mark of your ruler with the solid finished edge of your block.
Trim away the excess with a rotary cutter.
I find this much easier to do than trying to line up the edge of my ruler with the dashed-line that marks the unfinished size of the block. Cutting is more accurate.
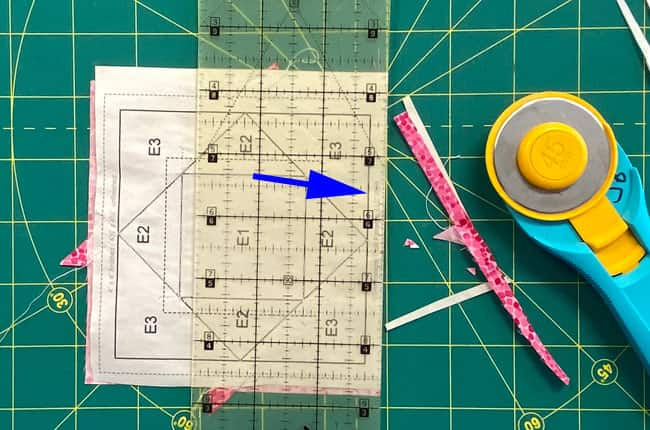
Turn your Economy quilt block a 1/4" turn and repeat, continuing 'til all the sides are trimmed.
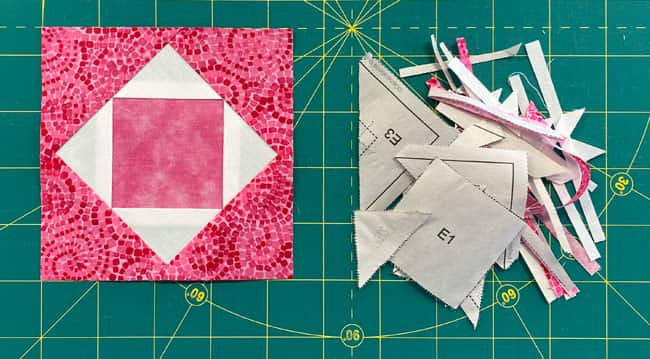
Trimming accomplished and paper removed, this is your finished Economy quilt block!
📢 Here from another block tutorial? Click your browser's back button to return there and continue your quilting journey. We'll be here when you need us again! 🌟
📌 Your quilting SOS: Economy block edition
Save this tutorial for that moment when you realize that gorgeous quilt pattern you bought requires perfect Economy quilt blocks…and lots of them!
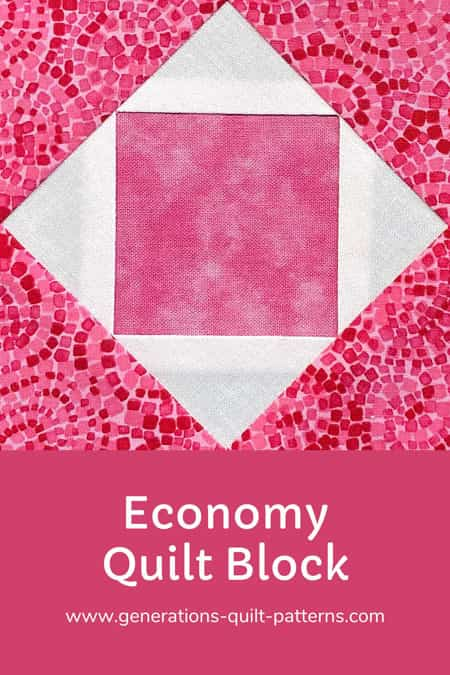
Since I first wrote this Economy quilt block tutorial...
...a new product has come out on the market.
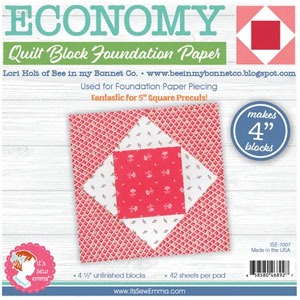
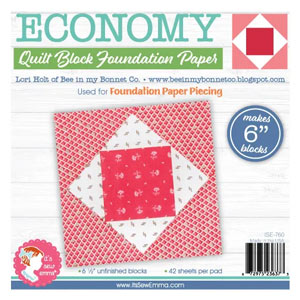
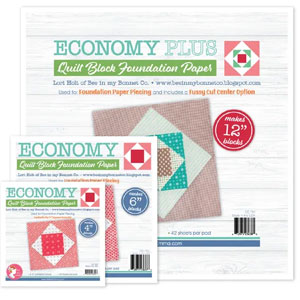
In the beginning, there was a 6" and a 12" version—though the 12" version is really a Twelve Triangles block (you'll find my tutorial here with free downloads).
Eventually, a 4" finished and a combo pack was added to the line.
Click on any image below to learn more about the pads, read reviews, and/or purchase if you're interested.
And remember, the paper piecing patterns included with this tutorial are always free to print from this website.
You can find these papers on Amazon.com, too. They are also sometimes available from Connecting Threads.
Same name, different block...
Several others go by the name 'Economy' but their look is totally different.
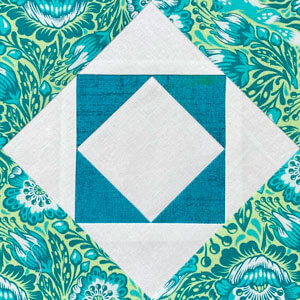
The center square is split one more time in this one. It also goes by the name 'Twelve Triangles'. That tutorial and its downloads is here.
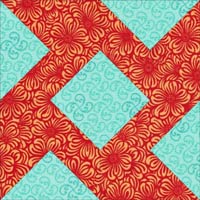
This is reminiscent of the Whirlwind quilt block, except this one has y-seams and just 'half' quarter square triangles.
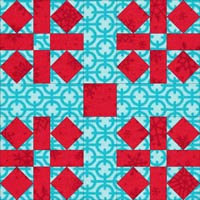
This version of the Economy quilt block is drafted as an uneven nine patch. Square in a square blocks are used a dozen times in its construction.
Click here to learn how to paperpiece square in a square units and/or download paperpiecing patterns for them in 7 different sizes.
Ready for More Blocks?

There's no need to save up for more quilt block patterns! We've got plenty of free ones to keep you busy!
Click here and go to our Quilt Block Pattern Library to find one for your next quilting creation!
- Home
- Free Paper Piecing Patterns
- Economy Quilt Block
