- Home
- Free Quilt Block Patterns
- Double Star Block
The Double Star Quilt Block: It's Not Rocket Science
🚀
Twinkle, twinkle, Double Star—oh what a clever quilter you are! 🌟😊
This post contains affiliate links, for which I receive compensation.
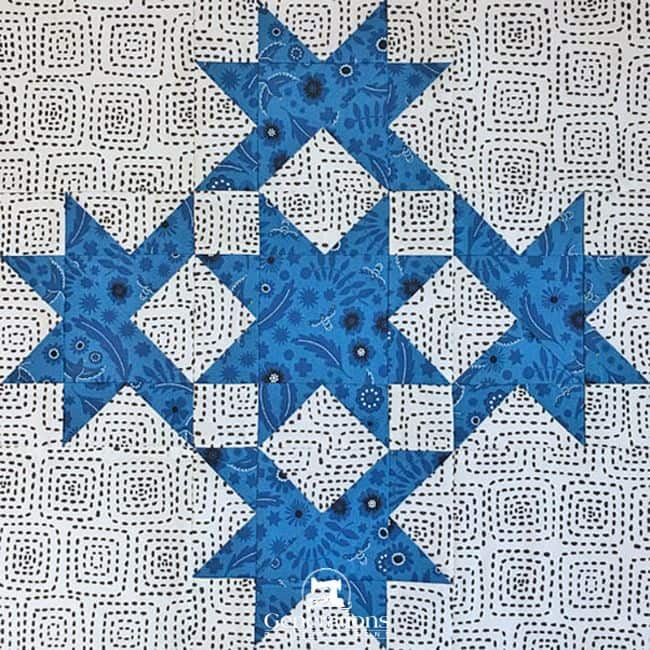
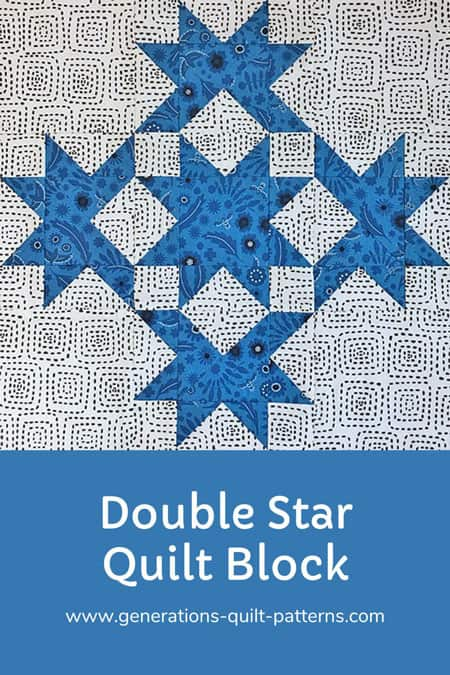
The Double Star block looks like it might take advance piecing skills. But don't let it fool you. 3-patch Quarter Square Triangles and Flying Geese are all it takes.
That. And some cut squares.
Seriously. That's it.
 Remember to Pin this for later!
Now I have to admit. I was a doubting-Thomas when I first considered creating a tutorial for this block.
And...
...I was working on this while I was at a Bee-Treat—a quilting getaway with friends. And had some delicious Sangria. What retreat is truly a retreat without Sangria? <evil quilty grin!>
In reality, this block is nothing more than a bunch of steps, taken in order. That's it!
Later in the tutorial are variations on this block design.
Not sure if you want to commit to making this block?
Then check out these 10 different Double Star layouts for inspiration.
You CAN do this.
Without further ado, it's to cut up and sew!
🧭Ready to navigate the galaxy of Double Star quilting?
Use these hyperspace shortcuts to jump to the section you need:
- A cutting chart in 4 sizes with a download of the chart and block design
Cut. Sew. Press. Double Star magic is just a seam away
📋 General Instructions
Several abbreviations are used on this page. They are:
- SA - seam allowance
- RST - right sides together
- FG - Flying Geese
- 3P-QST - 3-Patch Quarter Square Triangle
1/4" SA are used through this tutorial.
When instructed to press, first press the patches in the closed position just as they came off your sewing machine. This sets the seam, melding the fibers of the threads into the fibers of the fabric.
Then press the SA to the dark unless otherwise noted.
Starching the fabric with a liquid starch concentrate mixed 50/50 with water before cutting makes patches easy to fingerpress. A big time saver for our simple paper pieced units.
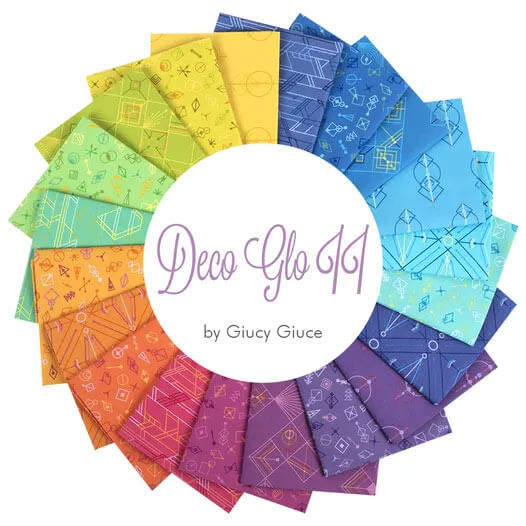
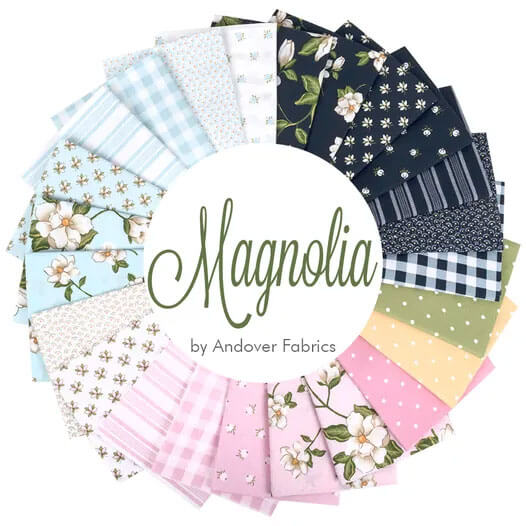
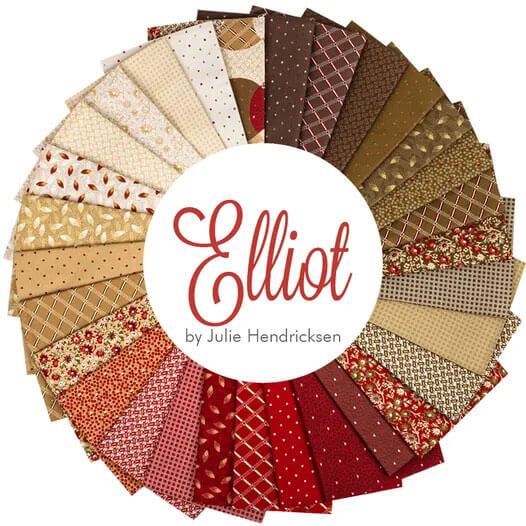
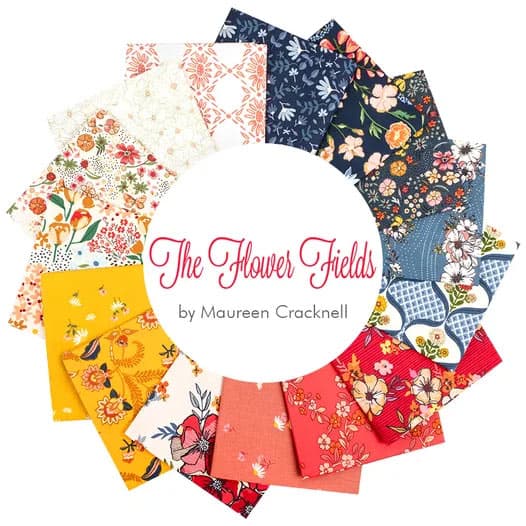
The newest quilt fabrics to tickle your fancy...
Click the images below to see the full collection. We share any commercial and/or free patterns that showcase them, too. (For inspiration, of course!)
✂️Cutting for a Double Star quilt block
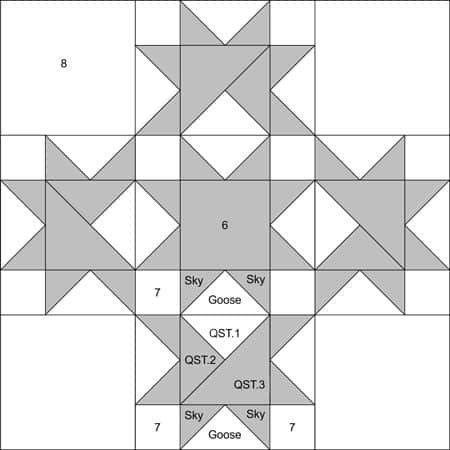
Sample Size: 15" finished / 15½" unfinished
Grid: 10x10
Design Type: Uneven 9-patch, large center | Star
This design is all about pointy points—and matching points.
Choose two fabrics with plenty of contrast between their color and pattern so that those precious points don't get lost.
Ensure accurate identification by labeling each patch. These numbers will guide you throughout the tutorial.
Because the subcut HST and QSTs are so close in size, it's too darned easy to mix them up. (Ask me how I know!)
While they might fill the space, you end up with bias edges on the outside of your units—defeating the purpose of pre-cutting your patches.
To print a copy of the block design and cutting chart to use at your cutting table, click here.
 | Cutting Chart for a~ Includes Paper Piecing ~ | ||||||
|---|---|---|---|---|---|---|---|
| Patch | Fabric | Qty | Finished Block Size | Sub Cut | |||
| 10'' | 15'' | 20'' | 25'' | ||||
| QST.1 | Bac | 1 | 3⅝'' x 3⅝'' | 4⅝'' x 4⅝'' | 5⅝'' x 5⅝'' | 6⅝'' x 6⅝'' | |
| QST.2 | A | 1 | 3⅝'' x 3⅝'' | 4⅝'' x 4⅝'' | 5⅝'' x 5⅝'' | 6⅝'' x 6⅝'' | |
| QST.3 | A | 2 | 3⅜'' x 3⅜'' | 4⅜'' x 4⅜'' | 5⅜'' x 5⅜'' | 6⅜'' x 6⅜'' | |
| Goose | Bac | 4 | 3⅝'' x 3⅝'' | 4⅝'' x 4⅝'' | 5⅝'' x 5⅝'' | 6⅝'' x 6⅝'' | |
| Sky | A | 16 | 2⅜'' x 2⅜'' | 2⅞'' x 2⅞'' | 3⅜'' x 3⅜'' | 3⅞'' x 3⅞'' | |
| 6 | A | 1 | 2½'' x 2½'' | 3½'' x 3½'' | 4½'' x 4½'' | 5½'' x 5½'' | --- |
| 7 | Bac | 12 | 1½'' x 1½'' | 2'' x 2'' | 2½'' x 2½'' | 3'' x 3'' | --- |
| 8 | Bac | 4 | 3½'' x 3½'' | 5'' x 5'' | 6½'' x 6½'' | 8'' 8'' | --- |
| Unfinished Block Size | 10½'' | 15½'' | 20½'' | 25½'' | na | ||
| Grid Size | 1'' | 1½'' | 2'' | 2½'' | na | ||
📥Download and print paper piecing patterns
You'll need the most current version of Adobe installed on your computer to download the pattern. (It's free for you to download.)
On the Adobe Print Menu page, under 'Page Size and Handling' set 'Custom Scale' to 100% before printing for accurate results. Click here to see what it looks like on the Print Menu page.
Choose your finished block size from the chart below. Print the corresponding number of pages for a total of:
- 16 Flying Geese
- 4 3-Patch Quarter Square Triangles
PaperPiecing Patterns to Print | |||
|---|---|---|---|
| Finished Block Size | # of copies | 3 Patch QSTs | Flying Geese |
| 10" | 1 3PQST 2 FG | 2" | 1" x 2" |
| 15" | 1 3PQST 3 FG | 3" | 1½" x 3" |
| 20" | 2 3PQST 4 FG | 4" | 2" x 4" |
| 25" | 4 3PQST 6 FG | 5" | 2½" x 5" |
After printing, use the 1" square graphic on the printed page(s) to confirm the patterns printed correctly.

Not sure which paper to use?
Take a look at my review of several of the most popular brands available to us quilters on the market.
You want a super-easy paper to tear away—less stress on the stitches.
🪡Stitch the units for your Double Star
The dashed placement lines on the paperpiecing patterns save us a lot of extra trimming—in fact, you shouldn't need to trim any patches until the Flying Geese and 3P-QSTs are completely sewn.
Love it!
Set-up your sewing machine for paper piecing
We need to make a few adjustments to our sewing machine settings to paper piece.
- Reduce your stitch length to 16–20 stitches per inch (1.3-1.6 mm). This perforates the paper and stabilizes the seam when you remove the pattern. [Learn more about stitch length here.]
- Reduce your machine's speed or just plain slow down. Sew only as fast as you can AND stay on the solid stitching line.
- Install an open toe appliqué foot (sometimes called an 'embroidery' or 'satin stitch' foot) if you have one (it makes it easier to see where you're stitching).
- Use a larger needle (90/14) IF you have problems removing the pattern. Personally, I use an 80/12 Microtex Sharp for paper piecing without any issues.
Flying Geese (FG)
Make 16
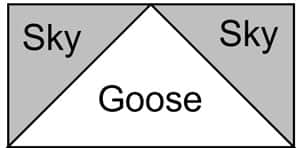
Use a dot of Elmer's Washable Glue stick to stick the backside of the Goose patch to the unprinted side of the pattern. Use the dashed placement guides to position it.
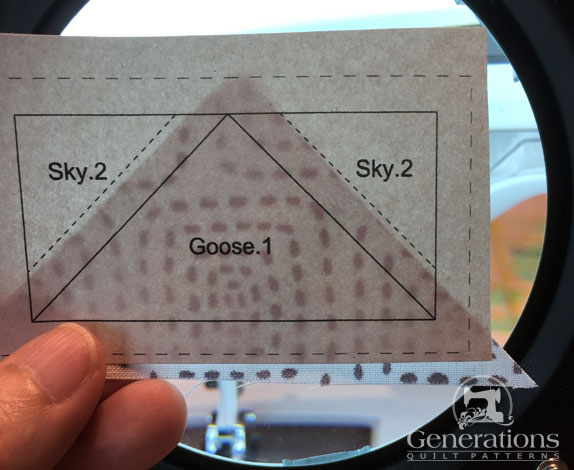 Close is good enough!
With RST, align the long edge of a Sky patch to the Goose patch.
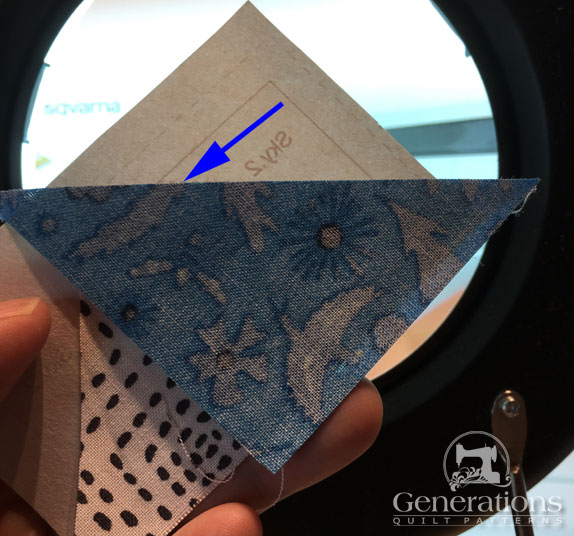 You can just barely make out the placement guide (blue arrow)
Stitch on the line between the Goose and Sky, starting and stopping a generous 1/4" before and after the line.
Press. At this point there's no reason to trim anything. Not even thread tails. Those pesky tails are gone once the finished unit is trimmed to size at the end.
Add the second Sky patch in the same manner and press.
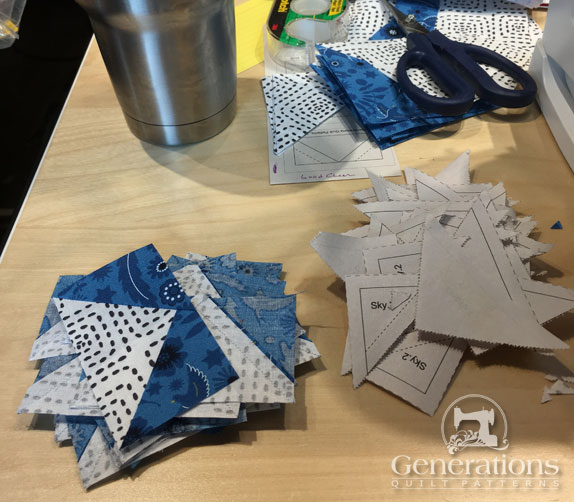
To trim to size, I like to lay as many FG as I can on my mat and trim en masse.
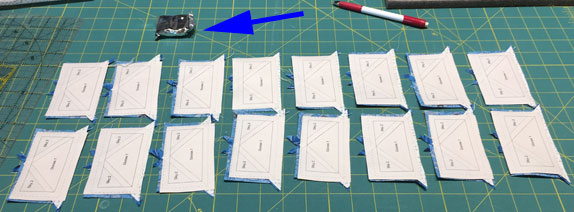 Chocolate (blue arrow) is a good thing to have around when there's a lot of trimming to do. Need something to keep up our strength! :D
Trim all four sides. Line up the quarter inch line on your ruler with the solid outline of the FG unit.
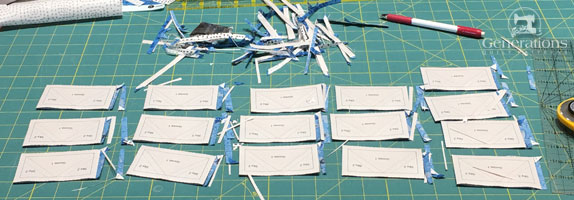 All trimmed. Not a lot of fabric sacrificed for perfect little units.
All that's left to do is remove the paper.
 Ready to use in our Double Star block.
Check your accuracy...
| Finished Block Size | FGs measure... (from edge-to-edge) |
|---|---|
| 10" | 1½" x 2½" |
| 15" | 2" x 3½" |
| 20" | 2½" x 4½" |
| 25" | 3" x 5½" |
3-Patch Quarter Square Triangles (3P-QSTs)
Make 4
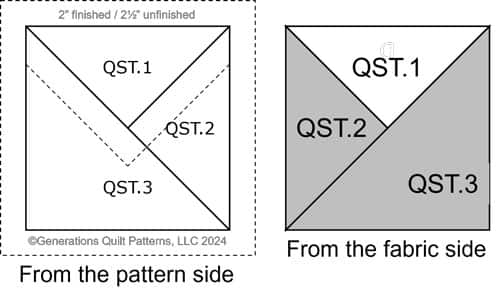
Note: The pattern is the mirror image of the finished QST
With just a tiny dab of Elmer's Washable Glue Stick, adhere the backside of QST.1 to the unprinted side of the pattern.
Use the dashed placement lines to position the patch as shown below.
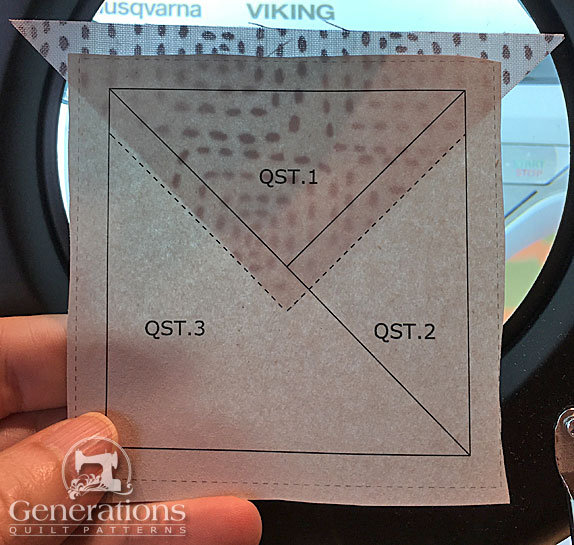 Again. Close is good enough.
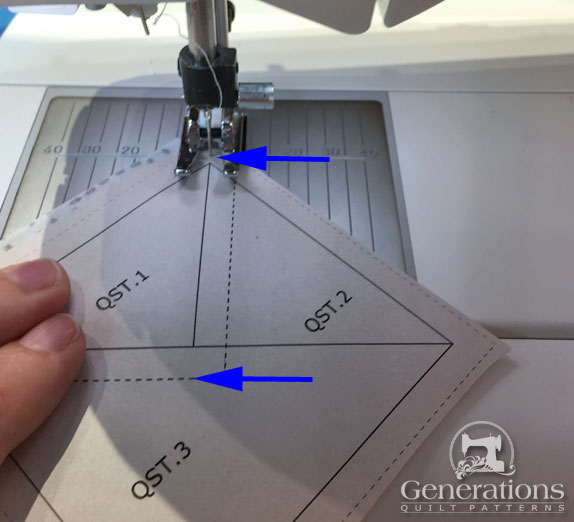
With RST, align the edges of QST2 with QST1.
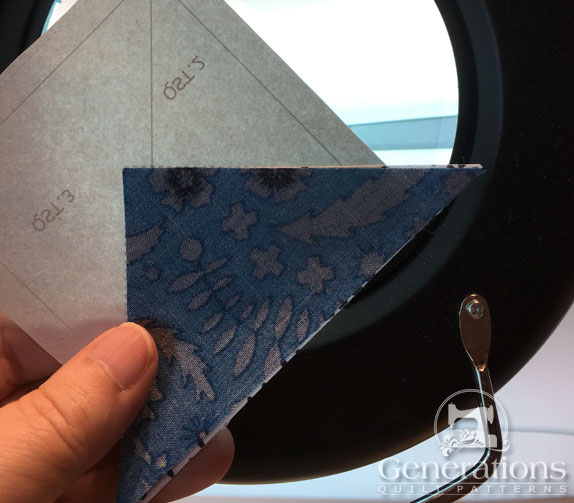 This time you're aligning a short side—that way the straight of grain is on the outside of the block.
On the printed side, stitch starting and ending (blue arrows) a good 1/4" before and after the solid stitching line between QST.1 and QST.2.
Press. Here I've been able to simply fingerpress because my patches are heavily starched and hold and excellent crease.
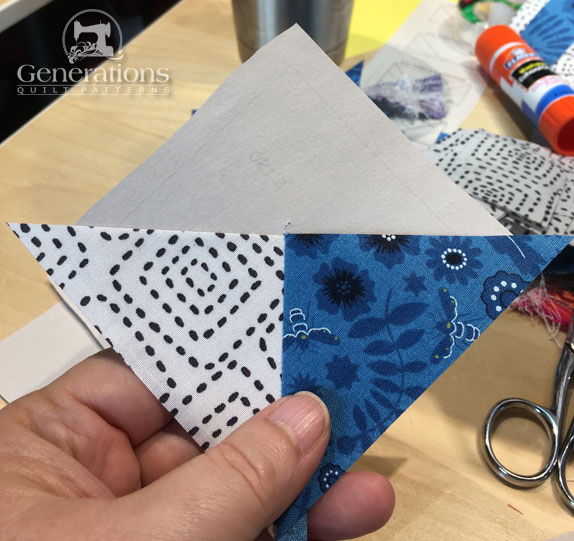 These two patches form a nice straight edge for aligning QST.3
With RST, align the edges of the QST1/QST2 and QST.3. Stitch as before starting and ending a generous 1/4" past the solid stitching line.
Press.
Trim the 3P-QSTs to size by placing the 1/4" line of your ruler on the solid outside line of the unit. Trim all four sides of each unit.
Remove the paper.
When completed they look like this.
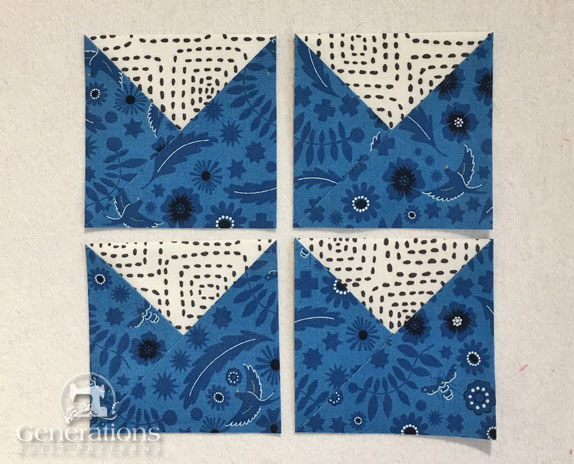 Make 4 for each Double Star
Use the table below to check your accuracy.
| Finished Block is... | 3P-QSTs measure... (from edge-to-edge) |
|---|---|
| 10" | 2½" x 2½" |
| 15" | 3½" x 3½" |
| 20" | 4½" x 4½" |
| 25" | 5½" x 5½" |
The paper piecing is complete. From this point forward, return your stitch length to the one you regularly use for piecing and install your favorite 1/4" presser foot.
FG Borders
Make 6
With RST, stitch a #7 to each side of a single FG.
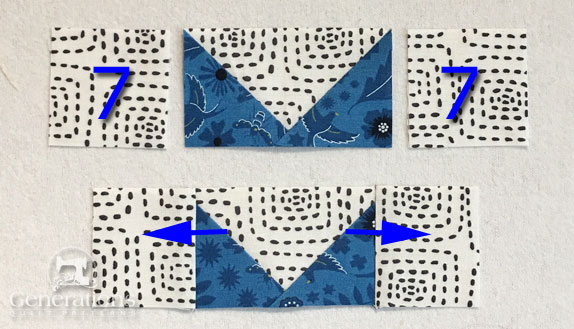 Make 6 for each Double Star
All ready for the next step.
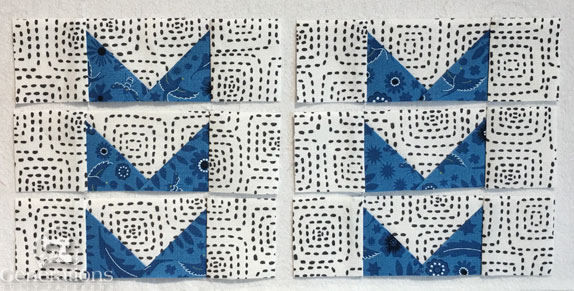
After stitching check for accuracy...
| Finished Block is... | FG Borders measure... (from edge-to-edge) |
|---|---|
| 10" | 1½" x 4½" |
| 15" | 2" x 6½" |
| 20" | 2½" x 8½" |
| 25" | 3" x 10½" |
What's Next...
- Continue with instructions to make this Double Star block or...
- Check out 10 unique Double Star Quilt Designs for inspiration with what to do with your blocks
📌Don't let this Double Star tutorial get lost in the black hole of the internet 🌑
Pin it for later! ✅
🔭 Looking for something truly stellar?
You've finished your star quilt block, and you're ready for more!
Browse our collection of 60 stellar star quilt block patterns. All have instructions and cutting charts in multiple sizes. If templates or paper piecing is used in the tutorial, there's a free download for you of those materials.

Eeny. Meenie. Miney. Moe.
Which star quilt block will you sew?
For a star-studded quilting experience, choose from 100+ bedazzling star quilt patterns—for beginners and beyond—click here.
For even MORE blocks to make... 🧩🎨

...visit our Free Quilt Block Pattern Library, with over 230+ blocks to choose from in multiple sizes.
Free downloads are included in all sizes for any blocks require paper piecing patterns or templates.
- Home
- Free Quilt Block Patterns
- Double Star Block
