- Home
- Free Quilt Block Patterns
- Double Necktie Quilt Block
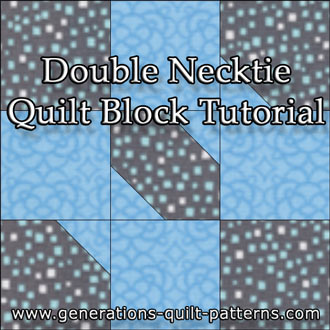
It's 5x the fun to make a Double Necktie Quilt Block
From our Free Quilt Block Patterns Library
This post contains affiliate links, for which I receive compensation.
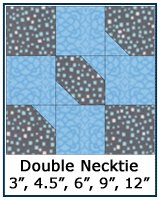
The Double Necktie quilt block is a variation on the Bow Tie block.
Both are made with simple connector corners. No triangles to cut.
Double your fun with two neckties in each block that are sewn as a 9-patch instead of the usual 4-patch. Choose from 5 sizes.
Let's get started!
📋 General Instructions
Seam allowances (SA) are a quarter inch unless otherwise noted.
For pressing, first press the patches flat as sewn to set the seam and meld the thread into the fabric. Then open the patches and press again.
These abbreviations are used in this tutorial:
- SA - seam allowance(s)
- CC - Connector Corners
The newest quilt fabrics to tickle your fancy...
Click the images below to see the full collection. We share any commercial and/or free patterns that showcase them, too. (For inspiration, of course!)
Step 1: Cutting the Double Necktie patches
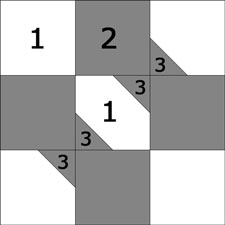 Double Necktie design
Sample Size: 6" finished / 6½" unfinished
Grid: 3x3
Design Type: Even 9-patch
Pick two fabrics with enough contrast so the the small, connector corner units don't get lost. This probably isn't a good place for a large scale floral.
If you prefer, choose different fabrics for each necktie. Then cut two #2 and two #3 patches for each 'tie'.
All the numbers in the chart below represent squares, i.e. 2" represents a 2"x2" square.
 |
Cutting Chart for a~ Connector Corners ~ | ||||||
|---|---|---|---|---|---|---|---|
| Patch | Fabric | Qty | Finished Block Size | ||||
| 3” | 4-1/2” | 6" | 9” | 12” | |||
| 1 | Background | 5 | 1-1/2” | 2” | 2-1/2” | 3-1/2” | 4-1/2” |
| 2 | A | 4 | 1-1/2” | 2” | 2-1/2” | 3-1/2” | 4-1/2” |
| 3 | A | 4 | 1” | 1-1/4” | 1-1/2” | 2” | 2-1/2” |
| Unfinished Block Size | 3-1/2” | 5” | 6-1/2” | 9-1/2” | 12-1/2” | ||
| Grid Size | 1” | 1-1/2” | 2” | 3” | 4” | ||
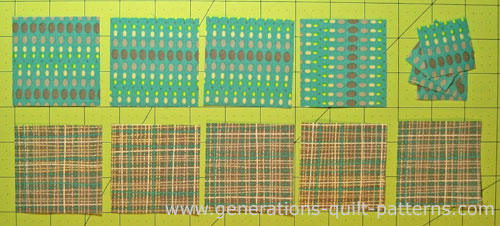
And these are the cut patches...
Step 2: Stitch the Connector Corners (CC)
Draw a diagonal line from corner to corner on the back of all four #3 patches.
With right sides together, align two edges of a #3 with a #1 background patch.
Stitch on the line.
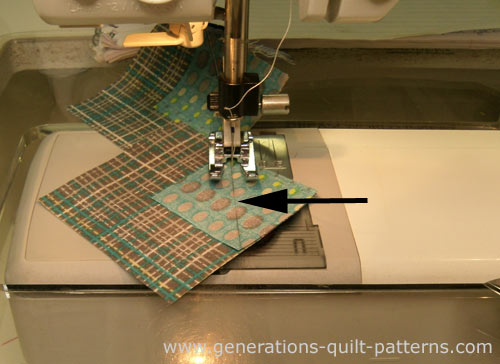
Trim the excess away from the small #3 on the side closest to the corner, leaving a 1/4" seam allowance. Press.
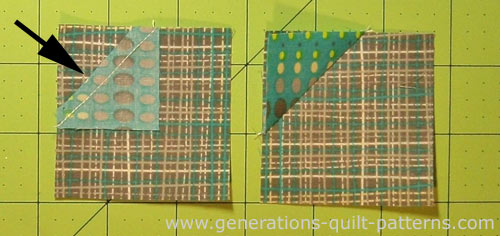 After trimming (left) and after pressing (right)
Repeat for a total of 3 background squares. Set two aside.
Add the final #3 to the corner diagonal from the stitched #3. Trim and press as before.
You now have one #3 with two CCs, two with one CC, and two with none.
Step 3: Assemble your Double Necktie quilt block
Lay out the cut squares and connector corner units to create the Double Necktie design.
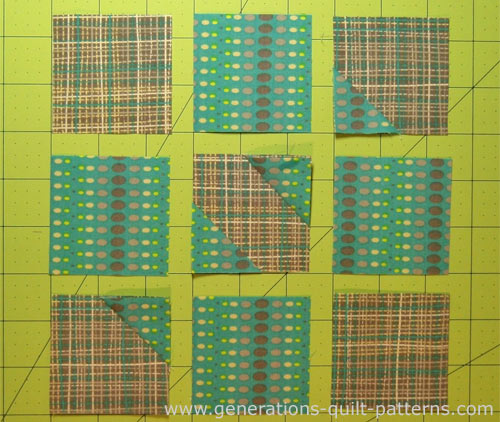
Stitch them into rows, pressing towards the #2 squares (green dots) to minimize bulk.
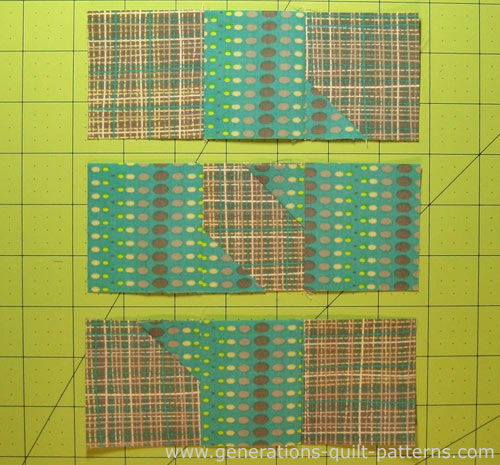
Stitch the rows together. The seam allowances nest to make matching a breeze!
This is the finished Double Necktie block.
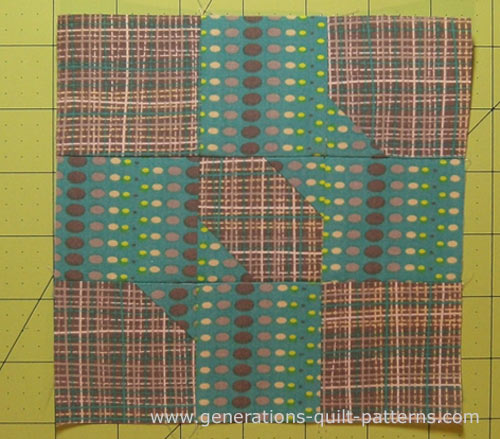
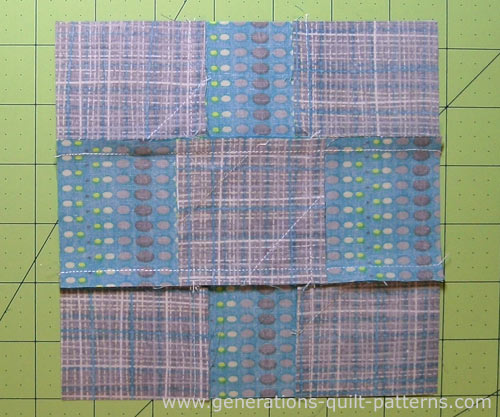
And from the back it looks like this. No triangles!
Looking for another Necktie or Bow Tie block?
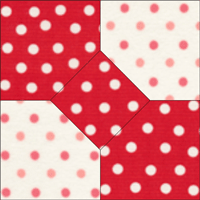
Try this 3D Bow Tie tutorial.
Simple four patch construction from 5 equal squares.
It couldn't be easier!
More blocks that use Connector Corners
As promised, below is a sampling of the free quilt block patterns found on this website that use this simple technique for creating triangle shapes out of nothing more than cut squares and rectangles.
Click each image to go to those instruction pages.
For even more patterns, visit our Free Quilt Block Patterns Library.
What about a different quilt block?
For a list of all the 220+ quilt block patterns on this site, start here.
If you know the name of the block, shorten your search by using these links:
Click here if you're looking for blocks with at least some paper piecing.
Click here if you're looking for the basic building blocks of quilting, i.e., Flying Geese, half square triangles, quarter square triangles, etc., along with several techniques to make each.
And finally, use these links to find blocks in these finished sizes:
