- Home
- Free Quilt Block Patterns
- Dolly Madison's Star quilt block
Star-Studded Seams: The Dolly Madison's Star Quilt Block
Declare your independence from boring blocks! 📜✂️
This post contains affiliate links, for which I receive compensation.
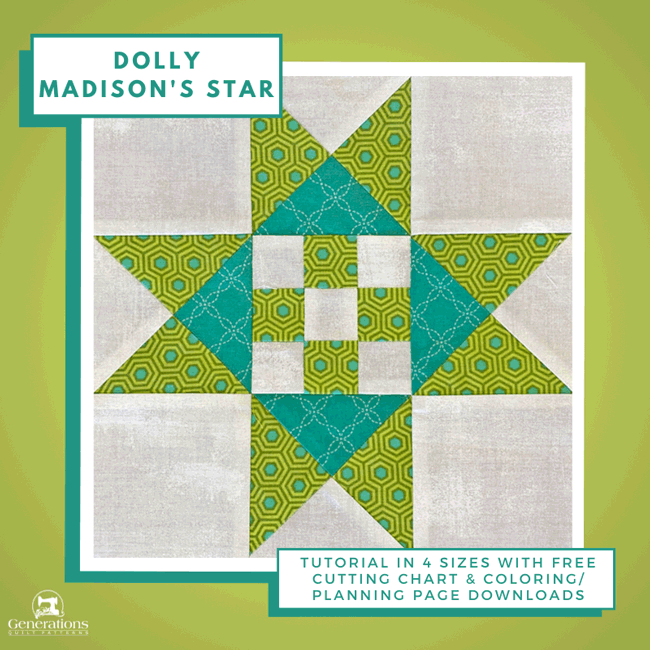
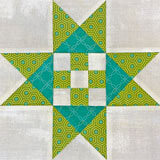
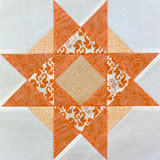
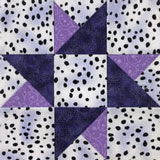
Show your quilting prowess with the dazzling Dolly Madison's Star quilt block.
Constructed using basic quarter square triangles and a single 9-patch,you'll be amazed at how quickly it all comes together using traditional piecing techniques.
An oversized unit here, a trim there, just watch the magic happen. You'll be beaming at your results.
Let's get started on some starry stitching magic—you've got this!
🧭 Navigate this star-spangled tutorial with ease! 🔍
Use these handy links to jump to the section you need faster than Dolly Madison saved those White House portraits.
- No time for quilting right now? Pin it for later. :D
Let's get stitching!
📋General Instructions
Several abbreviations are used on this page. They are:
- SA - seam allowance
- RST - right sides together
- HST - half square triangles
- QST - quarter square triangles
- Bac - background fabric
1/4" SA are used through this tutorial.
Highlighted in yellow, pressing instructions are easy to spot.
First press the patches in the closed position as they came off your sewing machine. This sets the seam, melding the fibers of the threads into the fibers of the fabric.
Then press the SA to the dark unless otherwise noted.
The newest quilt fabrics to tickle your fancy...
Click the images below to see the full collection. We share any commercial and/or free patterns that showcase them, too. (For inspiration, of course!)
✂️Cutting patches for a Dolly Madison's Star quilt block
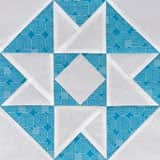
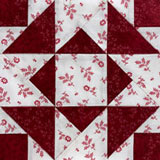
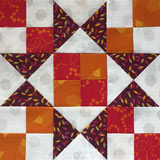
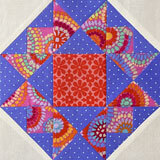
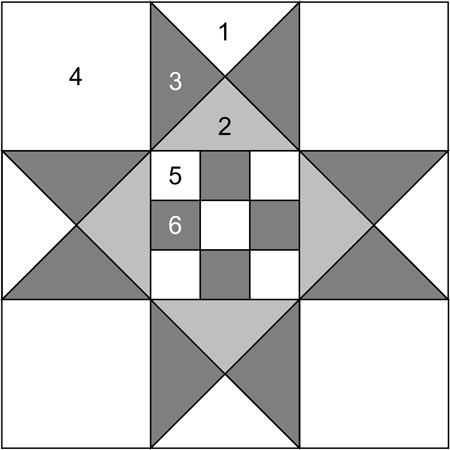 Dolly Madison's Star design
Sample Block Size: 9" finished / 9½" unfinished
Grid: 9×9
Design Type: Star | Even 9-patch
Set yourself up for success by labeling your patches after cutting. This simple step will save time and prevent confusion during assembly.
To print a copy of the block design and cutting chart to use at your cutting table, click here.
The green hexagon print is from Tula Pink's True Colors line—one of the most usable lines I've come across in a long time. In fact, if you're a bright-scrappy quilter like I am, this is one of those collections that truly BELONGS in your stash.
The turquoise is from Kimberbell's Winter Basics from a couple of years ago. The neutral background is Grunge.
 | Cutting Chart for a~ Traditional Piecing ~ | |||||
|---|---|---|---|---|---|---|
| Patch | Fabric | Qty | Finished Block Size | |||
| 4½'' | 9'' | 13½'' | 18'' | |||
| 1 | Bac | 1 | 3'' x 3'' | 4½'' x 4½'' | 6'' x 6'' | 7½'' x 7½'' |
| 2 | Med | 1 | 3'' x 3'' | 4½'' x 4½'' | 6'' x 6'' | 7½'' x 7½'' |
| 3 | Dark | 2 | 3'' x 3'' | 4½'' x 4½'' | 6'' x 6'' | 7½'' x 7½'' |
| 4 | Bac | 4 | 2'' x 2'' | 3½'' x 3½'' | 5'' x 5'' | 6½'' x 6½'' |
| 5 | Bac | 5 | 1'' x 1'' | 1½'' x 1½'' | 2'' x 2'' | 2½'' x 2½'' |
| 6 | Dark | 4 | 1'' x 1'' | 1½'' x 1½'' | 2'' x 2'' | 2½'' x 2½'' |
| Unfinished Block Size | 5'' | 9½'' | 14'' | 18½'' | ||
| Grid Size | ½" | 1'' | 1½'' | 2'' | ||
🪡Assemble the units for a Dolly Madison's Star
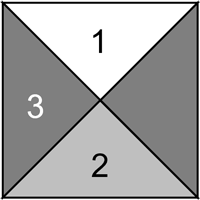
Quarter Square Triangles (QST)
Make 4
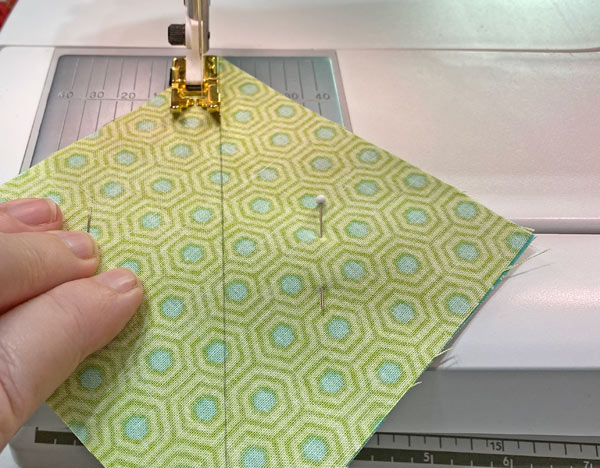
On the backside of two of the easiest-to-see-your-markings, mark a diagonal line from corner to corner. A mechanical pencil is a good choice for this because the line is always the same width. Make the mark only as dark as you need to be able to see it as you stitch.
With RST, layer a #1 and #3 and a #2 and #3. Pin together if it helps you keep the edges even.
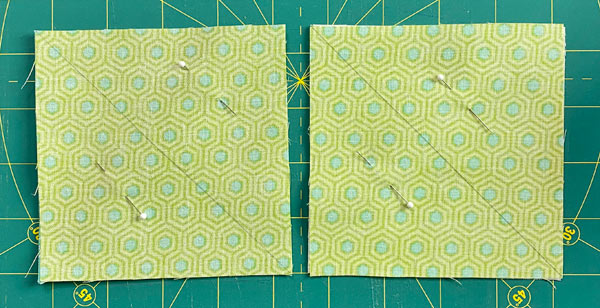 I've pinned far enough away from the line that all the stitching can be done without having to remove the pins.
With your favorite 1/4" presser foot installed, stitch a 1/4" away from both sides of the line.
On the left below is a stitched pair, and on the right, it's been cut in half between the lines of stitching.
Do this for both pairs.
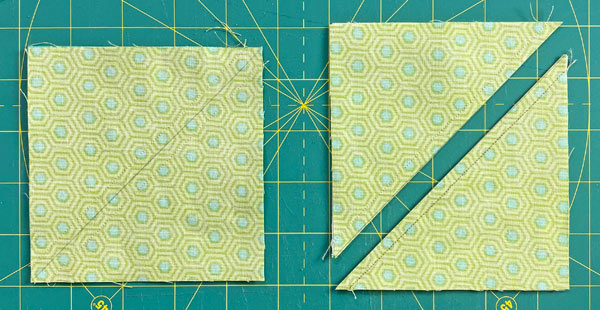
After cutting, press the SA of these HSTs towards the #3 patch.

On the two lightest, easiest-to-see-your-markings HSTs, draw a line from corner to corner through the seam allowance.
For the best results (meaning true 90° angles at the center, so the block lays flat), line up a straight line on your ruler with the seam line (red arrow).
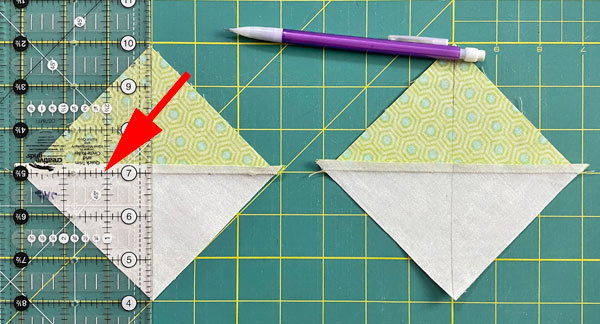 Ready to mark the line (left) and after marking (right)
Pair a marked HST with an unmarked one. It will contain two #3s, a #1 and a#2 patch.
Nest the seam allowance (this is why the SAs were pressed towards the #3s) and pin to hold everything in place.
If you can pin so you don't have to remove them while stitching, all the better.
Stitch 1/4" away from both sides of both pairs.
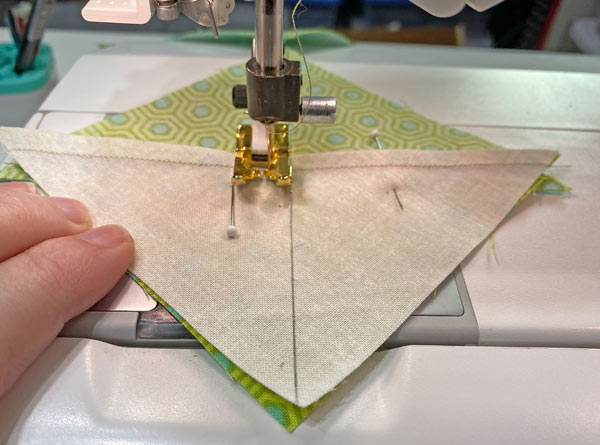 The pin's just barely far enough from the presser foot so I don't have to stop to remove it.
After they are stitched, open up each side of the pair to check the match at the center. Now's the time to fix anything.
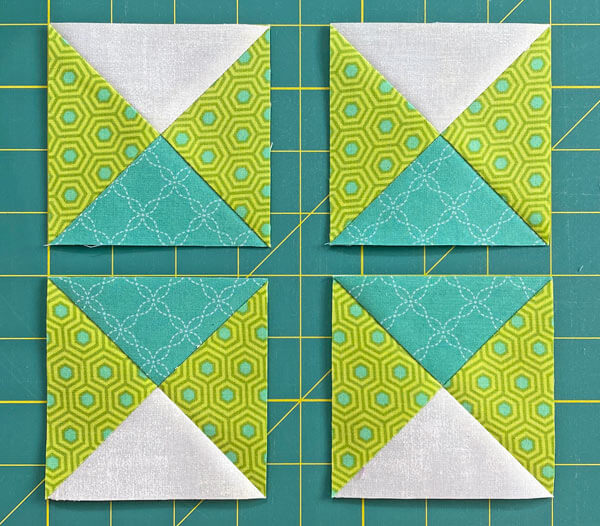
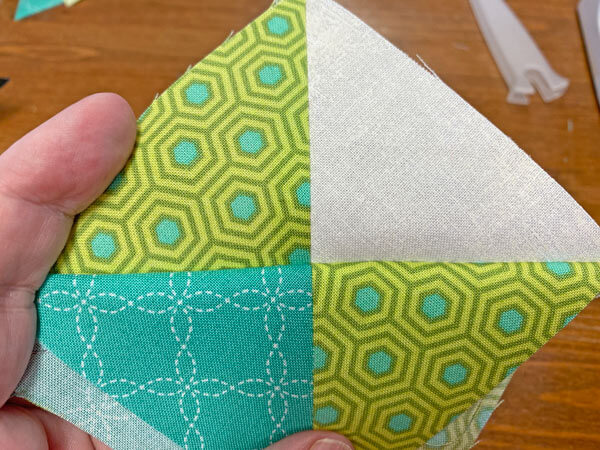 The match is good. Cut the units in half between the stitching line to create your QSTs.
When you are satisfied with the match, cut each pair in half between the last two lines of stitches.
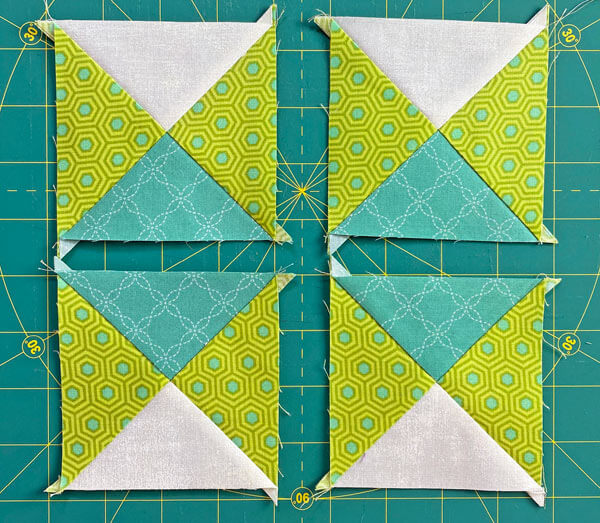 A bit of a trim will make these perfect
At this time, I like to twirl the SAs on these QSTs. It reduces the bulk in the center where all the seams meet.
Undo—do not cut or remove—the threads in the seam so that you can fan or twirl the SAs around the center.
This is what it looks like from the backside.
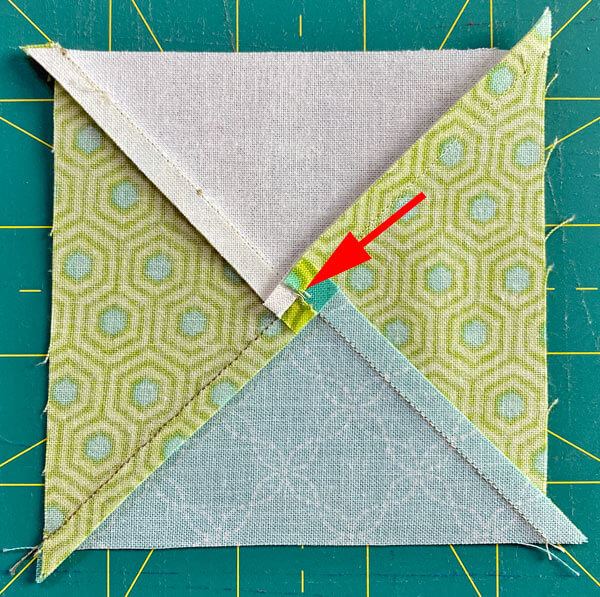 At the arrow, you can just make out the thread tails. I've undone them, but not cut them away to maintain the stability of the QST.
Now, here's the magic.
We're going to trim these QSTs to the exact size.
Find the Center measurement that corresponds to your finished block size. Because our sample finishes at 9" the Center is at 1-3/4".
QST Dimensions | ||
|---|---|---|
| Finished Block Size | Center Measurement | Trim QST to… |
| 4½" | 1" | 2" x 2" |
| 9" | 1¾" | 3½" x 3½" |
| 13½'' | 2½" | 5" x 5" |
| 18" | 3¼" | 6½" x 6½" |
At our cutting mat, position the 1-3/4" mark over the center of the QST (red arrow) where all the points meet. (red arrow). The dashed 45° line sits directly over the seam line that extends from upper right to lower left.
The 3-1/2" mark (the 'Trim QST to...' measurement for our 9" finished block) is directly over the seam in the upper left and lower right corners. (blue arrows)
With your rotary cutter, trim away the excess on the right and top edges.
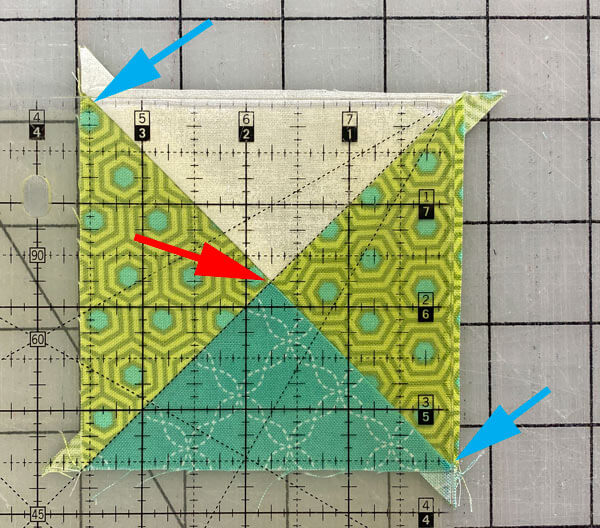
Flip your QST 180° and reposition your ruler.
The 45° line is still over the seam from upper right to lower left. The freshly trimmed edges are along the 3-1/2" line on the left and bottom edges (red arrows).
Trim away the excess once again.
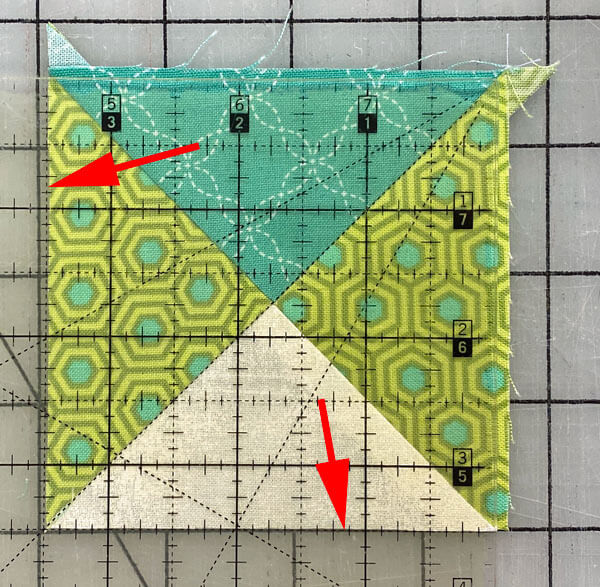
The size is precise, the seams cut each corner exactly in half, and the unit lays flat.
These will be a breeze to piece into our block.
9-Patch Unit
Make 1
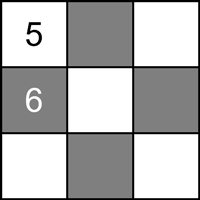 9-patch
With RST, sew a #5 to a #6 for a total of 3 pairs.
Press.
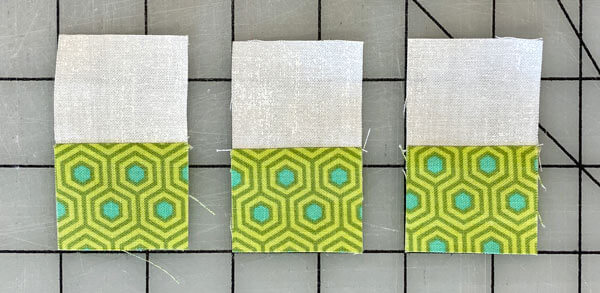
With RST, sew a #5 to the #6 side for 2 pairs, and a #6 to the light #5 for one.
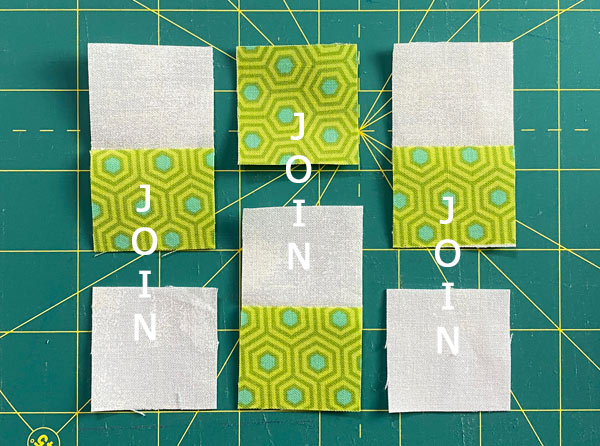
Press.
After stitching, you have three pieced strips like this. The light squares will be in the outside corners.
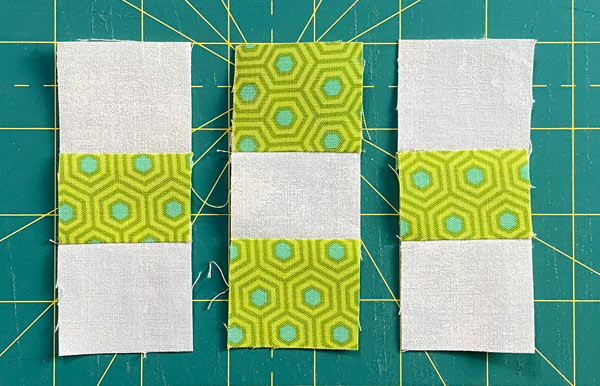
Since the SAs are pressed towards the darker #6s, all the seams nest, helping you to match the SAs.
Use pins to hold the strips in place as you stitch.
You can press these final two SAs either towards or away from the center. It does not make any difference to the block construction.
This is the finished 9-patch.
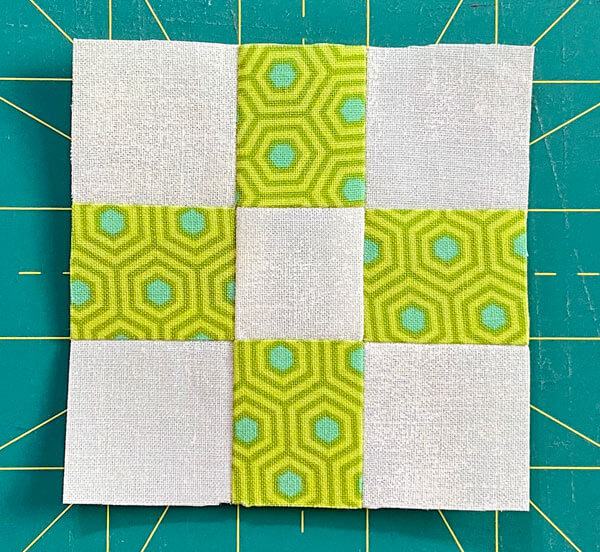
Use the chart below to check the accuracy of your stitching.
After sewing , the 9-patch measures... | |
|---|---|
| Finished Block Size | Edge-to-edge Measurement |
| 9" | 3½" x 3½" |
| 13½'' | 5" x 5" |
| 18" | 6½" x 6½" |
🧩Assemble your Dolly Madison's Star quilt block
Arrange your patches into the Dolly Madison design—solid square in the outside corners, 9-patch in the center, and the Bac side of the QST on the outside edges.
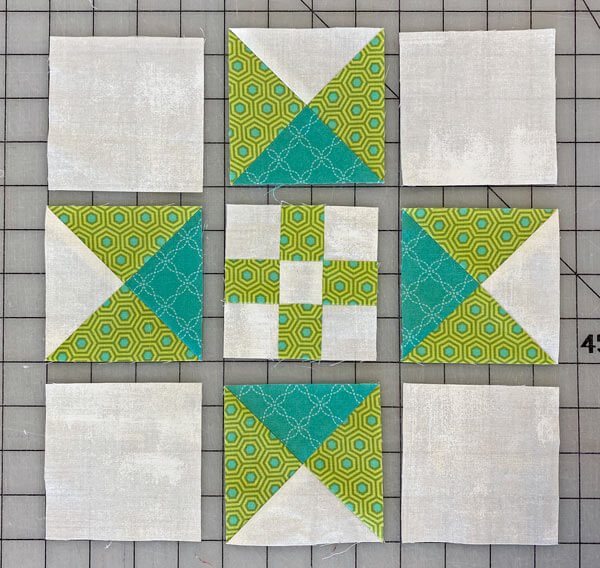
With RST, stitch the units in each row together.
These seams are pressed away from the QSTs to minimize bulk.
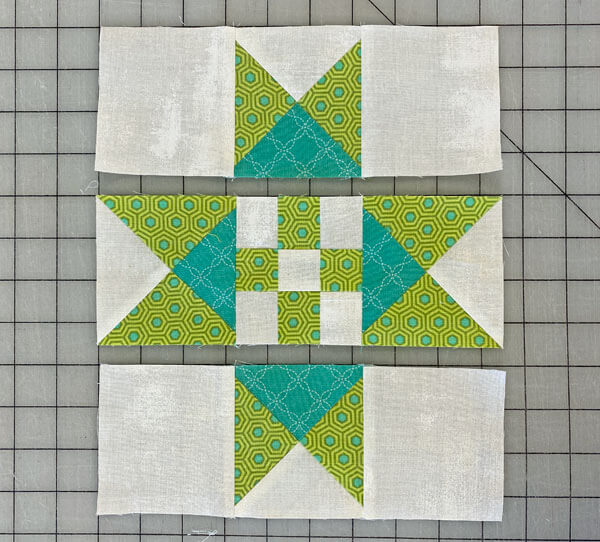
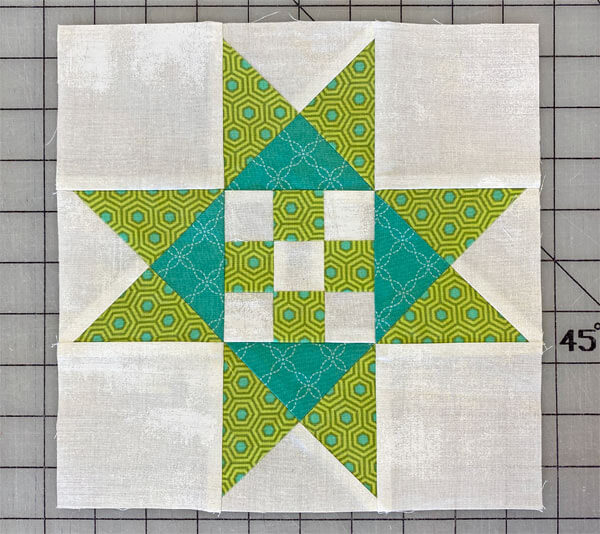
With RST, stitch the rows together. Pinning is my preference. Try it if you encounter any problems getting a good match at the seams.
For more detailed instructions, take a look at my article, 'Pinning for Perfection'.
These last two seams are also pressed away from the QSTs.
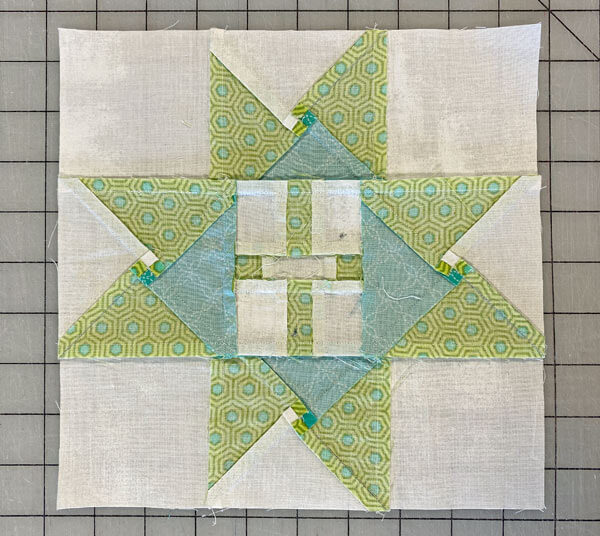
Let's take a peek at the backside.
The twirled or fanned SAs at the center of each QST form tiny 4-patches. It really is worth the couple of seconds it takes to undo (not cut) the stitches to free the SAs so they can fan around the center.
Some much nicer not to run THUNK! into that lump when you're quilting on your domestic sewing machine.
Sew Long, Farewell: Your Dolly Madison's Star Quilt Block Adventure Awaits!
There you have it, fellow fabric patriots! 🇺🇸✂️ The Dolly Madison's Star is your ticket to stitching a piece of American history. Whether you're aiming for star-spangled stitches or star-studded seams, this block will have you quilting like a First Lady in no time! 👑🧵
So grab your rotary cutter and channel your inner Dolly—it's time to declare your independence from boring quilts! 📜🪡
Remember, in the land of the free and the home of the brave, we hold these truths to be self-evident: all quilters are created equal, but those who master the Dolly Madison's Star shine just a little bit brighter! ✨🌟
Now, let freedom ring…and let those sewing machines sing! 🎶🧵
Happy quilting, and may your stitches be ever straight and true! 🦅🏛️
📌Star-struck by this tutorial?
Pin it faster than you can say "Dolly Madison" for a patriotic piecing party later! 📌
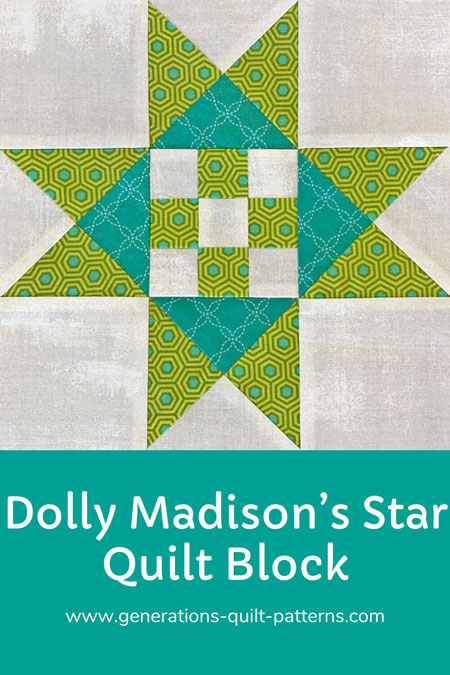
More related 8-pointed star quilt block patterns
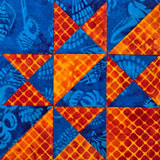
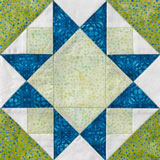
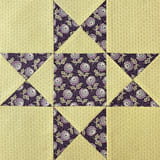
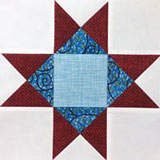
There are several tutorials available to you on this website that start with an Ohio star as its base. Click on any of the images below to go straight to that tutorial.
Aunt Dinah and Twin Star may seem a little suspect.
But look closely. Those are 3-patch quarter square triangles on each side.
You'll find confirmation in Barbara Brackman's BlockBase+ (love the software). These blocks are listed in the '09 Equal Nine Patch' library in '03 Like Ohio Star'.
🔭 Looking for something truly stellar?
You've finished your star quilt block, and you're ready for more!
Browse our collection of 70 stellar star quilt block patterns. All have instructions and cutting charts in multiple sizes. If templates or paper piecing is used in the tutorial, there's a free download for you of those materials.

Eeny. Meenie. Miney. Moe.
Which star quilt block will you sew?
For a star-studded quilting experience, choose from 100+ bedazzling star quilt patterns—for beginners and beyond—click here.
For even MORE blocks to make… 🧩🎨

...visit our Free Quilt Block Pattern Library, with over 260+ blocks to choose from in multiple sizes.
Free downloads are included in all sizes for any blocks require paper piecing patterns or templates.
- Home
- Free Quilt Block Patterns
- Dolly Madison's Star quilt block
