- Home
- Free Quilt Block Patterns
- Crows-nest-quilt-block
Crow's Nest Quilt Block
From our Free Quilt Block Patterns Library
This post contains affiliate links, for which I receive compensation.
Skill Level: Beginner
The Crow's Nest quilt block is a terrific little block for the beginning quilter. There's a bit more visual interest than its kissin' cousin—the Churn Dash—without any noticeable increase in difficulty.
You have a chance to practice your quarter inch seam allowance, along with refining your half square triangle technique.
Our HSTs are made with a quick pieced method, but there is a link to alternatives for you to try if you'd like. It's important that you find what works best for YOU!
Quilters who've been quilting awhile might also know this pattern as 'Attic Window'.
On this page you'll find instructions to make your own Crow's Nest in 3 sizes—9", 13-1/2" and 18" finished.
There's links to related blocks and their instructions after the tutorial.
And last but not least, I pull back the curtain and share my EPIC FAIL while making the sample for this tutorial.
Let's get started!
📋 General Instructions
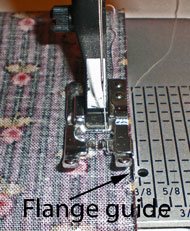 My favorite 1/4" foot
You'll need just two fabrics and your everyday tools to make this block. All seam allowances (SA) are 1/4" and pressed toward the darker fabric unless otherwise noted.
Install your favorite quarter inch foot—mine has a guide on the right-hand side.
That makes it the perfect choice when using starched quilt fabric.(FYI: You must be able to adjust your needle position to use this foot.)
For the sample block, the lavender fabric came from a Kona Solids fat quarter collection from Elizabeth Hartman.
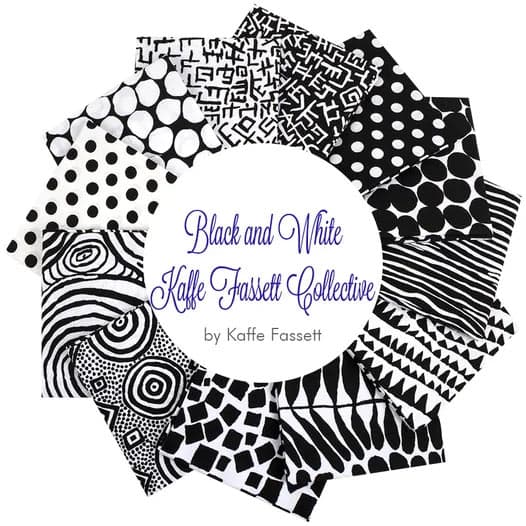
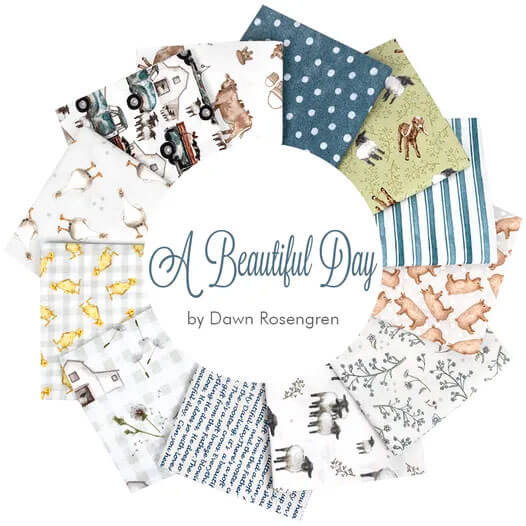
The newest quilt fabrics to tickle your fancy...
Click the images below to see the full collection. We share any commercial and/or free patterns that showcase them, too. (For inspiration, of course!)
Step 1: Cutting patches for a Crow's Nest block
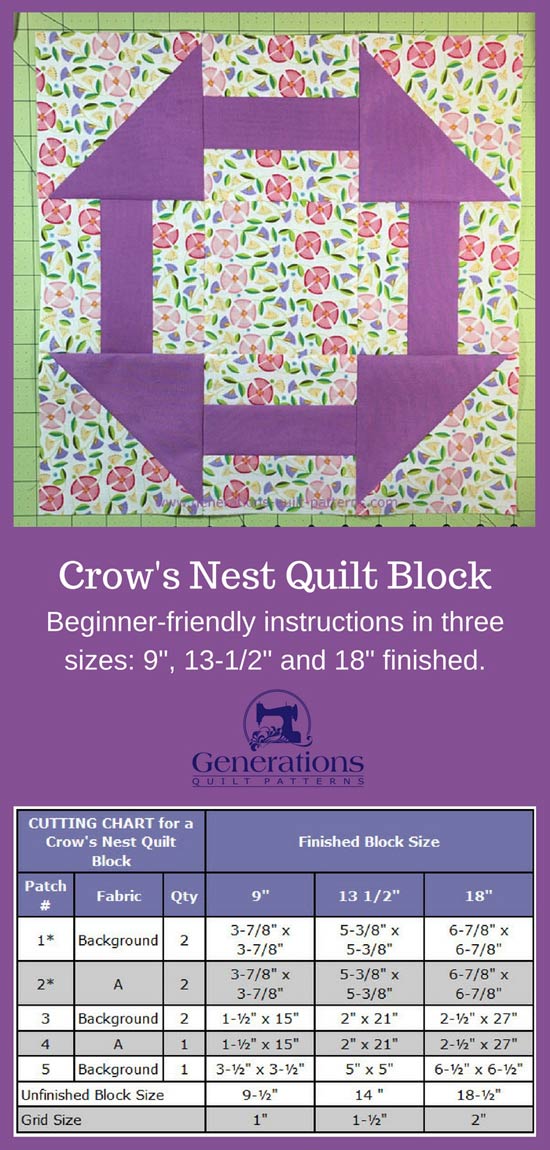
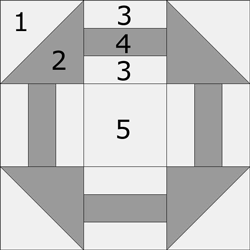 Crow's Nest quilt block design
Sample Size: 13½" finished / 14" unfinished
Grid: 9x9
Attribution: KC Star
AKA: Attic Window (Nancy Page)
Design Type: Even 9-patch
You want enough contrast between your two fabric choices so that the points in your Crow's Nest don't get lost.
The fabrics in the sample block, though close in value, are different enough in pattern (solid vs floral) that both are easy to see.
Please note in the Cutting Chart below that I've marked Patches #1 and #2 with an asterisk.
I prefer to cut and sew my Half Square Triangles larger than needed, then trim them down to the perfect size.
I ADD an extra 1/4" to 3/8" to their measurements listed in the chart below. For more explanation on this variation of the Quick Pieced method, click here.
At the place in the instructions where you make the HST, you'll find a simple chart that tells you what size they need to be after stitching.
If you've cut exactly as in the chart, just confirm the size. If you've cut generously as I do, it is the size you trim down to.
The choice is yours.
 |
Cutting Chart for a~ Traditional Piecing ~ | |||||
|---|---|---|---|---|---|---|
| Patch | Fabric | Qty | Finished Block Size | |||
| 9" | 13 1/2" | 18" | ||||
| 1* | Light | 2 | 3-7/8" x 3-7/8" | 5-3/8" x 5-3/8" | 6-7/8" x 6-7/8" | |
| 2* | A | 2 | 3-7/8" x 3-7/8" | 5-3/8" x 5-3/8" | 6-7/8" x 6-7/8" | |
| 3 | Light | 2 | 1-½" x 15" | 2" x 21" | 2-½" x 27" | |
| 4 | A | 1 | 1-½" x 15" | 2" x 21" | 2-½" x 27" | |
| 5 | Light | 1 | 3-½" x 3-½" | 5" x 5" | 6-½" x 6-½" | |
| Unfinished Block Size | 9-½" | 14 " | 18-½" | |||
| Grid Size | 1" | 1-½" | 2" | |||
Click here for a quick note about the block design and why we made a 13-1/2" finished block.
Step 2: Assemble the units
Half Square Triangles (HSTs)
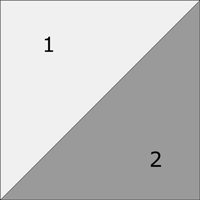
Make 4
Patches Used: #1, #2
I was at our monthly Sunday Sew-In when I made this sample. Unfortunately I did a piss-poor job of packing—forgetting my quarter inch foot (the one without the flange)—so marking the diagonal line and stitching a 1/4" away on both sides was out.
Same for my Quick Quarter Ruler--that baby was still on my sewing machine cabinet at home.
So I just used my everyday rotary ruler to mark the stitching lines. (See Epic Fail below for more on this...)
To mark these lines, align the 1/4" line of your ruler with the diagonal corners on your light patch (pink arrows). Draw a line, only as dark as you need to see.
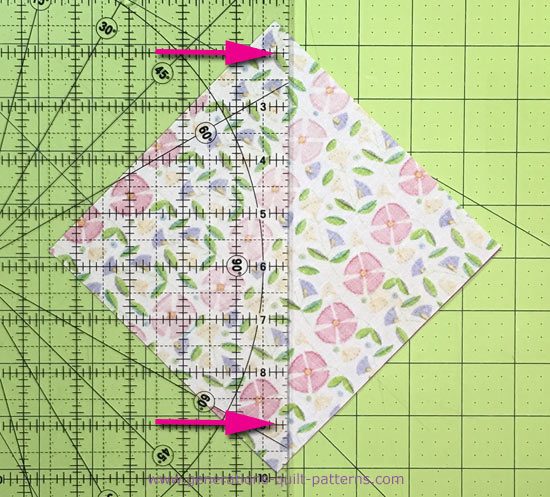 Marking the stitching line a 1/4" away from the center diagonal on the backside of the lighter of your #1 and #2 patches.
This is what you have after marking the stitching line on the opposite side of the center diagonal.
Again, don't use pen. I did it here only to make it easier to see.
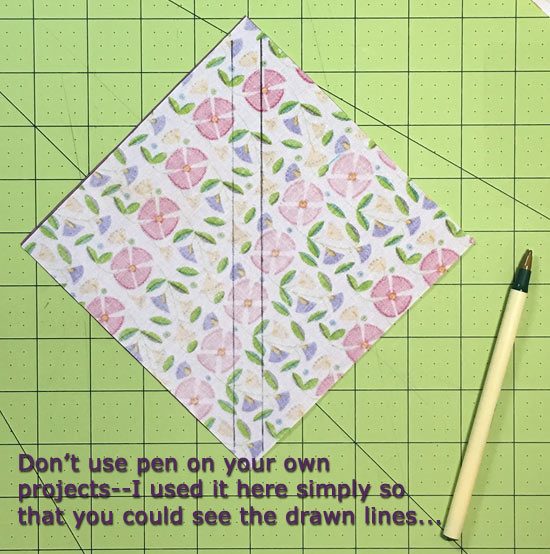 Yes. This is one of those 'do as I say' not 'do as I do'. Pen can bleed when washed. Pen also tends to be acidic--a good thing to avoid in your quilts.
Layer a pair of #1/#2 squares with right sides together (RST) and stitch on the marked lines. Repeat for the second pair of #1/#2 squares.
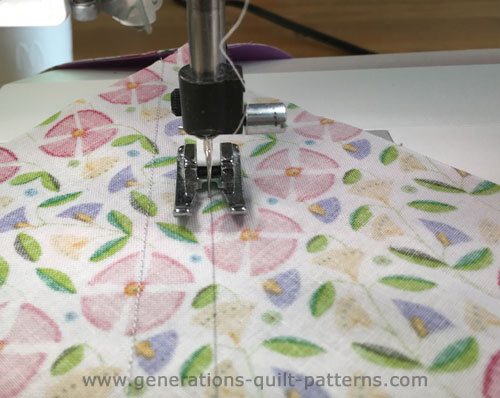 Using an open toe applique foot makes it easy to see your markings.
See Quick Pieced HSTs for more information on this technique for making HSTs if you need it.
Cut the sewn pairs apart between the two stitching lines.
Press first in the closed position to set the seam and then open with the SA towards the dark.
Repeat for a total of four HSTs.
Trim your HST (if needed) to the size in the chart below.
| Finished Block Size | Trim to... |
|---|---|
| 9" | 3-1/2" |
| 13 1/2" | 5" |
| 18" | 6-1/2" |
For the 13-1/2" finished sample block, they are trimmed to 5" x 5".
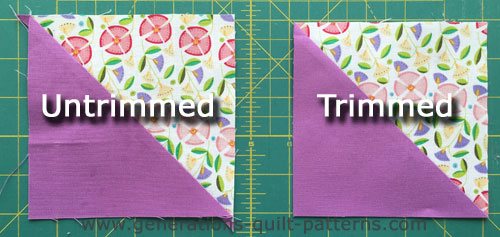 Make 4
There are several different ways to make HST. Click here to learn more about them.
Rail Fence Units
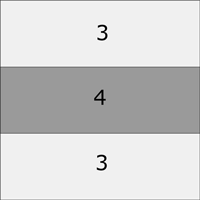
Make 4
Patches Used: #3, #4
To create these Rail Fences we'll first create a strip set, then subcut it to size.
With RST stitch a #3 to a #4 along the long edge.
Press the SA toward the darker #4. After setting the seam with my iron, I like to use my thumbnail to fingerpress open the seam to prevent tucks. Then press with the iron.
Add the second #3 strip to the #4 side of the strip set. Press.
Using the chart below and based on your finished block's size:
- Check that your sewn stripset is the correct width. Make any adjustments you need now.
- Determine the subcut width for your strip set.
| Finished Block Size | Width of Strip Set after stitching | Subcut Width |
|---|---|---|
| 9" | 3-1/2" | 3-1/2" |
| 13 1/2" | 5" | 5" |
| 18" | 6-1/2" | 6-1/2" |
Straighten one short edge by trimming off just a smidge.
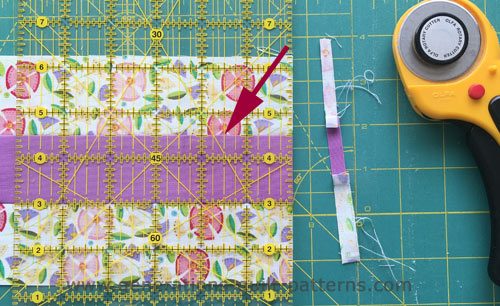 The original strips are 1" longer than needed so there's room to do this trimming.
Re-position your strip set on the mat (or just turn your mat if it's small enough) and subcut it into four units. For the 13-1/2" finished example, that means cutting four 5" squares.
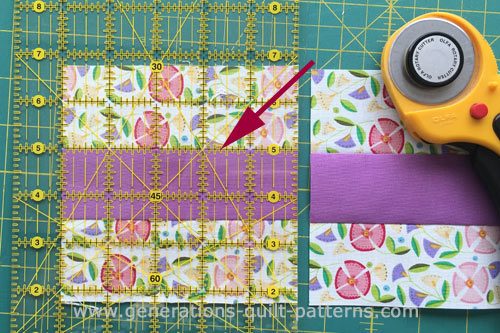 Match a line on your ruler to the seamline for perfect squares.
Step 3: Assemble your Crow's Nest Quilt Block
Arrange your units to form the design.
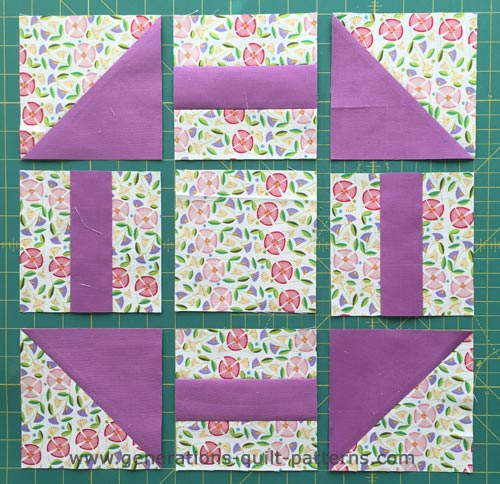
Stitch the units into rows. SA are pressed in the direction of the arrows so that they nest when the rows are put together.
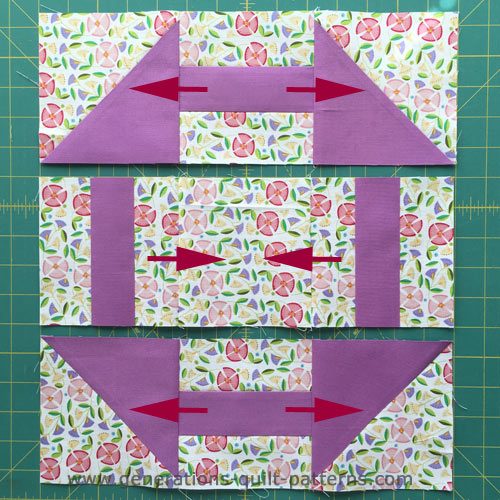
Stitch the rows together and give your block a final press.
For an unbelievably flat block, check out this simple trick!
This is our finished block.
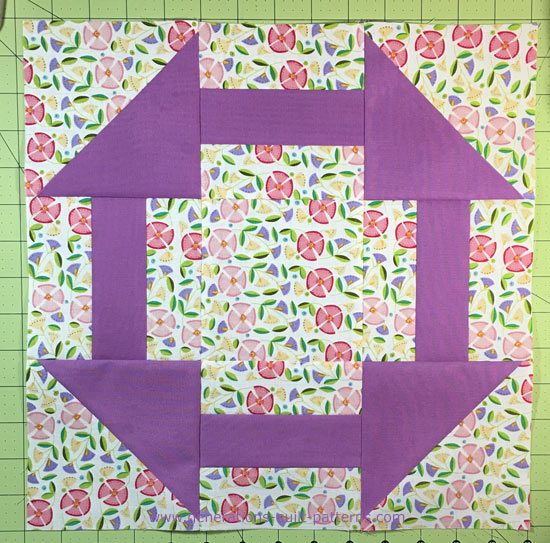 Eureka! It's finished!
And now our Crow's Nest from the backside.
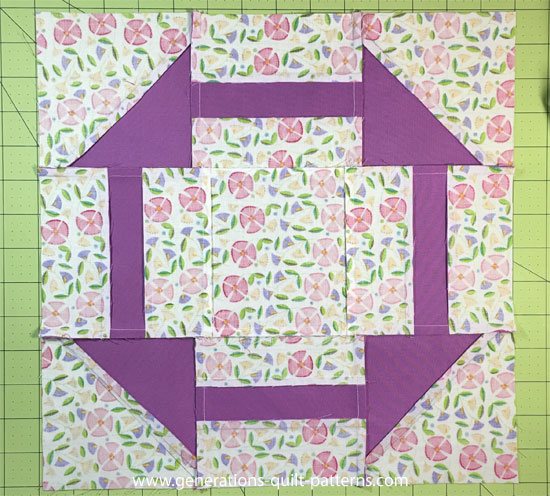 Final two seams pressed out from the center.
If you intend to make a quilt with these Crow's Nest blocks, press the last two seams in toward the center so that the seams will nest and not be lumpy when the blocks are set edge-to-edge.
More quilt blocks related to the Crow's Nest
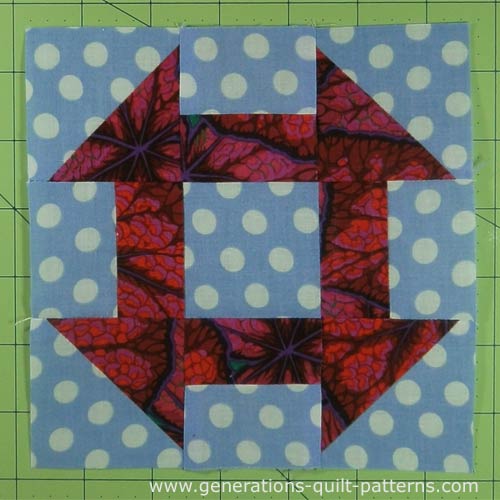 Churn Dash quilt block
The Crow's Nest is a simple variation on the Churn Dash block—its side units are divided into 3 strips instead of 2.
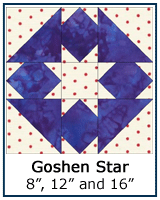
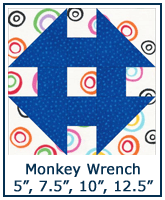
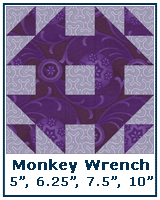
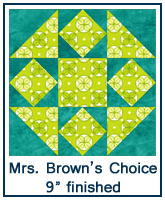
Several other related designs with instructions are already on this site for you to choose from.
All are 9-patch blocks with HSTs in the corners and then some type of 'joiner' unit on the sides.
You can click any of these images to go to the instruction page.
I'd have thought my Crow's Nest was cursed...!
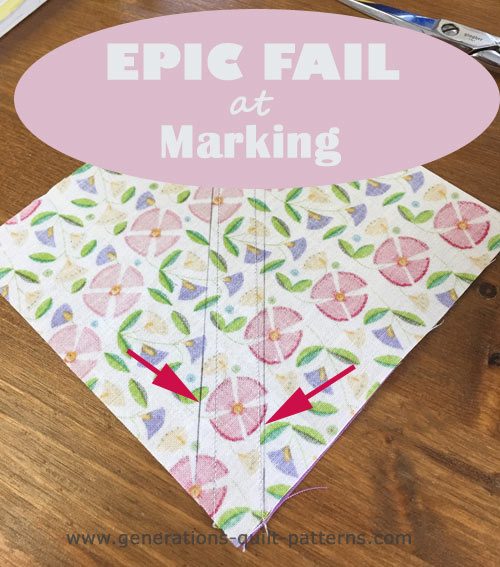 We all make mistakes sometimes. These are mine—mismarked stitching lines. Not once. But twice!
One of the things that happens when you quilt by yourself a lot is that you think everyone else is doing everything right the first time. Always.
That's just not true.
Mistakes happen to everyone.
Even me.
On this particular sample block.
(V-8 head thunk!)
Sometimes there's just not enough caffeine in the system!
The day this sample was made I was quilting with my bee at our monthly Sunday Sew-In. Clearly not enough coffee yet.
Not only had I forgotten the right quarter inch presser foot and Quilters Quarter ruler for marking the lines, but I also really screwed up marking the stitching lines on this pair of squares—I put the quarter inch line of my regular ruler on the corner point at one end and the half inch line on the other end.
Not once. But twice! (hangs head in shame)
I screwed up BOTH LINES!!!!!!
So much for having the best tool for the job. (With the Quick Quarter, once it's positioned both lines that you draw are correct. The first time.)
Luckily, I caught my error before cutting.
The lesson?
Measure twice. Cut once. Swear occasionally.
Or is it 'Two cups o'Joe before measuring?
But even with these mistakes, a bad day quilting still beats a good day doing dishes!
What about a different quilt block?
For a list of all the 220+ quilt block patterns on this site, start here.
If you know the name of the block, shorten your search by using these links:
Click here if you're looking for blocks with at least some paper piecing.
Click here if you're looking for the basic building blocks of quilting, i.e., Flying Geese, half square triangles, quarter square triangles, etc., along with several techniques to make each.
And finally, use these links to find blocks in these finished sizes:
