- Home
- Quilt Design Inspiration
- Antique Tile Quilt, Part 2
Antique Tile Quilt Design, Pt 2
We've saved the BEST for last!
This post contains affiliate links, for which I receive compensation.
In Part 1, we worked our way through straight and on-point sets made from our Antique Tile quilt block without sashing, and then with simple solid, and finally pieced sashings.
A couple of the designs are interesting enough to consider making quilts from.
The majority, however, were discarded.
This is pretty normal. If we loved all our ideas, we probably weren't picky enough.
If you've landed on this page and would like to see how simple the block is to piece, click here .
You've also seen the benefit of using our Electric Quilt software to quickly audition new ideas, all without wasting an inch of our precious quilt fabric.
Another equally valuable benefit is that drafting the different options — working from the most basic to more involved — does get your creative juices flowing.
New ideas do occur to you as you actually work through the process.
Contrary to urban mythology, quilt designs do not just spring fully-formed from nowhere.

The quilt designs that follow on this page are ideas that only came to me as I worked through the process—from basic to more involved.
They weren't in my head to start with.
How many designs would you try if you had to draw each one out by hand.
Would you have taken it to our end result?
After 14 other tries?
Electric Quilt is the perfect tool for inquisitive quilters.
Like I always say to my daughter, "You never know unless you try."
Quilting's like that.
Ba-Zinga! Dazzling Design Options
Still focusing on the place between where the two green rectangles meet, now it's time to add another design element to our sashing—one not already in our block.
What's more, let's widen the sashing strip to two grid units̵—remember our original Antique Tile quilt block is drawn on a 6x6 grid.
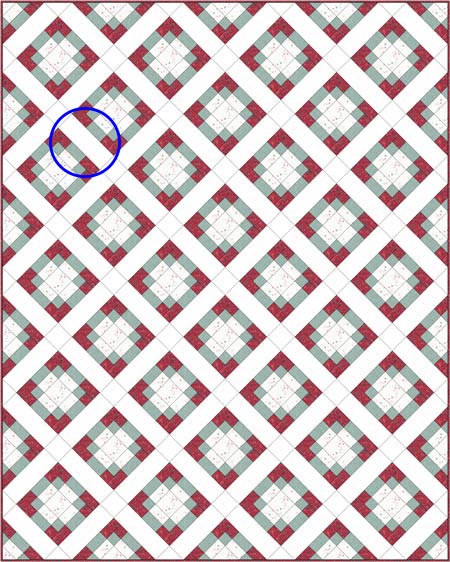 We'll focus on the space between the green rectangles (circled) for these final variations.
Up the ante in your sashing
Try a sashing strip with a quarter square triangle in the center like this ...
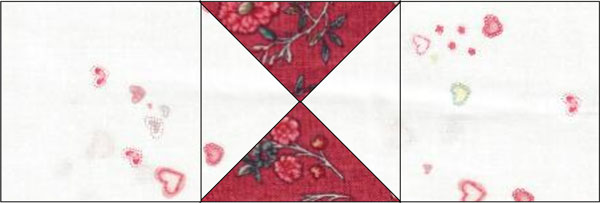
... and keep our old friend, the red cornerstone. This is the result.
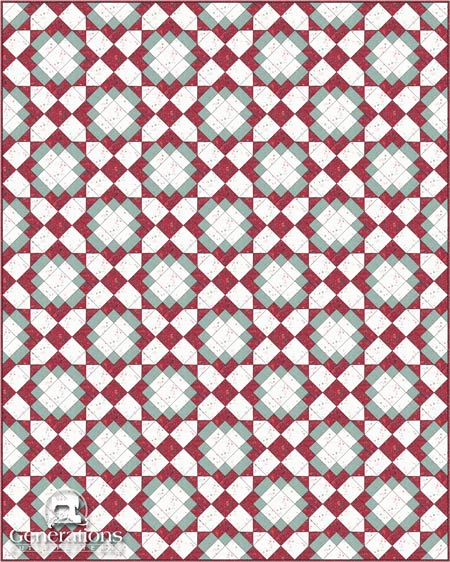 Holy Fireworks, Batman! Now we're cooking with gas.
Yep! That's our simple, beginner friendly Antique Tile block. But this does not look anything like a beginner quilt, does it!
Finally!
We're getting somewhere!
If you're having a hard time seeing the sashing, tilt your head to the side and focus on the large red squares.
Do not you love how the block just seems to disappear in this one? These are the kind of designs that just make my heart sing!
Our Antique Tile block is looking pretty grand!
Change up the fabrics
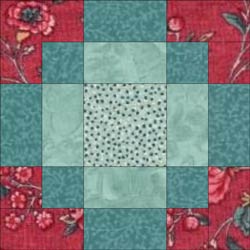 Greens are graded in value
Grading fabrics from light to dark can add a lot of movement to a pattern.
You do not need hand dyed fabric to do this—though it is not a bad excuse for adding them to your stash—just choose fabrics that either read as solids or are solids.
How do you tell if they hues blend into each other?
Cut a couple of strips. Look at them as they hang vertically on your design wall. Take a few steps back. Squint your eyes. See if they transition nicely from light to dark.
Trust your eyes. You'll know when it's working.
Now swap this block variation into our on-point setting and VOILA!
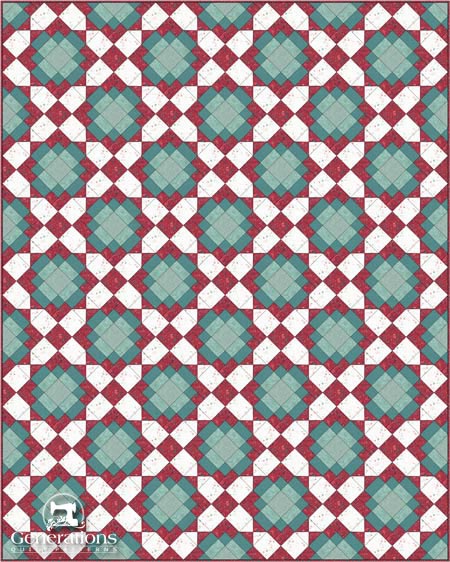
It's a nice effect with hardly any extra effort.
Float the center field of blocks
For the final design option, let's take all the parts (original Antique Tile, quarter square triangle sashing and red cornerstones) and return to a straight set layout.
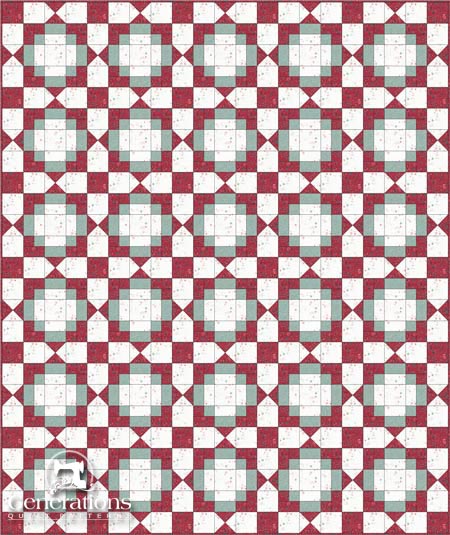
Nice, but a bit busy around the edges.
To refine it, we'll float this Antique Tile quilt design within the borders of the quilt.
First remove all the pieced patches and red cornerstones from the entire outside edge.
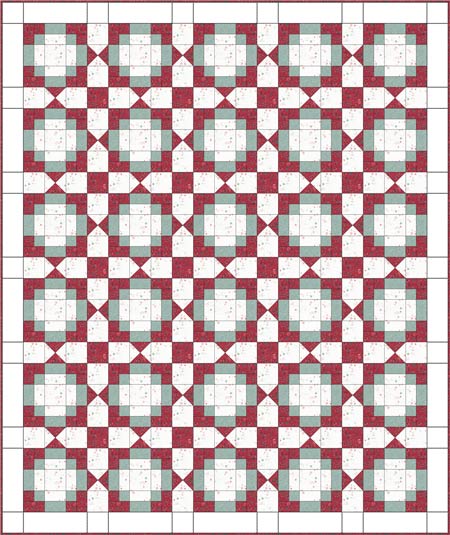 The white squares and rectangles around the outside are space holders for the next step.
Replace our outside-edge quarter square triangle sashings with ones pieced like this...
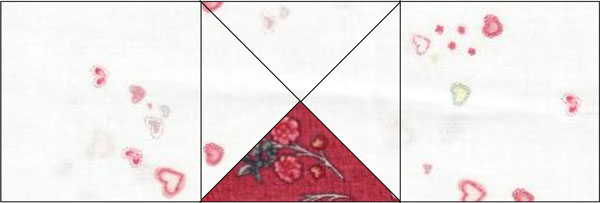
... and for ONLY these outside edge patches , replace the red cornerstones with ones cut from the background fabric.
This is the result.
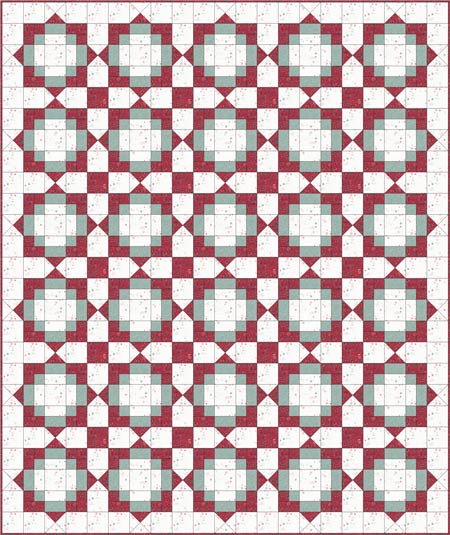
In this slight variation, the green and red fabrics within the block are swapped. Everything else remained the same.
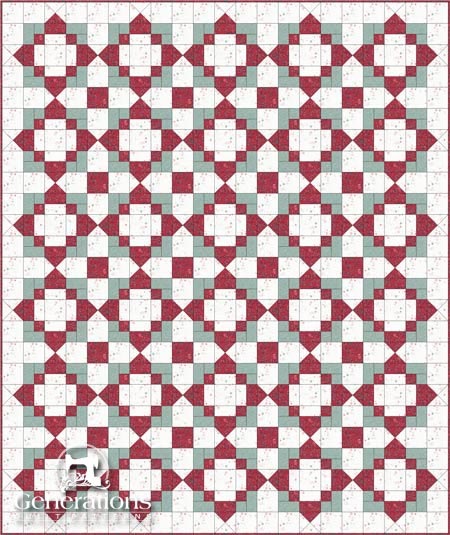
It has a totally different look, doesn't it?!!
Want a little more space between the border and blocks. Simply add strips to the top, sides and bottom cut from the background fabric.
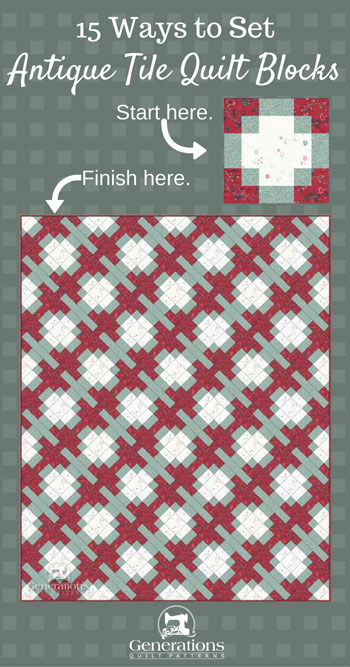
So with a little perseverance and some help from our Electric Quilt software, we've turned this simplest of blocks to construct into something truly special.
Perfect for a beginning quilter!
- Home
- Quilt Design Inspiration
- Antique Tile Quilt, Part 2
