- Home
- Free Quilt Block Patterns
- Aircraft Quilt Block
Aircraft Quilt Block
From our Free Quilt Block Patterns Library
This post contains affiliate links for which I receive compensation
Skill Level: Beginner
Technique: Foundation Piecing
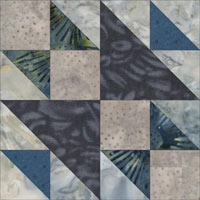
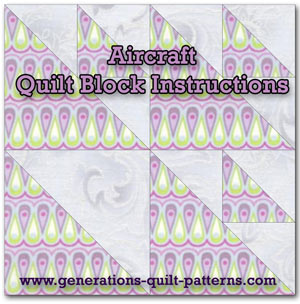
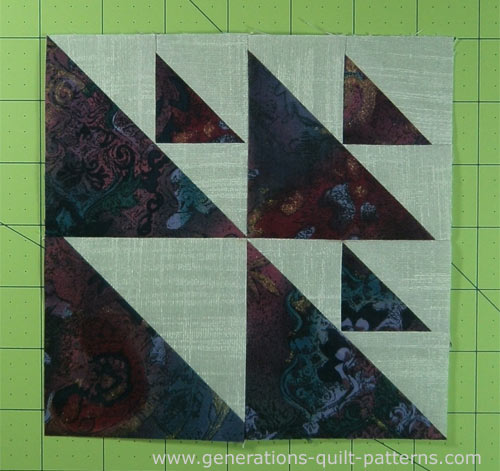
The Aircraft quilt block is a two fabric patchwork design made from one HST and three repeats of a combination unit made of HSTs in two different sizes.
Foundation piecing makes it a dream to piece with the only match point in the very center of the block.
Piecing instructions in three sizes, as well as free downloads of the paper piecing patterns are included on this page.
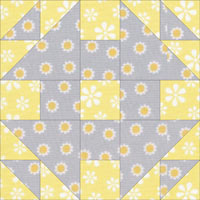
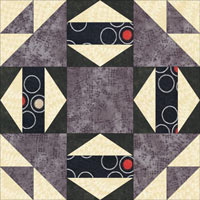
You'll find this same combination unit in a number of quilt blocks including:
The Aircraft quilt block also goes by the name Dutchman's Puzzle. (Click here for instructions to make the more common version of a Dutchman's Puzzle.)
It's time to quilt!
📋 General Instructions
Several abbreviations are used in this tutorial:
- SA - seam allowance
- RST - right sides together
- HST - half square triangle
When you see the instruction 'Press', first press the unit in the closed position. Then press the patch open. I like to fingerpress the seam open before using the iron, it seems to reduce the appearance of tucks in the seam allowance.
I don't use steam for paper piecing, but that choice is up to you. In my experience, steam has a tendency to 'curl' the paper pattern...I find that annoying.
To get unbelievably flat blocks, use the Best Technique for Pressing Quilt Blocks, it works just as well for foundation piecing as it does for traditional. I think you'll like it!
The newest quilt fabrics to tickle your fancy...
Click the images below to see the full collection. We share any commercial and/or free patterns that showcase them, too. (For inspiration, of course!)
Step 1: Download and print paper piecing patterns
You'll need the most current version of Adobe installed on your computer to download the pattern.
On the Adobe Print Menu page, under 'Page Size and Handling' set 'Custom Scale' to 100% before printing for accurate results. Click here to see what it looks like on the Print Menu page.
After printing, use the 1" square graphic on the printed pages to confirm they are printed accurately.
Choose your finished size from the list below—the sample in this tutorial used the 6" version. You'll need one copy for every block you make.
Step 2: Cutting the Aircraft patches
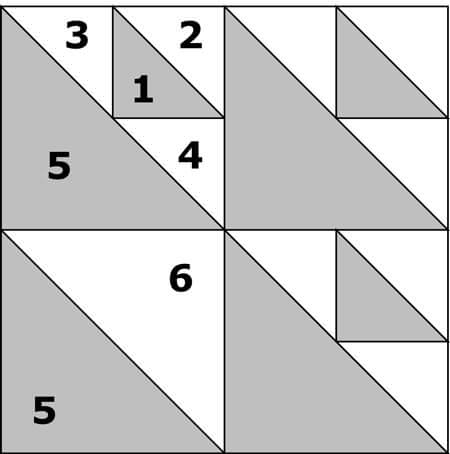 Aircraft quilt block design
Sample Size: 6" finished / 6½" unfinished
Grid: 4x4
Design Type: Four Patch
Attributed to: Nancy Cabot
AKA: Dutchman's Puzzle (Quilter's Newsletter Magazine)
These patches are cut generously so that aligning them with the pattern is quick, easy and virtually foolproof—meaning NO RIPPING!
Piece one or two blocks and then decide if you need to adjust the patch size to better suit YOUR needs.
If you find you prefer different patch sizes, print an extra copy of the pattern. Then note your changes and save it for future reference.
 | Cutting Chart for an~Paper Piecing with a bit of traditional piecing~ | ||||
|---|---|---|---|---|---|
| Patch | Fabric | Qty | Finished Block Size | ||
| 4" | 5" | 6" | |||
| 1 | D | 2 | 1 7/8" x 1 7/8" | 2 1/8" x 2 1/8" | 2 3/8" x 2 3/8" |
| 2, 3, 4 | L | 5 | 2 3/8" x 2 3/8" | 2 5/8" x 2 5/8" | 2 7/8" x 2 7/8" |
| 5 | D | 2 | 3 3/8" x 3 3/8" | 3 7/8" x 3 7/8" | 4 3/8" x 4 3/8" |
| 6 | L | 1 | 3 3/8" x 3 3/8" | 3 7/8" x 3 7/8" | 4 3/8" x 4 3/8" |
| Unfinished Block Size | 4 1/2" | 5 1/2" | 6 1/2" | ||
| Grid Size | 1" | 1 1/4" | 1 1/2" | ||
Step 3: Create the units
Before proceeding, cut all the squares in half once on the diagonal to create right triangles.
HST Unit
Make 1
With right sides together (RST) align the bias edges of one dark (#5) and one light (#6) large triangle. Stitch with a 1/4" seam.
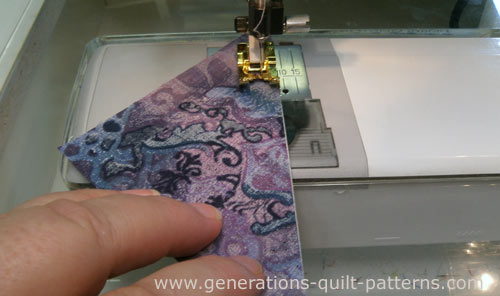
Press with the seam allowance to the dark.
Use the chart below to trim your HST to the correct size.
| Finished Block Size | Trim HST to... |
|---|---|
| 4" | 2 1/2" |
| 5" | 3" |
| 6" | 3 1/2" |
Foundation Pieced Units
General Sewing Machine Setup for Paperpiecing
- Reduce your stitch length to 16–20 stitches per inch (1.3-1.6 mm). This perforates the paper and stabilizes the seam when you remove the pattern. [Learn more about stitch length here.]
- Reduce your machine's speed or just plain slow down. Sew only as fast as you can stay on the stitching lines.
- Install an open toe appliqué foot (sometimes called an 'embroidery' or 'satin stitch' foot) if you have one (it's easier to see where you're stitching with one installed).
- Use a larger needle (90/14) if you have problems removing the pattern.
- If your machine has a needle stop up, use it. The stitching goes faster when you don't have to lift the presser foot with every seam.
- As you stitch each seam, start and stop a generous 1/4” before and after the solid stitching lines. ALWAYS. Future lines of stitching secure the ends.
After adding each patch, press the unit as it was sewn to set the seam and then open. The SA is automatically pressed towards the last patch added.
Before adding the next patch, take a look to make sure the one you just added covers the space plus seam allowance that it is supposed to.
Steam is optional and usually curls the pattern.
If that bothers you, don't use steam. Sometimes I do. Sometimes I don't.
It truly depends on my mood.
Remember, as you follow this paper piecing tutorial, the printed and the fabric sides of this block are mirror-images of each other.
At last!
Let's sew!
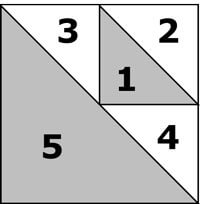 Birds in the Air unit
Make 3
Cut the paper pattern into blocks. Don't worry about cutting exactly on the dotted line. We'll trim everything after construction.
Cover the area of Patch #1 with a small dark triangle (wrong side of fabric to unprinted side of pattern), aligning it with the dotted lines. I use a tiny dab of Elmer's Glue Stick (the one that goes on purple and dries clear) to hold it in place.
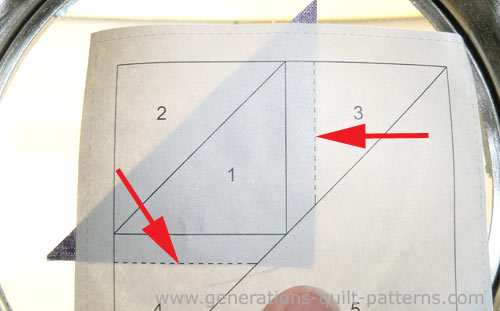
With RST, match the long cut side of a light #2 triangle with the long side of #1. (These patches are two different sizes. That is intentional.)
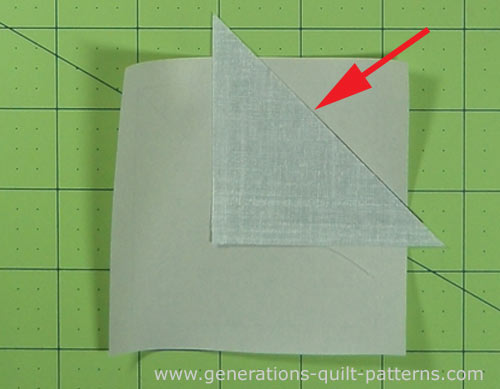
Stitch, starting before and ending after the printed solid line.
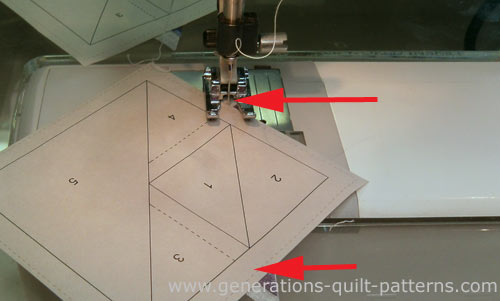
Subsequent lines of stitching will cross these lines and secure the stitches. There is no need to back stitch or use your fix or tie-off stitch.
Press.
With RST, match a short edge of a #3 light triangle with Patch #1 as shown below.
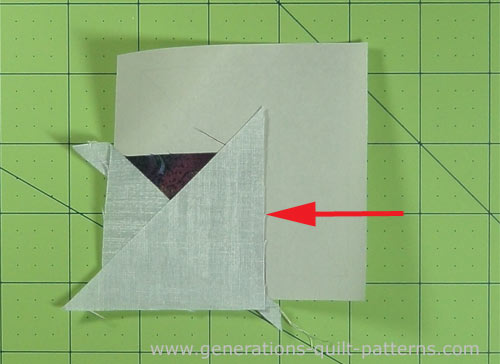
Stitch as before and press. Repeat with piece #4.
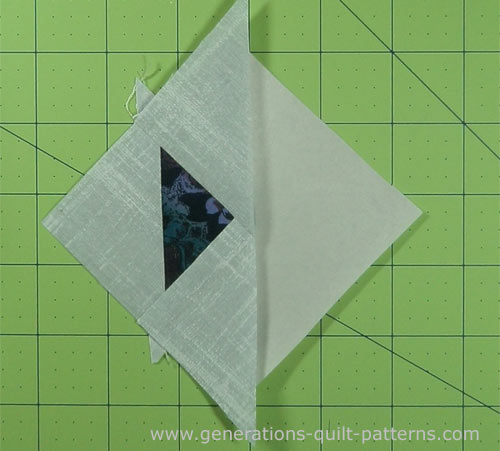
Flip the unit so the paper side of the Aircraft block is facing up.
Match the edge of your ruler with the solid line between #5 and the rest of the block.
Use this hard edge to fold the pattern back on itself along this line.
Lay the 1/4" line of the ruler on this folded edge and trim. This establishes your seam allowance and placement line all in one cut.
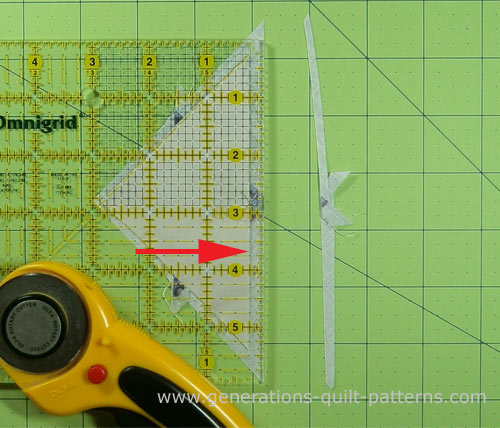 The quarter inch line of the ruler is exactly over the folded edge of the pattern. The folded edge of the pattern is exactly on the seam line between Patch #5 and the rest of the block.
Align the edge of Piece #5 with trimmed edge.
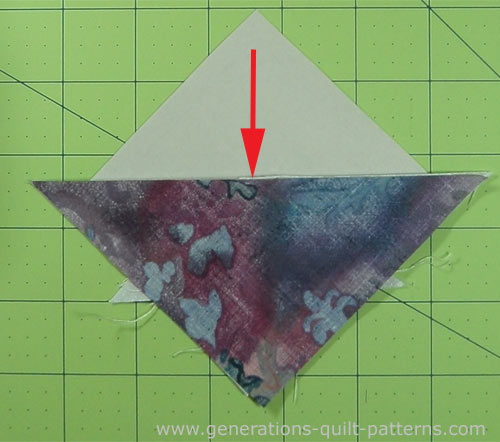
Stitch and press.
Repeat for the two other units.
To trim them, place the 1/4" ruler line directly on the solid outside line. Cut off the excess fabric. Repeat for each side of each unit.
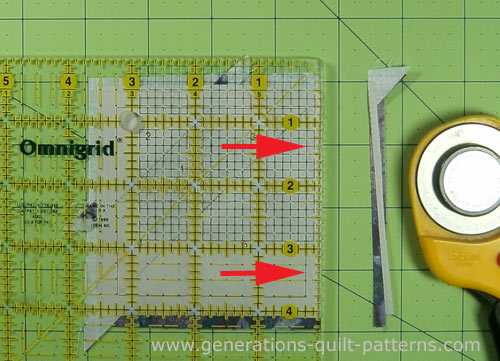
Remove the paper and give each one last press.
At this point you'll have some leftovers—one each of #1, #2 and #5. Save them for another project or discard them.
The paper piecing is complete. From this point forward, return your stitch length to the one you regularly use for piecing and install your favorite 1/4" presser foot.
Step 4: Assemble the Aircraft quilt block
Lay out the trimmed units in rows.
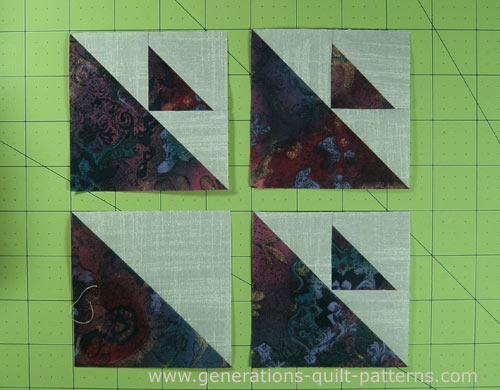
Stitch each pair together, using pins if needed.
Press with the SA in the top row towards the large dark fabric; the SA in the bottom row towards the large light triangle. Your seams will nest when you put the block together, making it easier to match.
Stitch the rows together.
To reduce bulk in the center, the SA is twirled. If you are setting your quilt blocks edge to edge, another benefit of this 'twirling' is that the seams between the blocks will nest, making matching the SA so much easier.
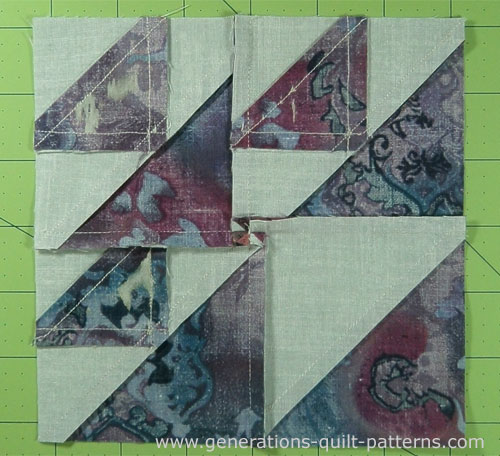
And this is your finished Aircraft quilt block.
What about a different quilt block?
For a list of all the 220+ quilt block patterns on this site, start here.
If you know the name of the block, shorten your search by using these links:
Click here if you're looking for blocks with at least some paper piecing.
Click here if you're looking for the basic building blocks of quilting, i.e., Flying Geese, half square triangles, quarter square triangles, etc., along with several techniques to make each.
And finally, use these links to find blocks in these finished sizes:
