- Home
- Free Quilt Block Patterns
- 54-40 Or Fight Quilt Block
54-40 or Fight Quilt Block
From our Free Quilt Block Patterns Library
This post contains affiliate links, for which I receive compensation.
Skill Level: Confident Beginner
The 54-40 or Fight quilt block is made from two basic units: four patches (in two color combinations) and a triangle in a square unit.
This three fabric block is based on a 3x3 grid.
On this page you'll find complete directions to make a 9" version of this block, along with links to free downloads for the paper pieced units.
For inspiration, several variations of this design are illustrated.
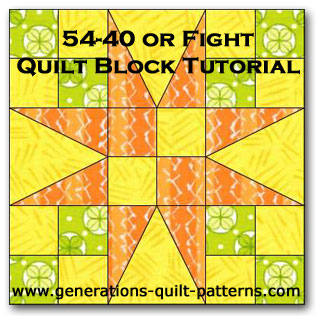
Because all quilters sometimes make blocks that don't quite work—I share an 'oops!'—a quick lesson in color value to help you avoid a common mistake and make more spectacular blocks!
And finally, see this block paired as an alternate block in our short video 'Quilt Layouts 101'.
📋 General Instructions
You'll need three fabrics to construct this 9" 54-40 or Fight quilt block—a background fabric, a two others of either medium or dark value.
It's important that there is enough contrast between the star points and the background fabric.
If there isn't, the star points will get lost in the design.
Our background fabric is yellow, Fabric A is the print, Fabric B is orange.
Step 1: Download paper pieced patterns, templates
The Triangle in a Square (TiaS) units are paper pieced for accuracy. Click on each of the links below. This takes you to the PDF page where you can print.
In order to print blocks at the correct size, under 'Page Sizing and Handling' in the Adobe print menu, set 'Custom Scale' to 100%. Click here to see what it looks like on the Print Menu page.
Click here for more information on downloading patterns from this website.

Not sure which paper to use?
Take a look at my review of several of the most popular brands available to us quilters on the market.
You want a super-easy paper to tear away—less stress on the stitches.
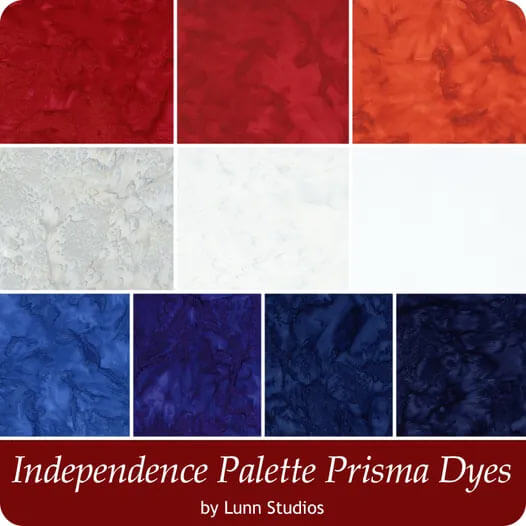
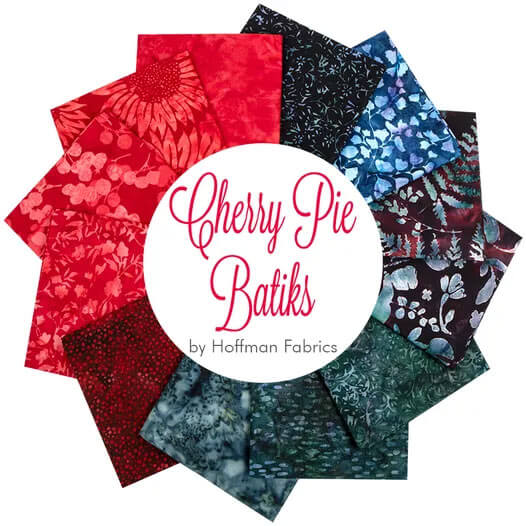
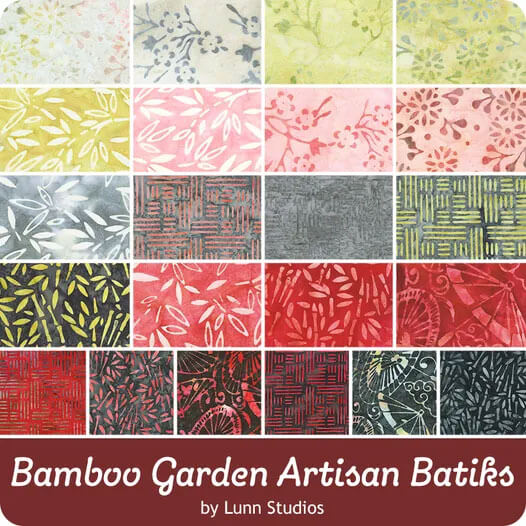
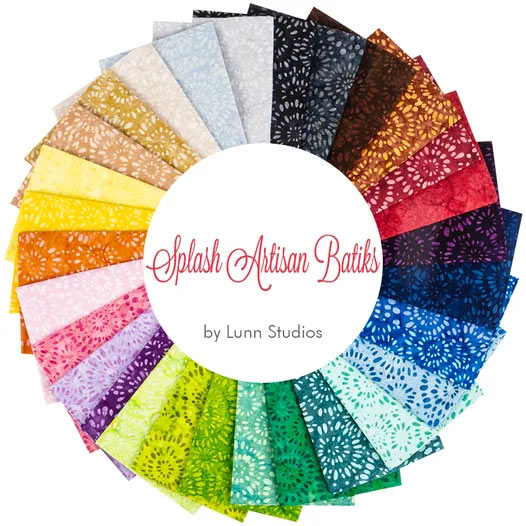
The newest quilt fabrics to tickle your fancy...
Click the images below to see the full collection. We share any commercial and/or free patterns that showcase them, too. (For inspiration, of course!)
Step 2: Cut the 54-40 or Fight patches
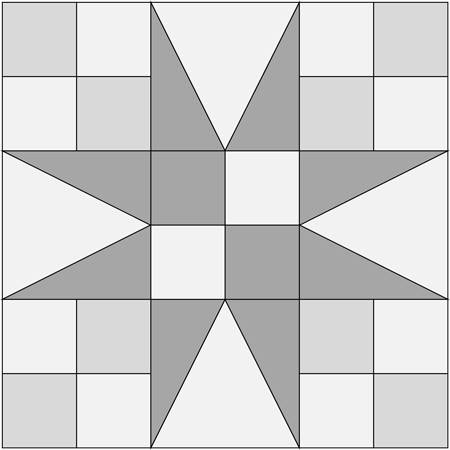 54-40 or Fight quilt block design
Sample Size: 9" finished / 9½" unfinished
Grid: 6x6
Attribution: Ruth Finley
AKA: Grandma's Star (Clara Stone), The Railroad Quilt (Rural New Yorker)
Design Type: Even 9-patch, Star
The strips include a bit of extra length so that you have room to square up the ends as needed.
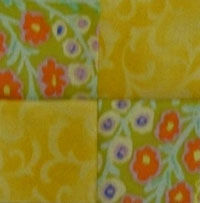
For the corner four patches, cut:
- Background: One 2" x 17" strip
- Fabric A: One 2" x 17" strip
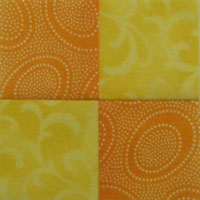
For the center four patch, cut:**
- Background: One 2" x 4-1/2" strip
- Fabric B: One 2" x 4-1/2"strip
**If you have come to this page from our video "Quilt Layouts: Part I", replace this center four patch with a solid 3-1/2" square from a fourth fabric of light/medium value.

For the TiaS, cut from the:
- Background: Four Template A
- Fabric B: Four 3" x 4" rectangles.
Layer these rectangles, two pairs of right sides together.
Warning: If you lay all the rectangles either all right side up or all right side down, you will end up with either 8 left or 8 right triangle points—not fun!!
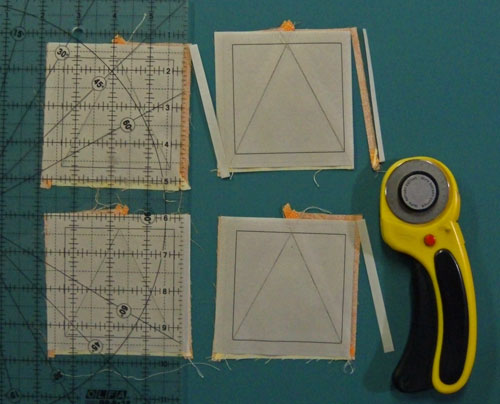
Lay Template B on top aligning all the edges. With your rotary cutter and ruler cut through the template and all four layers along the diagonal line.
Separate these triangles into two piles, four of the left triangle patch and four of the right triangle patch.
Step 3: Assemble the patches for a 54-40 or Fight
Corner Four Patches
Make 4
Stitch the two 2"x17" strips together into a strip set. After stitching, it measures 3-1/2"x17".
Press the unit flat to set the seam. Then press the unit open with the seam allowances towards the dark. Press in this manner every time you are instructed to 'press' for flatter, more accurate quilt blocks.
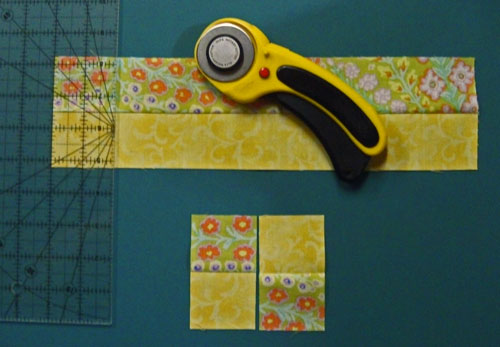
Make eight 2" wide subcuts.
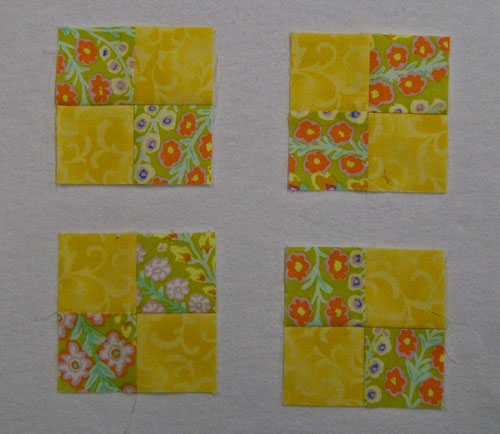
Sew them into four four patches that measure 3-1/2" x 3-1/2" from edge-to-edge.
Press and set aside.
Center Four Patch
Make 1
Stitch the 2" x 4-1/2" rectangles together into a strip set that measure 3-1/2" x 4-1/2". Press.
Subcut into two 2" wide units.
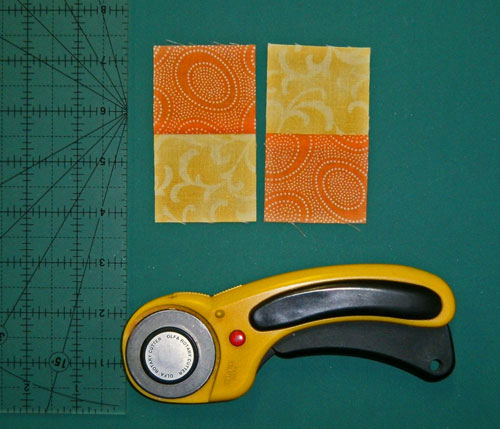
Sew them into a four patch unit that measures 3-1/2" x 3-1/2". Press and set aside.
Triangle in a Square (TiaS)
Make 4
Take the patterns you printed in Step 1 and rough cut just outside the dotted lines of the block patterns. There's no reason to be exact as we'll trim them later.
Do cut the templates out on the lines as it will assist in placing them on your fabric and minimizing waste.
For a lesson on making this unit, visit our Triangle in a Square tutorial.
Trim to Size
Once all the units are completely stitched, I line them all up at the same time on the cutting mat. (Having the blocks all lined up saves time. You don't need to move the ruler so much for each cut.)
Align the 1/4" line of the ruler with the outside sewing line (the solid line). The edge of your ruler should be on top of the outside dashed line.
Trim each block individually.
Use a small mat for this trimming, and you can turn the mat instead of each individual block—saving even MORE time.
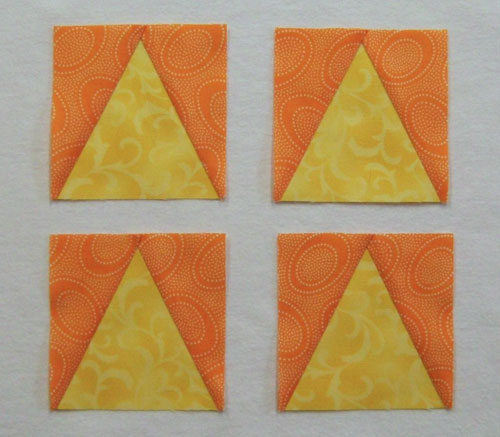
Repeat for each side of every TiaS unit and you'll end up with these perfect little units that measure 3-1/2" x 3-1/2".
Step 4: Assemble your 54-40 or Fight quilt block
Layout your units to create the 54-40 or Fight quilt block design—paying special attention to the orientation of the four patches. (Substitute that 3-1/2" for the center four patch if needed if you came here from the video on Quilt Layouts.)
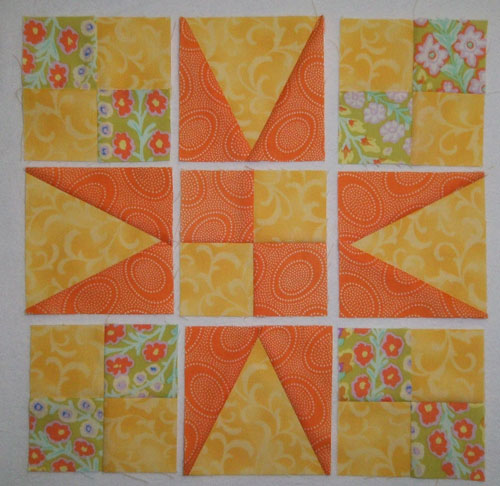
Sew each row together. Press with the seam allowances in the direction of the arrows, towards the four patch units.
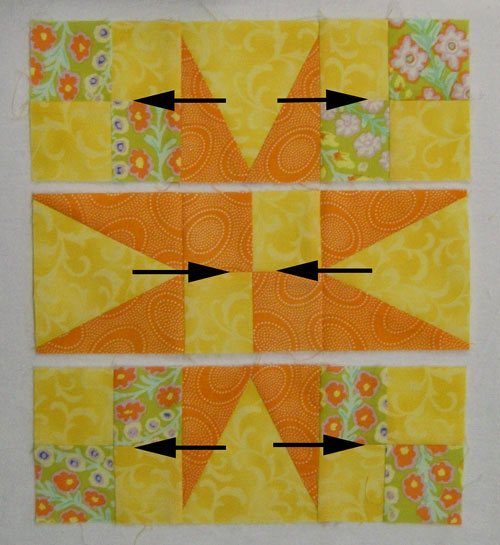
Pin the top row to the middle row. Stitch. Press flat to set the seams, then again with the SA towards the center row. Repeat for the bottom row.
Congratulations! You have made 54-40 or Fight quilt block that measures 9-1/2" square from edge to edge.
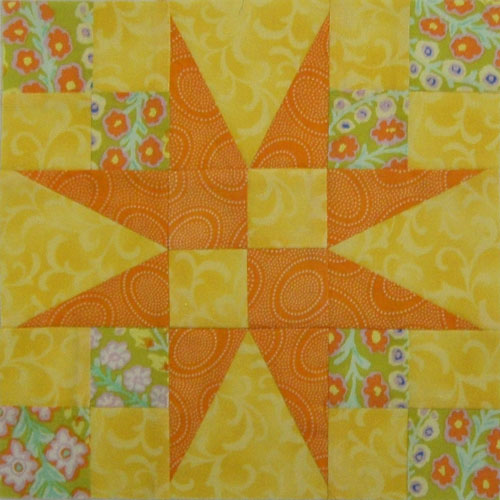 This 54-40 or Fight is ready for a quilt
Variations on a 54-40 or Fight Quilt Block
Quilters love to play with their blocks. There are several blocks based on the 54-40 or Fight quilt block that merely change the number of fabrics used or the position of those fabrics.
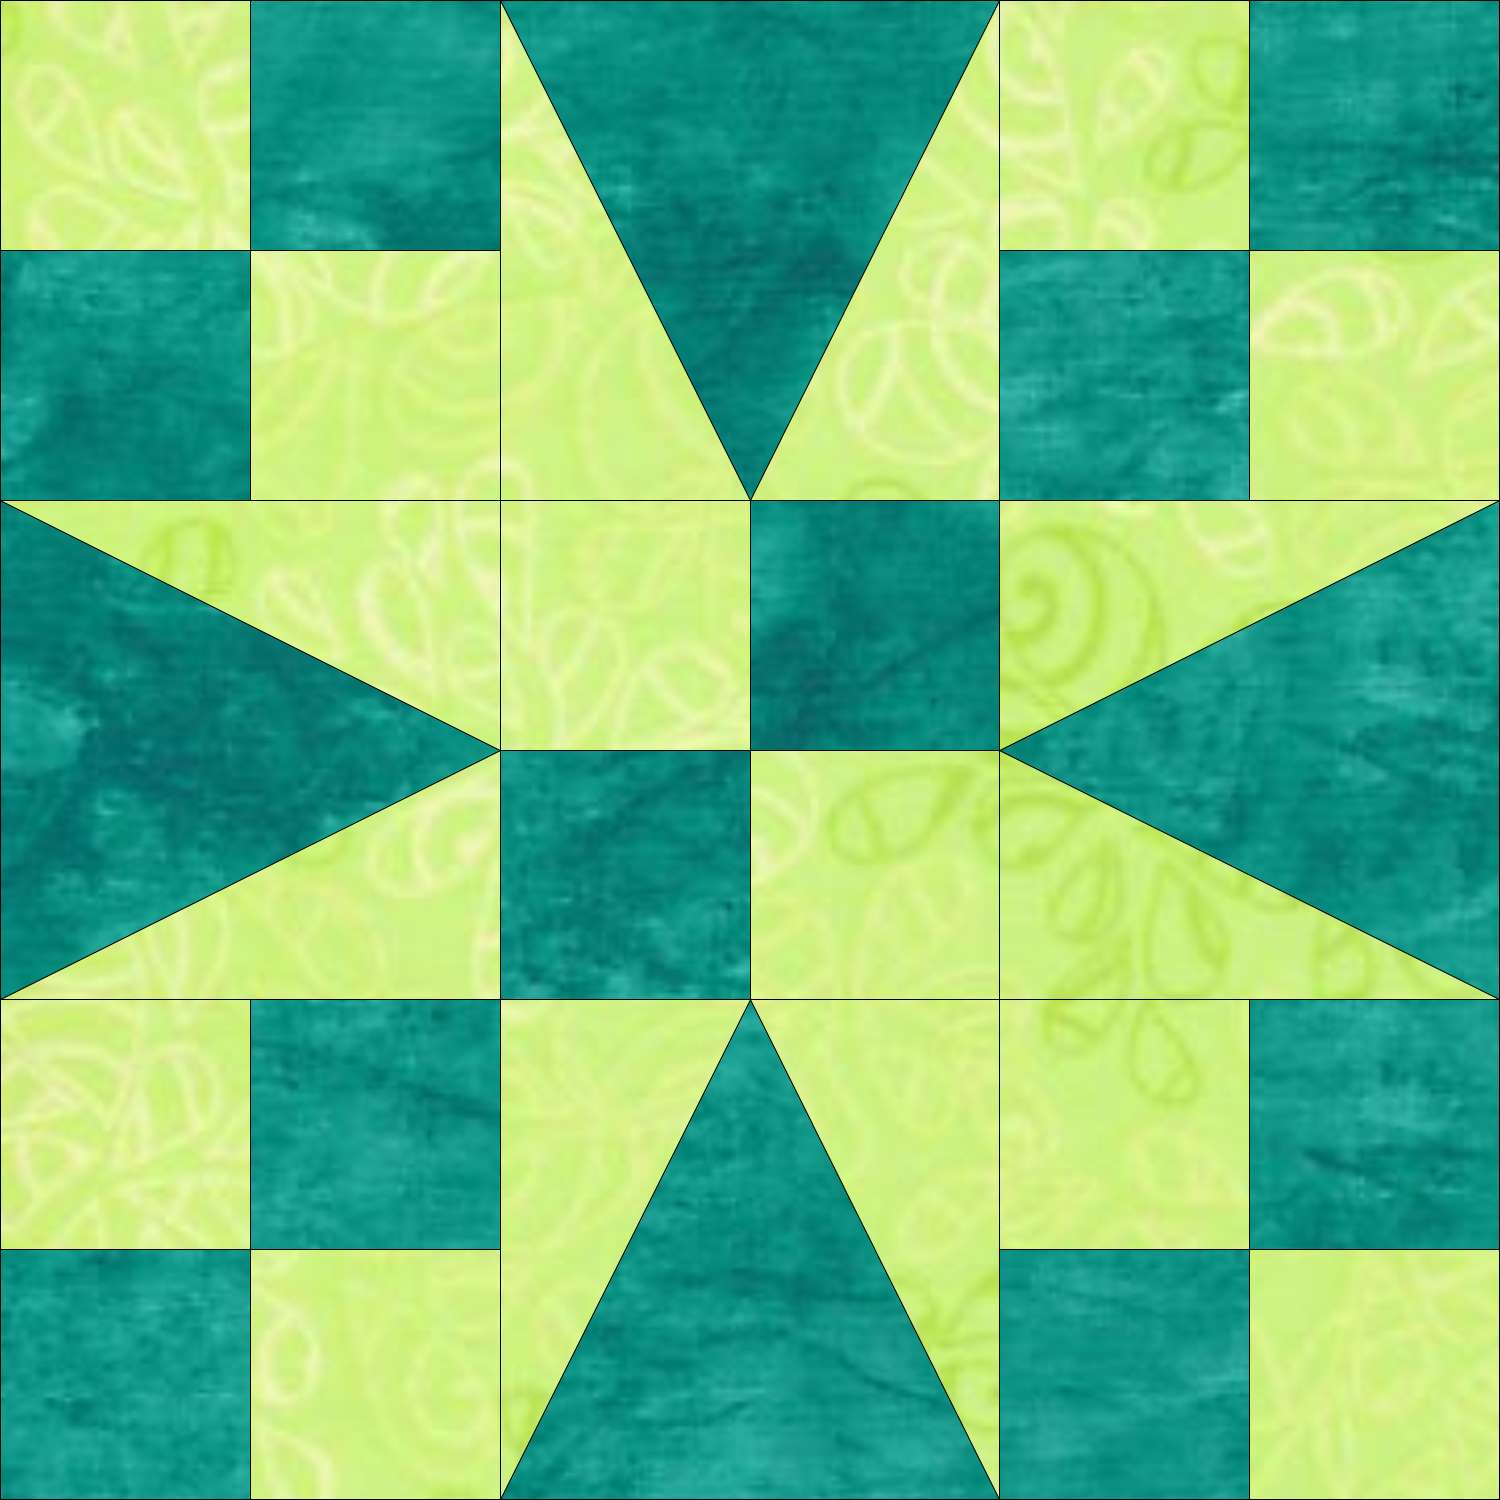
This two-color version is most commonly known as Grandma's Star. Other names include Nine Patch Star Quilt and Railroad Quilt.
The four patch units form chains on the diagonal that run in one direction.
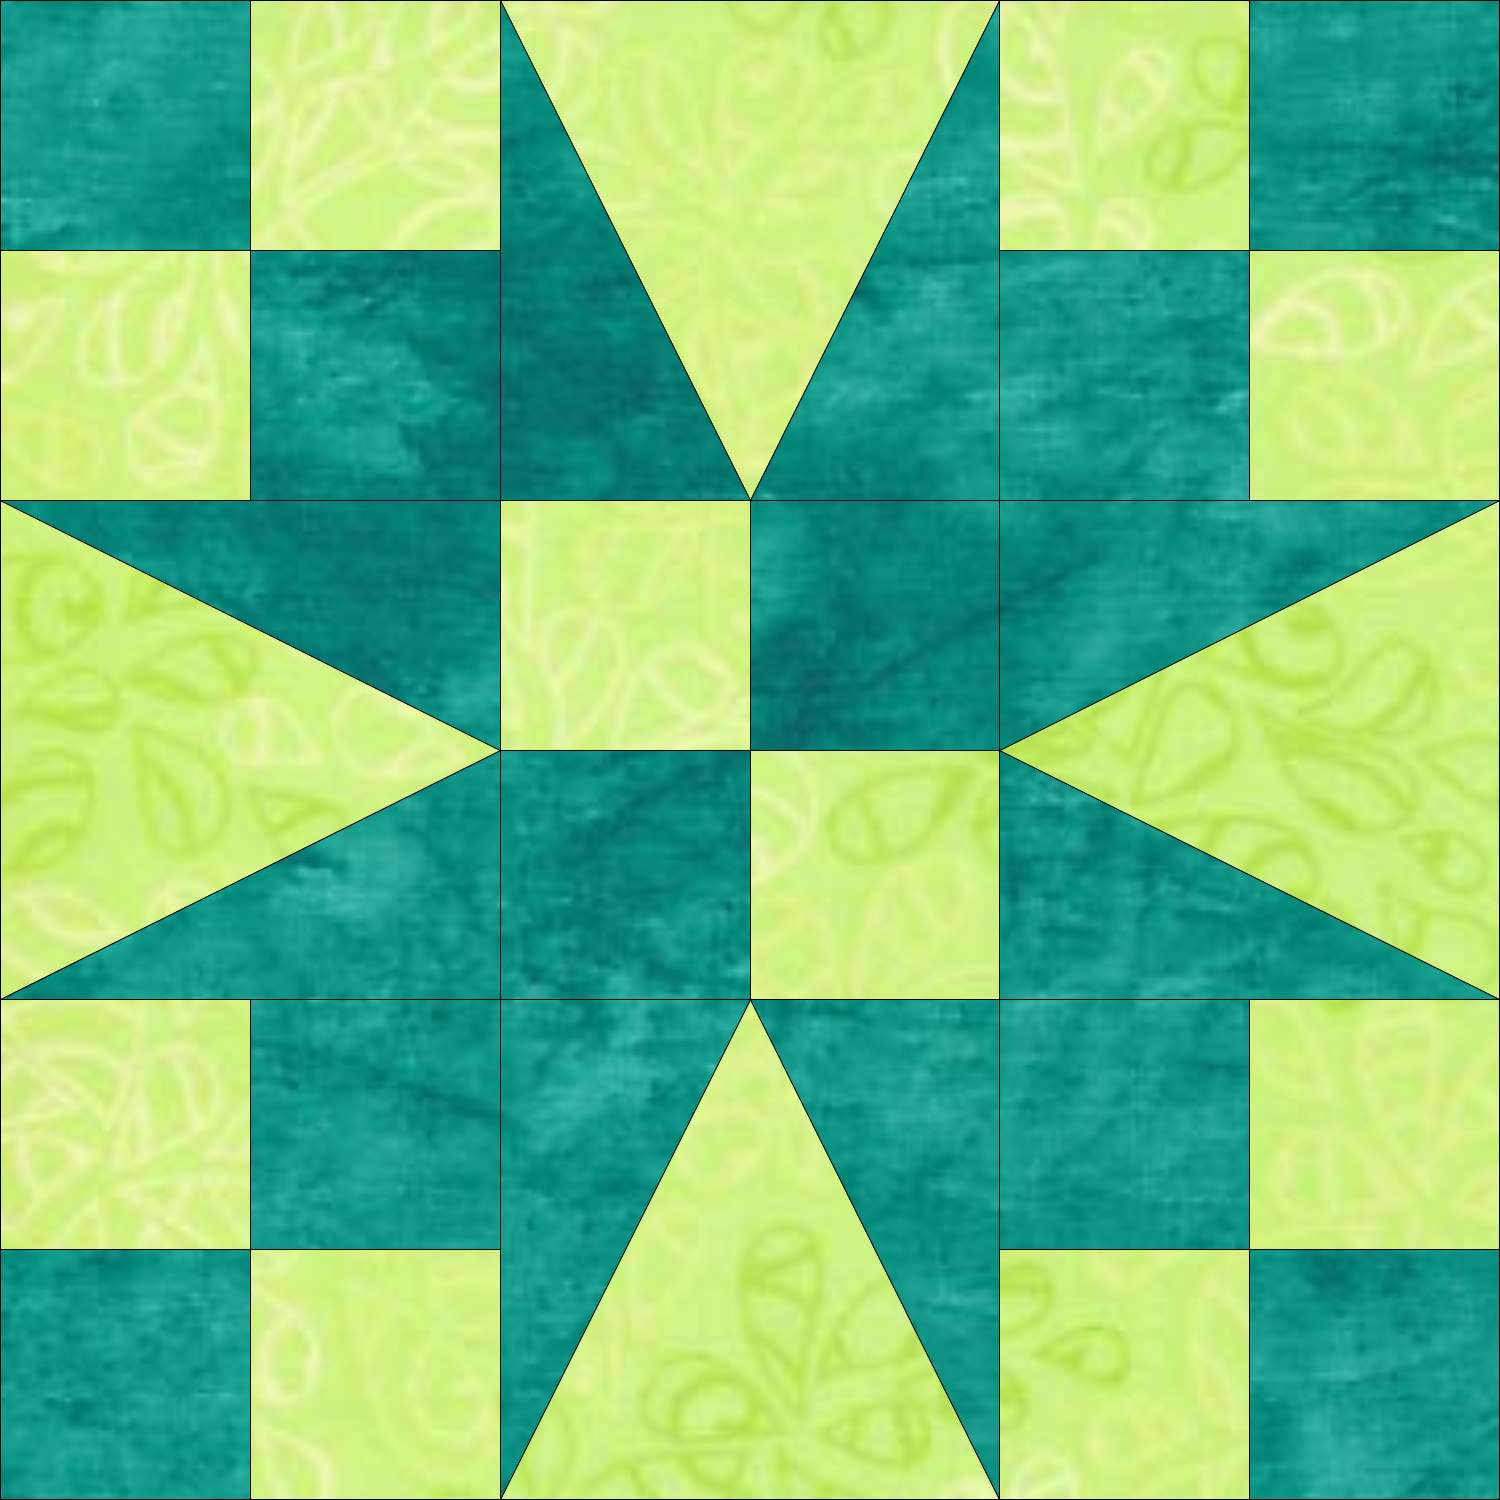
Another two color variation. This time the four patches form chains that cross the block. It is called Garden Patch or Texas or An Old Fashioned Pinwheel.
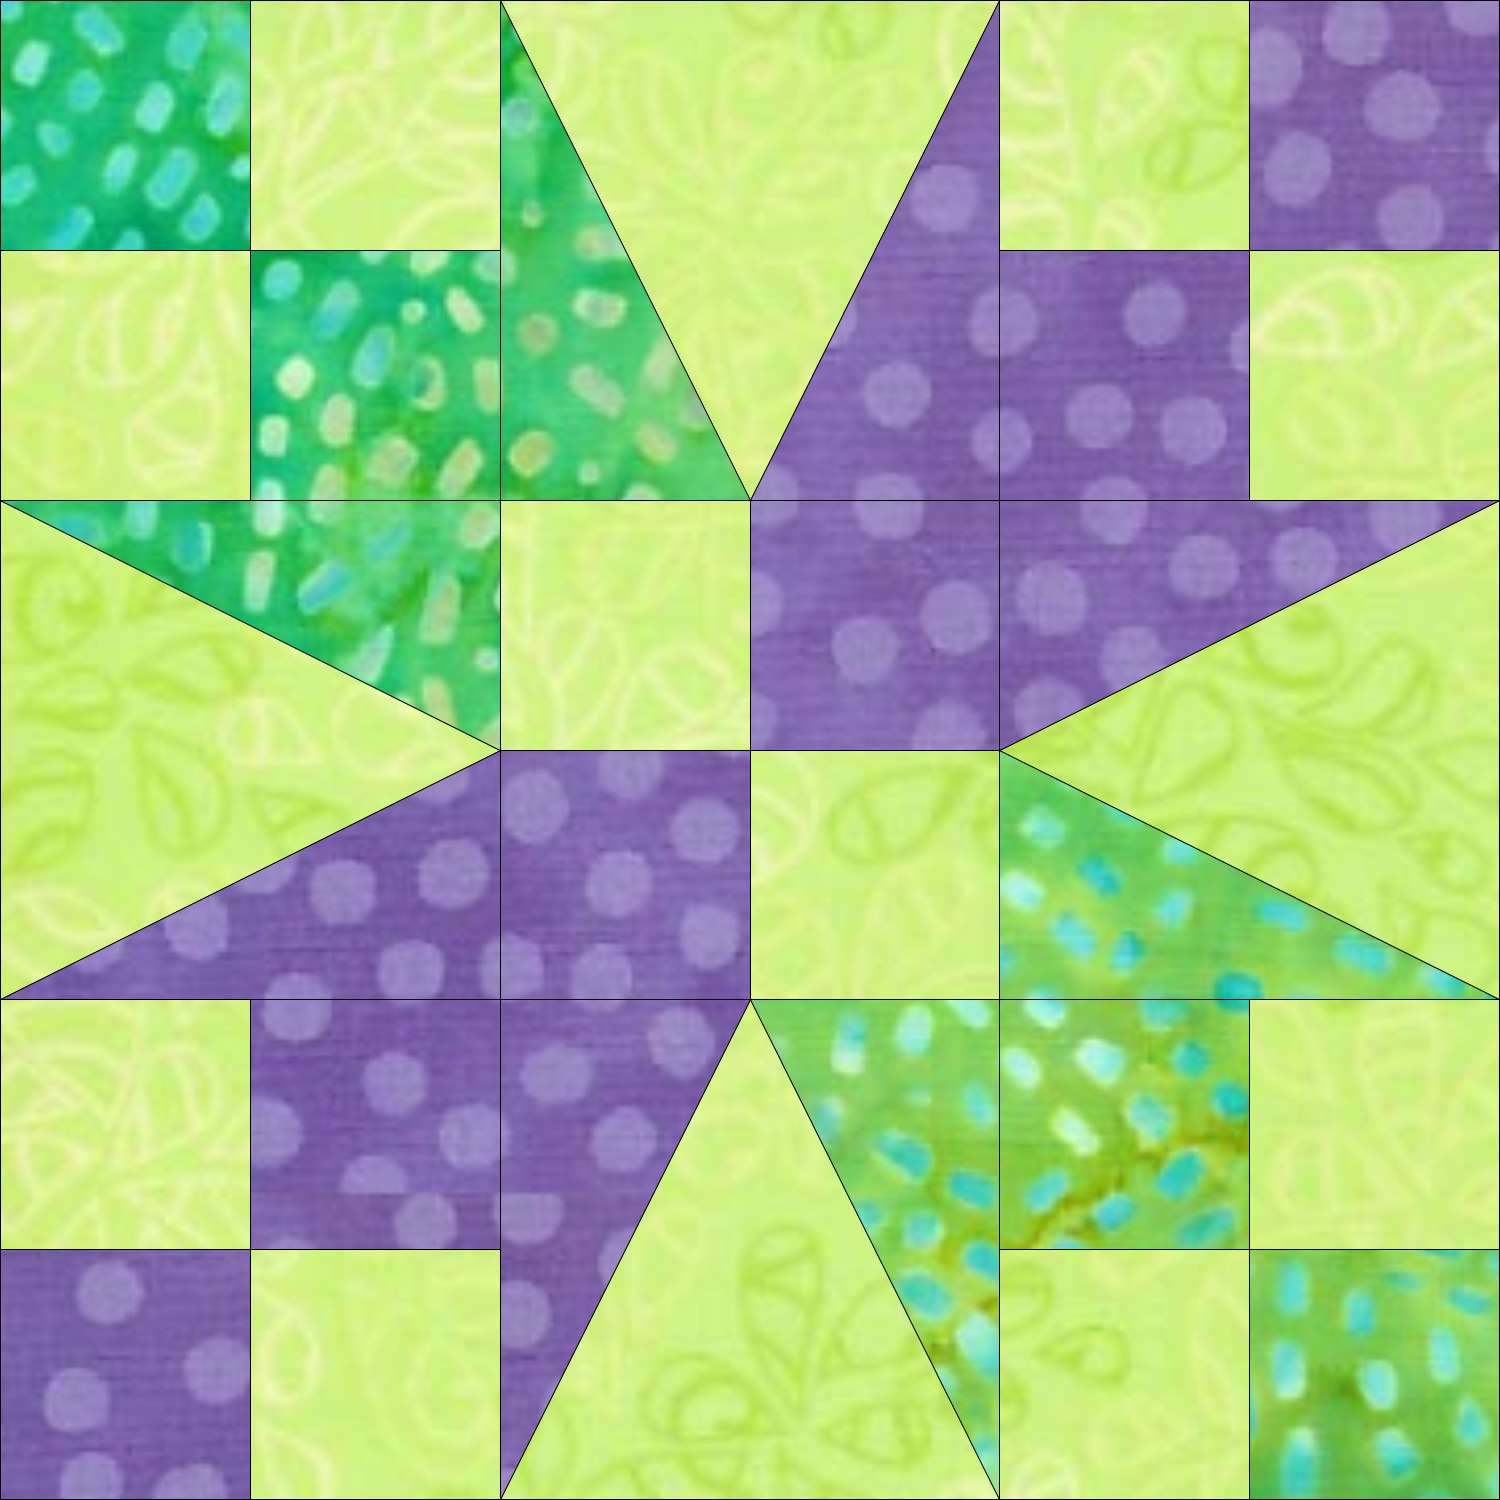
This 'Bird of Paradise' version requires three fabrics. The crossing chains formed by the four patches are almost disguised by the color placement.
Oops! A Lesson in Color Value
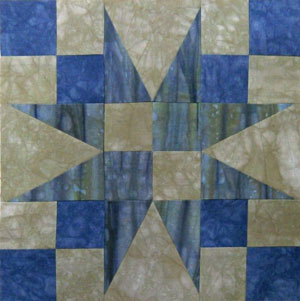
The 54-40 or Fight quilt block requires three fabrics.
In a successful block there is enough difference in the values of the fabrics so that both the four patches and the star points show.
To the right is the first sample I made for this block. All beautiful hand dyed fabrics, that when laid out next to each other looked perfect.
But as you can see, once it was assembled the star points pretty much disappeared into the 4-patches.
This does happen every now and again. Something looks great as individual fabrics, but then just doesn't work when the patches are stitched together. No quilter is immune.
The lessons learned:
- To see all the elements of the design, there needs to be enough contrast between them, and...
- Make a sample block before committing to your final fabric selection.
Use as an alternate block

In our short video, "Quilt Layouts 101", you can watch how we've paired this block with a Mrs. Brown's Choice quilt block to come up with a dazzling quilt design.
Pour yourself a glass of liquid refreshment (mine's a latte!) and enjoy!
🔭 Looking for something truly stellar?
You've finished your star quilt block, and you're ready for more!
Browse our collection of 70 stellar star quilt block patterns. All have instructions and cutting charts in multiple sizes. If templates or paper piecing is used in the tutorial, there's a free download for you of those materials.

Eeny. Meenie. Miney. Moe.
Which star quilt block will you sew?
For a star-studded quilting experience, choose from 100+ bedazzling star quilt patterns—for beginners and beyond—click here.
For even MORE blocks to make… 🧩🎨

...visit our Free Quilt Block Pattern Library, with over 260+ blocks to choose from in multiple sizes.
Free downloads are included in all sizes for any blocks require paper piecing patterns or templates.
What about a different quilt block?
For a list of all the 220+ quilt block patterns on this site, start here.
If you know the name of the block, shorten your search by using these links:
Click here if you're looking for blocks with at least some paper piecing.
Click here if you're looking for the basic building blocks of quilting, i.e., Flying Geese, half square triangles, quarter square triangles, etc., along with several techniques to make each.
And finally, use these links to find blocks in these finished sizes:
