- Home
- Free Quilt Block Patterns
- 4 Inch Quilt Block Patterns
Small Wonders: 60 Enchanting 4 Inch Quilt Block Patterns Bursting with Charm!
This post contains affiliate links for which I receive compensation
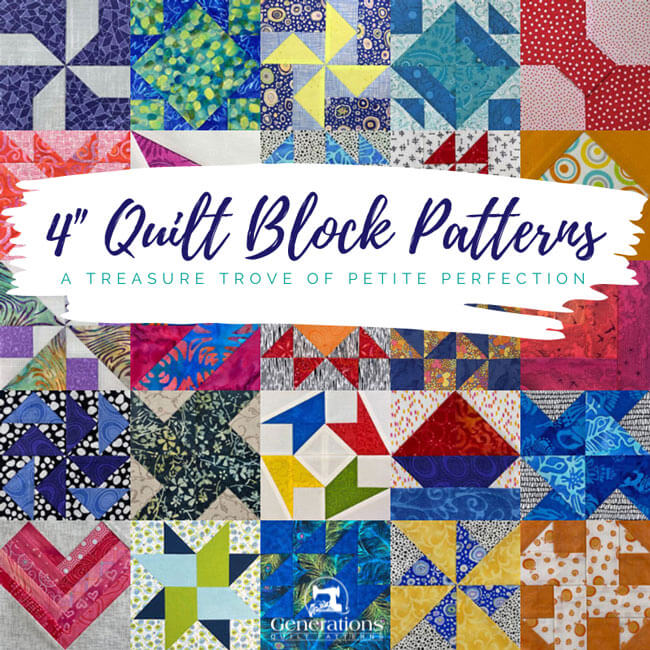
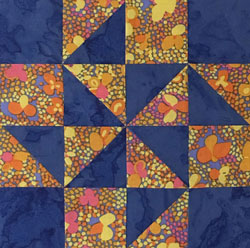
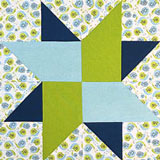
Welcome to the magical world of 4 inch quilt block patterns, a delightful treasure trove of petite perfection.
Here at Generations Quilt Patterns, we understand how important it is to have just the right block size for your planned quilt designs—and that's where our enchanting 4" finished blocks come to the rescue.
Why, you may wonder, are these diminutive darlings so essential in the grand tapestry of quilting?
With their compact size, 4" quilt blocks can be combined in a myriad of ways to create stunning, intricate patterns that showcase your creativity and skill. Picture a quilt filled with a kaleidoscope of colors and shapes, each block a tiny masterpiece in its own right. Not to mention, they're also the perfect size for a block swap in your quilting group.
But of course, to achieve such splendid results, accuracy is key! And we have several ruler recommendations to help you achieve it.
And just when you thought things couldn't get any better, we have a veritable feast of tutorials waiting to be explored on our website.
From classic designs to modern marvels, there's a wealth of inspiration to suit every taste and style. Why not dive in and discover the boundless possibilities that await within the realm of 4" quilt blocks?
On this page, you'll find:
- A discussion about the grids these 4" quilt blocks are drawn on
- How many 4" blocks you'll need to make a quilt—of course there's a printable chart!
- Links to all the quilt block patterns you'll find on this site
Cut. Sew. Press. Let's turn some fabric into magic!
The Grids
Bite-sized morsels of quilty goodness—that's what 4" quilt block patterns are!
Each is drafted onto a grid of squares—think graph paper.
Each square in the grid is assigned the same measurement, which is multiplied by the number of squares in each row or column to calculate the finished size of your quilt block.
 2x2
2x2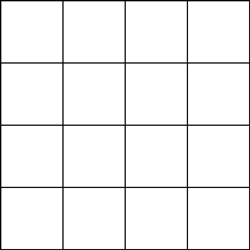 4x4
4x4 6x6
6x6 8x8
8x8As the number of squares in a grid grows larger, the block becomes more involved to piece. There's simply more possibility for different patch combinations.
Why aren't there any even 9-patch quilt block designs in this collection?
If you're relatively new to quilting, you've probably spent some time making 9-patches already. A simple, basic block in quilting.
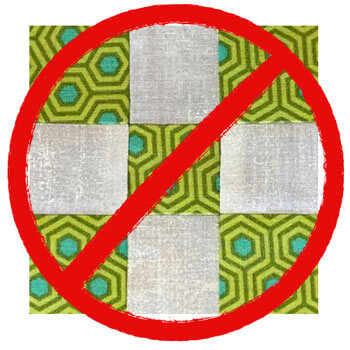 No 9-patches?
But in this curated group of blocks there isn't a simple 9-patch to be seen.
The reason is simple.
In quilting, there are different ways to create blocks. One way is paper piecing—like the last 14×14 grid block on this page. Another is using templates. If a quilter isn't using either of these, she needs to be able to accurately cut her patches with a rotary cutter and ruler.
But, there are no 1/3" marks on your quilting ruler.
That means if you need a 4-inch 9-patch, you're going to have to draft it and use templates or MacGyver a paper piecing pattern.
Neither option is terribly appealing, hence no 4" 9-patches.
The 4" Quilt Block Patterns
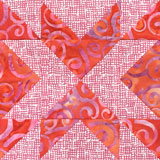
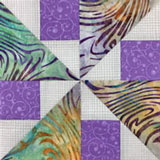
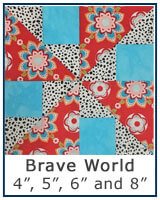
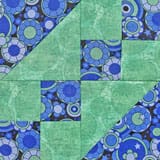
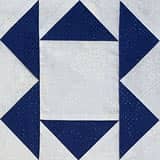
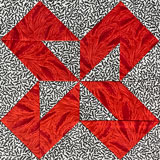
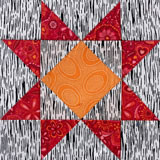
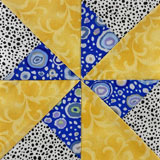
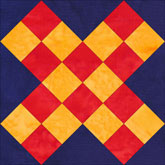
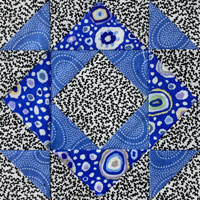
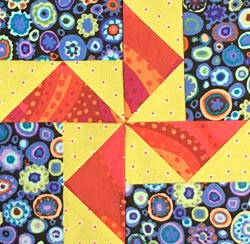
The blocks are grouped by grid with the size of the grid in parentheses ().
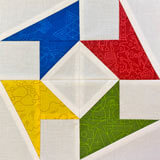
Basic Units (4")
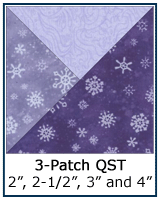
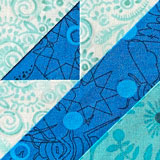
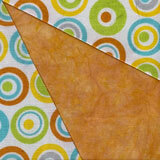
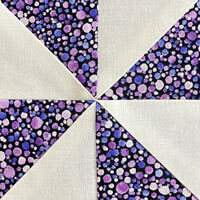
While these first two designs are more of a unit than a block, they can be used on their own for blocks. The 3-patch QST makes a fun border block when sewn edge-to-edge.
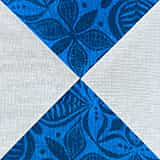
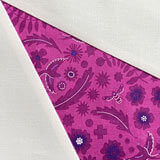
The Hourglass block or quarter square triangle unit is used in countless designs, and also makes a nice alternate block, especially when you are deliberate with color placement.
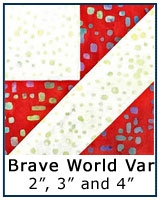
2x2 (2")
4x4 (1")
6x6 (3/4")
8x8 (1/2")
14x14
There's no grid measurement for this one.
Why?
It's paper pieced, and you can adjust the sizes of the patches to any size—rotary cutter friendly or not—with the paper piecing technique.
I drafted the original block at 7" square finished with a 1/2" grid unit.
To change the block size, I simply changed it in Electric Quilt 8 quilt design software to have it print at a different size.
And Voila!
A block drafted on a 14×14 grid, with a .2857" grid unit. Who'd a-thunk it? :)
How many blocks do I need for a '_____-size' quilt?
Now that we've whetted your appetite for these tiny morsels of textile temptation, the obvious question is 'How many do I get to make?'
You'll find that answer in the printable chart below. These calculations are based on a quilt design with blocks set edge-to-edge with no sashing between.
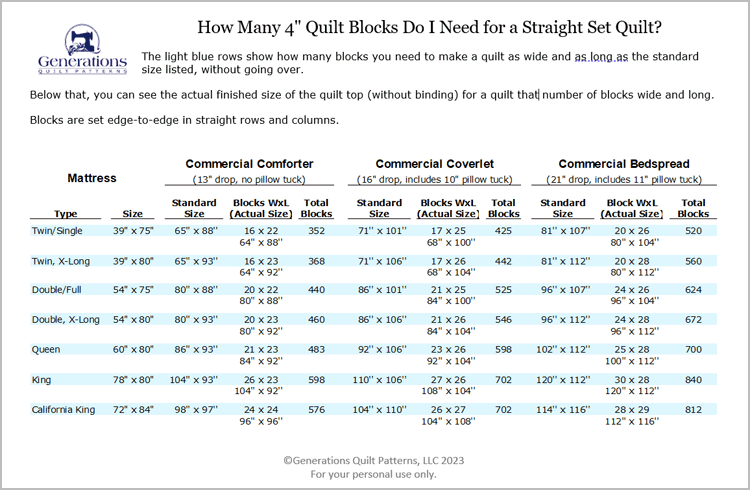 Use this chart to determine how many 4 inch quilt blocks you'll need to make a quilt to fit your bed.
Click here to print a copy of this chart for your reference.
Or check out my full article on 'How many quilt blocks do you need?' with printable charts for all the different bed and block sizes.
Tools that make 4" quilt blocks easier to make
We're lucky to have several tools available to use to help us make more accurate blocks. As always...
...go a long ways toward improving the accuracy of our stitching. To improve cutting accuracy, consider one of the following three options.
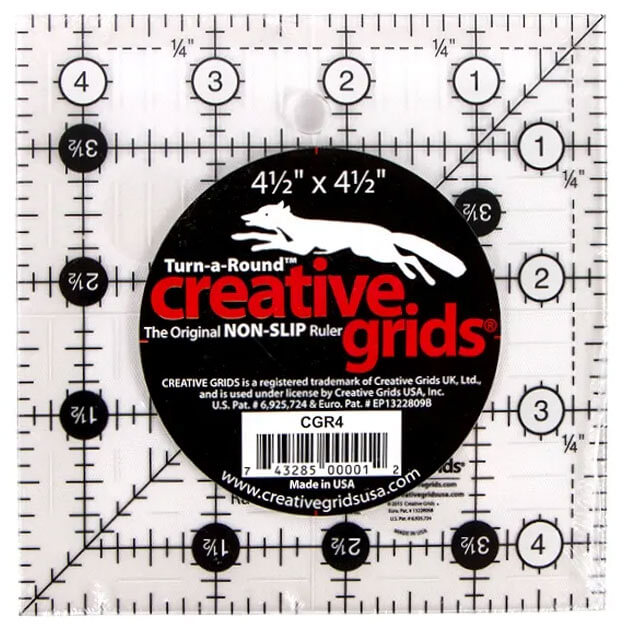
Creative Grids 4-1/2" square ruler
A 4-1/2" square ruler is useful when you're trimming your 4" finished quilt blocks.
The Creative Grids 4-1/2" ruler is non-slip (it's got textured dots and seam allowances to prevent the ruler from shifting as you cut) and markings in 1/4" and 1/8" increments.
If you've already got a 4-1/2" ruler, but it slips too much for your needs, try using a light coating of Grippy® on it. It's a spray coating for rulers that in my experience does a good job.
This size is nice because its the exact size of the unfinished blocks. You can turn your mat to square up all the sides instead of repositioning the ruler.
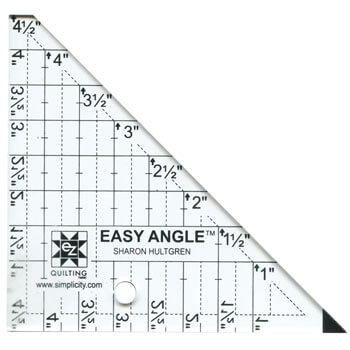
EZ Quilting's Easy Angle
The EZ Quilting Easy Angle™ ruler is a good investment when you've got a consistent 1/4" seam allowance.
This ruler makes it possible for you to cut squares and Half Square Triangles out of the same strip. (This ruler means the 'add 7/8" for a HST' rule doesn't apply.
All those Jelly Rolls you've got stashed away can easily be turned into patches for your 4-inch quilt blocks.
Accuquilt die cutting system
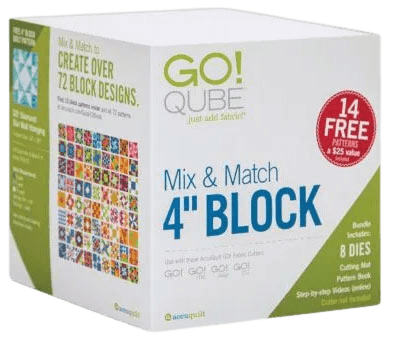
Finally, if you've got a good 1/4" seam allowance, AND you'd like to reduce the amount of time you spend cutting, consider Accuquilt's Qube set of dies for a 4-inch quilt block.
This set contains 8 dies and a 6"x6" cutting mat. These shapes are included:
- Square-2½" (2" Finished) (55545) (Shape 1)
- Square-1½" (1" Finished) (55232) (Shape 2)
- Half Square Triangle-2" Finished Square (55546) (Shape 3)
- Quarter Square Triangle-2" Finished Square (55233) (Shape 4)
- Half Square Triangle-1" Finished Square (55547) (Shape 5)
- Square on Point-17/8" (13/8" Finished) (55234) (Shape 6)
- Parallelogram 45°-1 3/8" x 1 3/4" Sides(1" x 1 3/8" Finished) (55235) (Shape 7)
- Rectangle-1½" x 2½" (1" x 2" Finished) (55236) (Shape 8)
You'll need to have either an Accuquilt Go! or Go! Big to cut fabrics with these dies. Accuquilt has 3 additional 4" quilt block die sets to complement the Mix & Match.
 Remember to Pin or bookmark this for later :)
What about a different quilt block?
For a list of all the 220+ quilt block patterns on this site, start here.
If you know the name of the block, shorten your search by using these links:
Click here if you're looking for blocks with at least some paper piecing.
Click here if you're looking for the basic building blocks of quilting, i.e., Flying Geese, half square triangles, quarter square triangles, etc., along with several techniques to make each.
And finally, use these links to find blocks in these finished sizes:
- Home
- Free Quilt Block Patterns
- 4 Inch Quilt Block Patterns
