- Home
- Beginner Quilt Blocks
- 3d Flying Geese Quilt Block
3D Flying Geese Quilt Block
Technique #4
This post contains affiliate links, for which I receive compensation.
Learn to make a 3D Flying Geese quilt block out of a rectangle and two squares.
No lines to mark.
No sub-cutting.
Perfect points every time.
And just one seam!
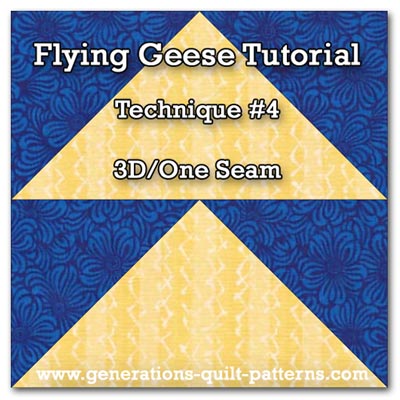
This method is for traditionally sized Flying Geese units that finish twice as wide as they are tall.
Pros:
- Accurate and fast.
- No points to trim.
- No markings to make or paper to remove.
- Adds dimensional interest to your quilt projects.
- No bias edges to sew
Cons:
- You may want/need to tack down the 3D part.
- They're additive and Oh! So Simple!
The Technique
The Formula
Geese fabric: Cut a rectangle equal to the finished size plus 1/2" for both the length and width.
Sky fabric: Cut two squares equal to the short side of the cut geese rectangle above.
REMEMBER to download our free Cutting Chart below with dimensions for other common sizes.
Just look for the 'Stamp Out Math' button below in the 'Download' section!
Step 1
For our 3D flying geese quilt block that finishes 2-1/2" high by 5" wide, cut:
- A rectangle equal to (2-1/2" + 1/2") by (5" + 1/2") or 3" by 5-1/2", and...
- Two 3" squares
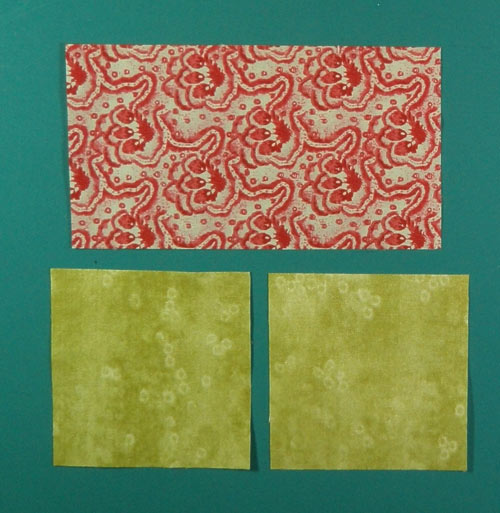 The green is the sky fabric; the red print is the goose fabric.
Step 2
Fold the rectangle in half, wrong sides together. A finger press is good enough. You don't need to create a crease mark only to remove it later.
I used a print so that you can clearly see that the pretty side is on the outside.
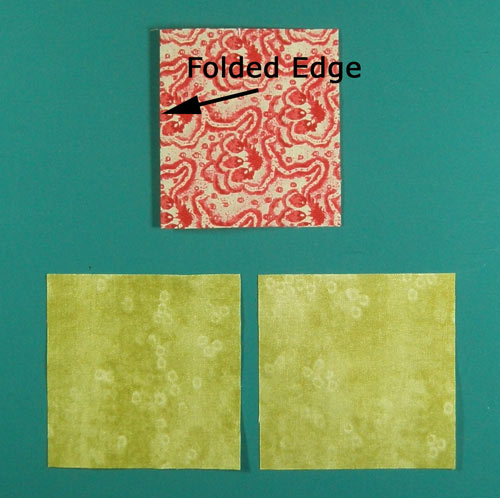 The folded rectangle now measures 2-3/4" x 3"
Step 3
Layer the pieces together in the orientation that they'll be fed through the sewing machine.
Lay out a sky square, right side up.
Lay the folded rectangle on top, align the short edges of the rectangle with the bottom of the square. (Note this folded rectangle is 1/4" shorter than the sky square.)
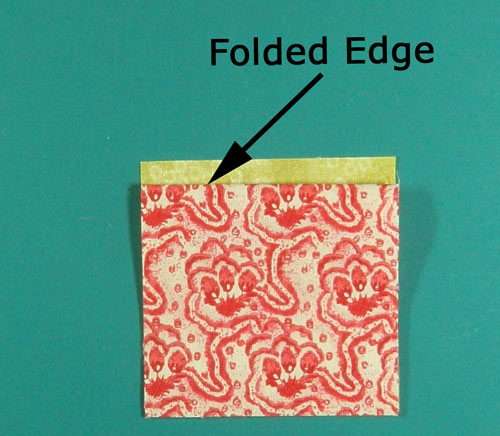 Align the raw edges with the fold perpendicular to the stitching line
Step 4
With right sides together, layer the final sky square on top, matching all edges with the first square.
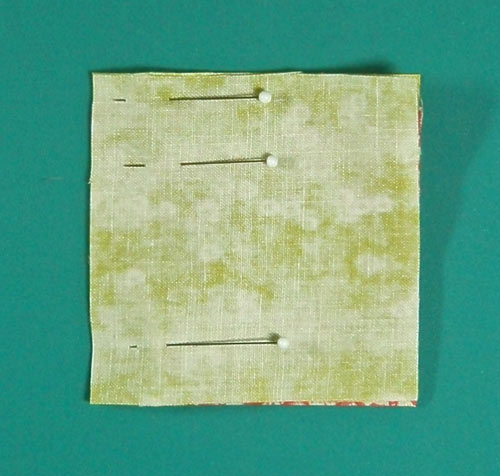 I pin to prevent any slippage
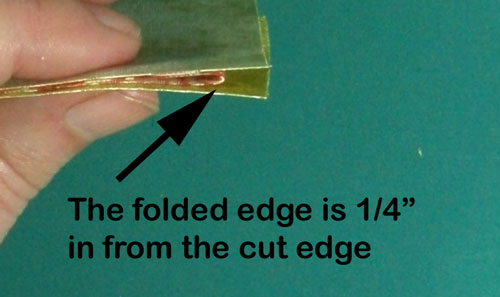
The fold must be a quarter inch in from the edge.
Step 5
Stitch a scant quarter inch along the side that intersects the fold of the geese fabric.
Step 6
To avoid pressing a hard crease into the geese fabric, don't press the whole unit. Just press along the line of stitching to set the sea.
Open the top square and finger press the seam allowance to one side.
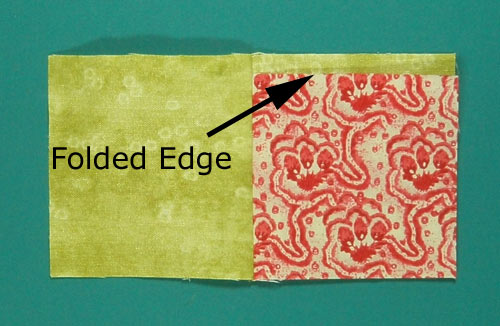 Fingerpress the seam allowance to one side
Step 7
Open the 'goose' rectangle and match the long edge to the long bottom edge of the sewn squares. Finger press the 'goose' into place. When you are satisfied, then press the whole unit with your iron.
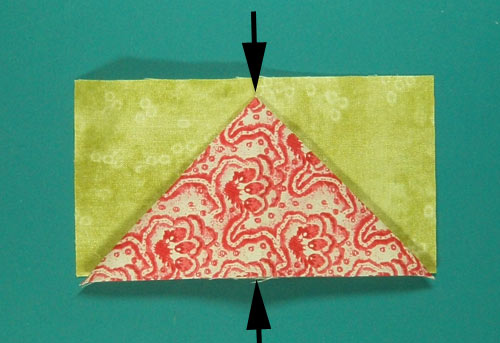 Press open the geese fabric, the black arrows show where the previously folded edge is now.
The bottom edge of the goose should be aligned with the lower edge of the sky squares. The geese side points should bisect the sky square corners.
Use your ruler to confirm that the unit is the correct size and that the point of the 'goose' is 1/4" away from the edge.
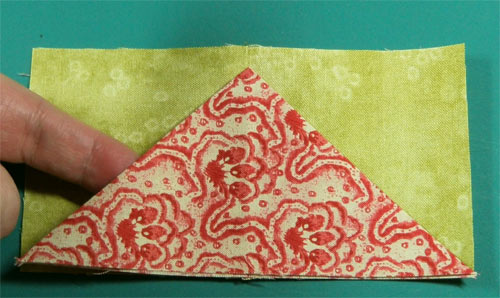 Finished!
You may want to machine baste along the bottom of this unit to hold the 'goose' neatly in place until you use the unit.
Your 3D flying geese quilt block is finished.
Download Cutting Chart
As you saw above, the calculation is pretty straight forward for this unit—no wonky math—but it's still nice to have the calculations made for you and I've done just that.
To download your copy of the chart, just click on the 'Stamp Out Math' button to the right.
What about a different quilt block?
For a list of all the 220+ quilt block patterns on this site, start here.
If you know the name of the block, shorten your search by using these links:
Click here if you're looking for blocks with at least some paper piecing.
Click here if you're looking for the basic building blocks of quilting, i.e., Flying Geese, half square triangles, quarter square triangles, etc., along with several techniques to make each.
And finally, use these links to find blocks in these finished sizes:
For even more blocks to make...
For you, are quilt block designs like potato chips...
...you can't have just one?!!
Check the amazing resources I rely on for all the quilt block designs you see on this website.
To see if they're worthy of a spot in YOUR quilting library, CLICK HERE.
