- Home
- Beginner Quilt Blocks
- 3-patch Quarter Square Triangle
3-Patch Quarter Square Triangle Tutorial
Technique #4 - Paper Pieced 3-Patch Units
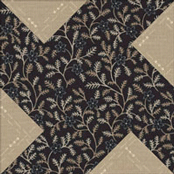
The 3-patch quarter square triangle quilt block is simply a combination of a quarter and half square triangle unit.
This unit is also a block in its own right. You may know it by one of its other common names:
- Pigeons in the Coop
- Waste Not Want Not
- Shadow Box
- Rocky Mountain
I prefer to foundation piece it—both for accuracy and speed—I simply find it much easier to trim.
And since there are only 3 patches, paper removal is slick as a whistle!
Do you hate paper piecing?
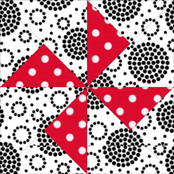
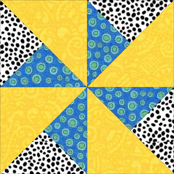
Click here to learn how to make the Double Pinwheel block (which is made solely of 3-patch quarter square triangles) using traditional piecing techniques.
General Instructions
Sample Block Size: 3"(3-1/2" unfinished)
A couple of abbreviations are used through this tutorial:
- SA - seam allowance
- RST - right sides together
- QST - quarter square triangle
When you are instructed to press, first press the pieced unit flat to set the seam. Then open the patch, pressing from the front. You may want to reduce or eliminate the use of steam for pressing these paperpieced units. Steam tends to curl the paper.
Take a minute to review our favorite 'secret' technique for perfect pressing. It works even with the paper attached.
Now THAT'S sweet!
Step 1: Download and print the patterns
You'll need the most current version of Adobe installed on your computer to download the pattern.
On the Adobe Print Menu page, under 'Page Size and Handling' set 'Custom Scale' to 100% before printing for accurate results. Click here to see what it looks like on the Print Menu page.
After printing, use the 1" square graphic on the printed pages to confirm they are printed accurately.
Choose your finished block size and click the link below:

Not sure which paper to use?
Take a look at my review of several of the most popular brands available to us quilters on the market.
You want a super-easy paper to tear away—less stress on the stitches.
Step 2: Cut the fabric patches
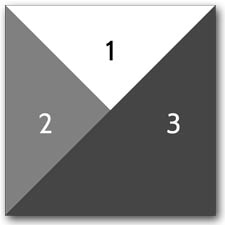 3-Patch QST
I prefer to cut generously so that placing the patch into position is virtually foolproof to eliminate ripping, a huge time-waster.
Make a couple of these using the patch sizes below until you are comfortable with the technique. Then, tweak the size if it works better for you. Print a copy of that size pattern, make your notes on it and file it away for future reference.
The dimensions in the chart below are for squares, i.e. for our 3" finished block that means for Patch #1 cut one 4-3/4" x 4-3/4" square and then sub cut it twice on the diagonal.
 | Cutting Chart for a~Traditional Piecing ~ | ||||||
|---|---|---|---|---|---|---|---|
| Patch | Fabric | Qty | Finished Block Size | Sub Cut | |||
| 2" | 2½" | 3 " | 4 " | ||||
| 1 | A | 1 | 3 3/4" | 4 1/4" | 4 3/4" | 5 3/4" | |
| 2 | B or C | 1 | 3 3/4" | 4 1/4" | 4 3/4" | 5 3/4" | |
| 3 | C | 1 | 3 3/8" | 3 7/8" | 4 3/8" | 5 3/8" | |
| Unfinished Block Size | 2½" | 3" | 3½" | 4½" | na | ||
These are the cut pieces for a three fabric unit.
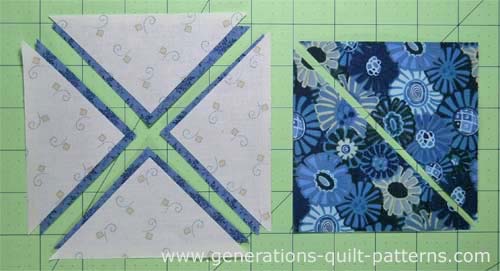
*As you can see there are more than enough patches to make a single unit. Rarely will you need just one quarter square triangle; frequently you'll need 4 if these are units contained within another block.
To have enough patches for 4 units, cut 2 of Patch#3. Easy Peasey!
Step 3: Assemble the 3-patch quarter square triangle
For paperpiecing reduce your stitch length to 1.5, install an open toe applique foot if you have one. If you have problems removing the paper, try a 90/14 needle.
Cut a quarter square triangle pattern from the page you downloaded. Cut just outside the dotted line that marks the unfinished edge of each unit. You will trim to size in the last step.
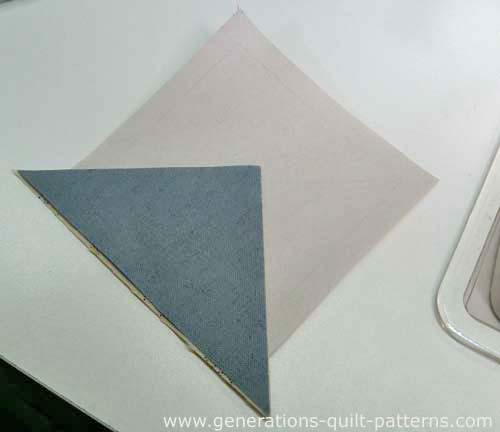
Use a dab of Elmer's Glue Stick—the one that goes on purple and dries clear—position #1, wrong side of the fabric to the unprinted side of your paper pattern as shown below. Use the dashed placement lines to help position it.
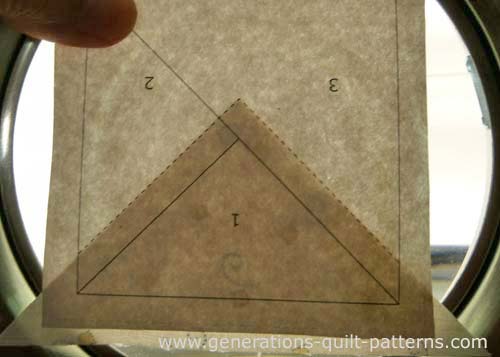
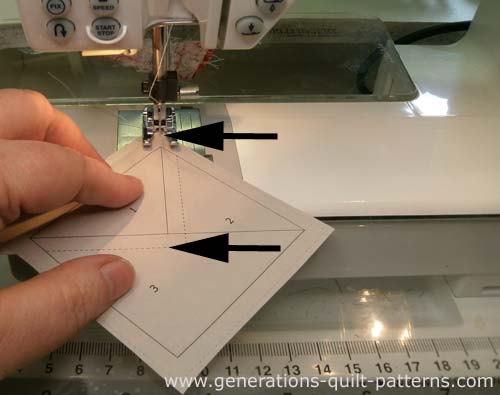
With RST, align the edges of the #2 triangle with #1.
Sew on the solid line between then. Start your stitching before the line begins and stop after it ends by a generous 1/4".
Press.
With RST, align the long bias edge of a #3 with the previously sewn patches.
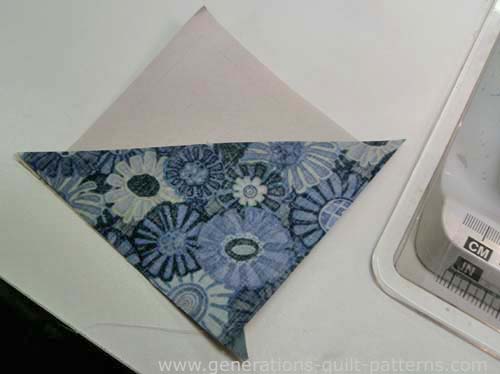
Stitch, again starting before and ending after the solid line.
Press.
Step 4: Trim your 3-patch quarter square triangle to size
For me, this is the step that makes paperpiecing this unit the bee's knees!
I find it much faster and more accurate to trim around the outside of the square, as opposed to lining up the 45° line of my ruler with the diagonal seam (twice) and finding the center.
No contest!
Align the 1/4" mark on your ruler with the solid outside line of the unit and trim. This creates your 1/4" seam allowance.
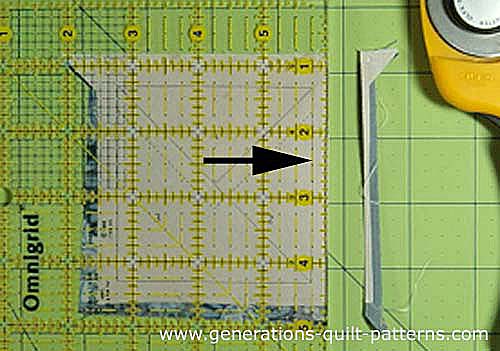
Repeat for the remaining three sides.
Your finished 3-patch quarter square triangle looks like this.
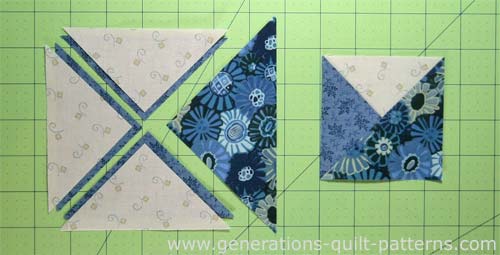
If you make only one, all the patches on the left are leftovers. Since most designs use 3 patch quarter square triangles in groups of four, they won't be wasted.
Designs using the 3-Patch Quarter Square Triangle
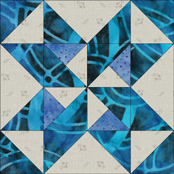
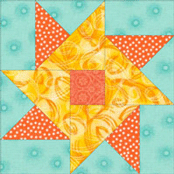
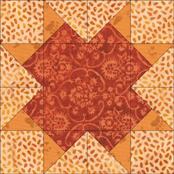
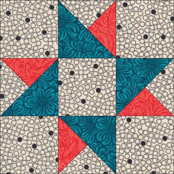
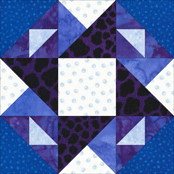
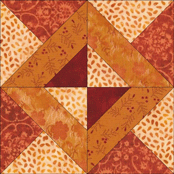
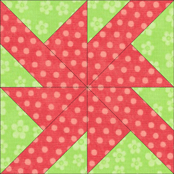
Many patchwork designs employ the 3 patch quarter square triangle. Some use two fabrics. Others use three. And in a variation of this unit, some use four.
To reveal the name of the design, position your cursor over the image.
IF we have instructions for that block, the image is 'clickable'. At some point, all the images below will lead to a tutorial.
2 Fabrics
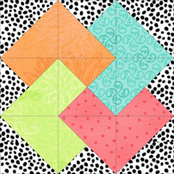
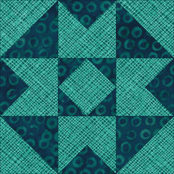 Air Castle
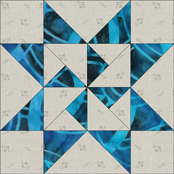 Martha Washington Star
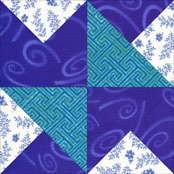
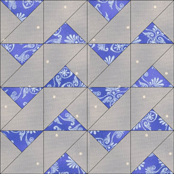 Wild Waves
3 Fabrics or more fabrics
Variation on a 3 Patch Quarter Square Triangle
What about a different quilt block?
For a list of all the 220+ quilt block patterns on this site, start here.
If you know the name of the block, shorten your search by using these links:
Click here if you're looking for blocks with at least some paper piecing.
Click here if you're looking for the basic building blocks of quilting, i.e., Flying Geese, half square triangles, quarter square triangles, etc., along with several techniques to make each.
And finally, use these links to find blocks in these finished sizes:
- Home
- Beginner Quilt Blocks
- 3-patch Quarter Square Triangle

